01. TAILORED SPACES:
A CUSTOM BOOKSHELF BUILD
WITH KARA MCSWAIN
Creating a dream living space doesn’t always require formal training; sometimes, all it takes is a passion for design and a willingness to learn.
We had the pleasure of chatting with Kara McSwain, a Portland-based lifestyle and DIY content creator who has been sharing her journey of transforming her 1900s Portland Four-Square home and discovering her unique vision in home design. Join us as we explore her inspiring path in the world of DIY projects — from building custom bookshelves to uncovering exciting new creative avenues.
Could you share a bit about your background and how it has shaped your journey?
My career journey has been a winding road, with creativity and interior design at the heart of my interests. I have zero formal experience in interior design or woodworking, so I’ve dedicated countless weekends to teaching myself new DIY skills to curate my dream living space on a budget. As I continue to refine and hone my personal style, I find that it is constantly evolving. I'm always on the lookout for fresh inspiration — often diving into Pinterest and YouTube rabbit holes — and new projects to tackle. Each endeavor feels like an exciting opportunity to learn something new and make my home feel more "me."
What has been your experience with content creation, and how did you become a creator in your field?
I’ve always worked in marketing and advertising, but like everyone else, I turned to downloading TikTok during the pandemic to pass the time. It wasn’t until we moved into our first home that I posted my first TikTok — a spontaneous video of the chaotic process of refinishing our 1906 hardwood floors. The video blew up, thanks to seasoned woodworkers trolling my comments with everything I did wrong. We had a laugh about it, so I didn’t let it discourage me.
Despite the rough start, I found the DIY community fascinating and kept sharing projects when I had time. Thankfully, the algorithm eventually connected me to the supportive side of the DIY world. I’ve been especially inspired and fulfilled by people leaving comments about how my realistic, imperfect learning process has given them the confidence to pick up a power tool and try bigger projects themselves.
Balancing house projects with content creation is definitely a challenge, but it’s been incredibly rewarding. My ultimate dream is to pursue content creation full time, with a focus on helping beginners start from ground zero — just like I did. Every project I complete feels like a step closer to that goal, and seeing others feel empowered makes it all worthwhile.
What was your inspiration for this project? Did you have a vision in mind from the start, and did that vision change or flex throughout the project?
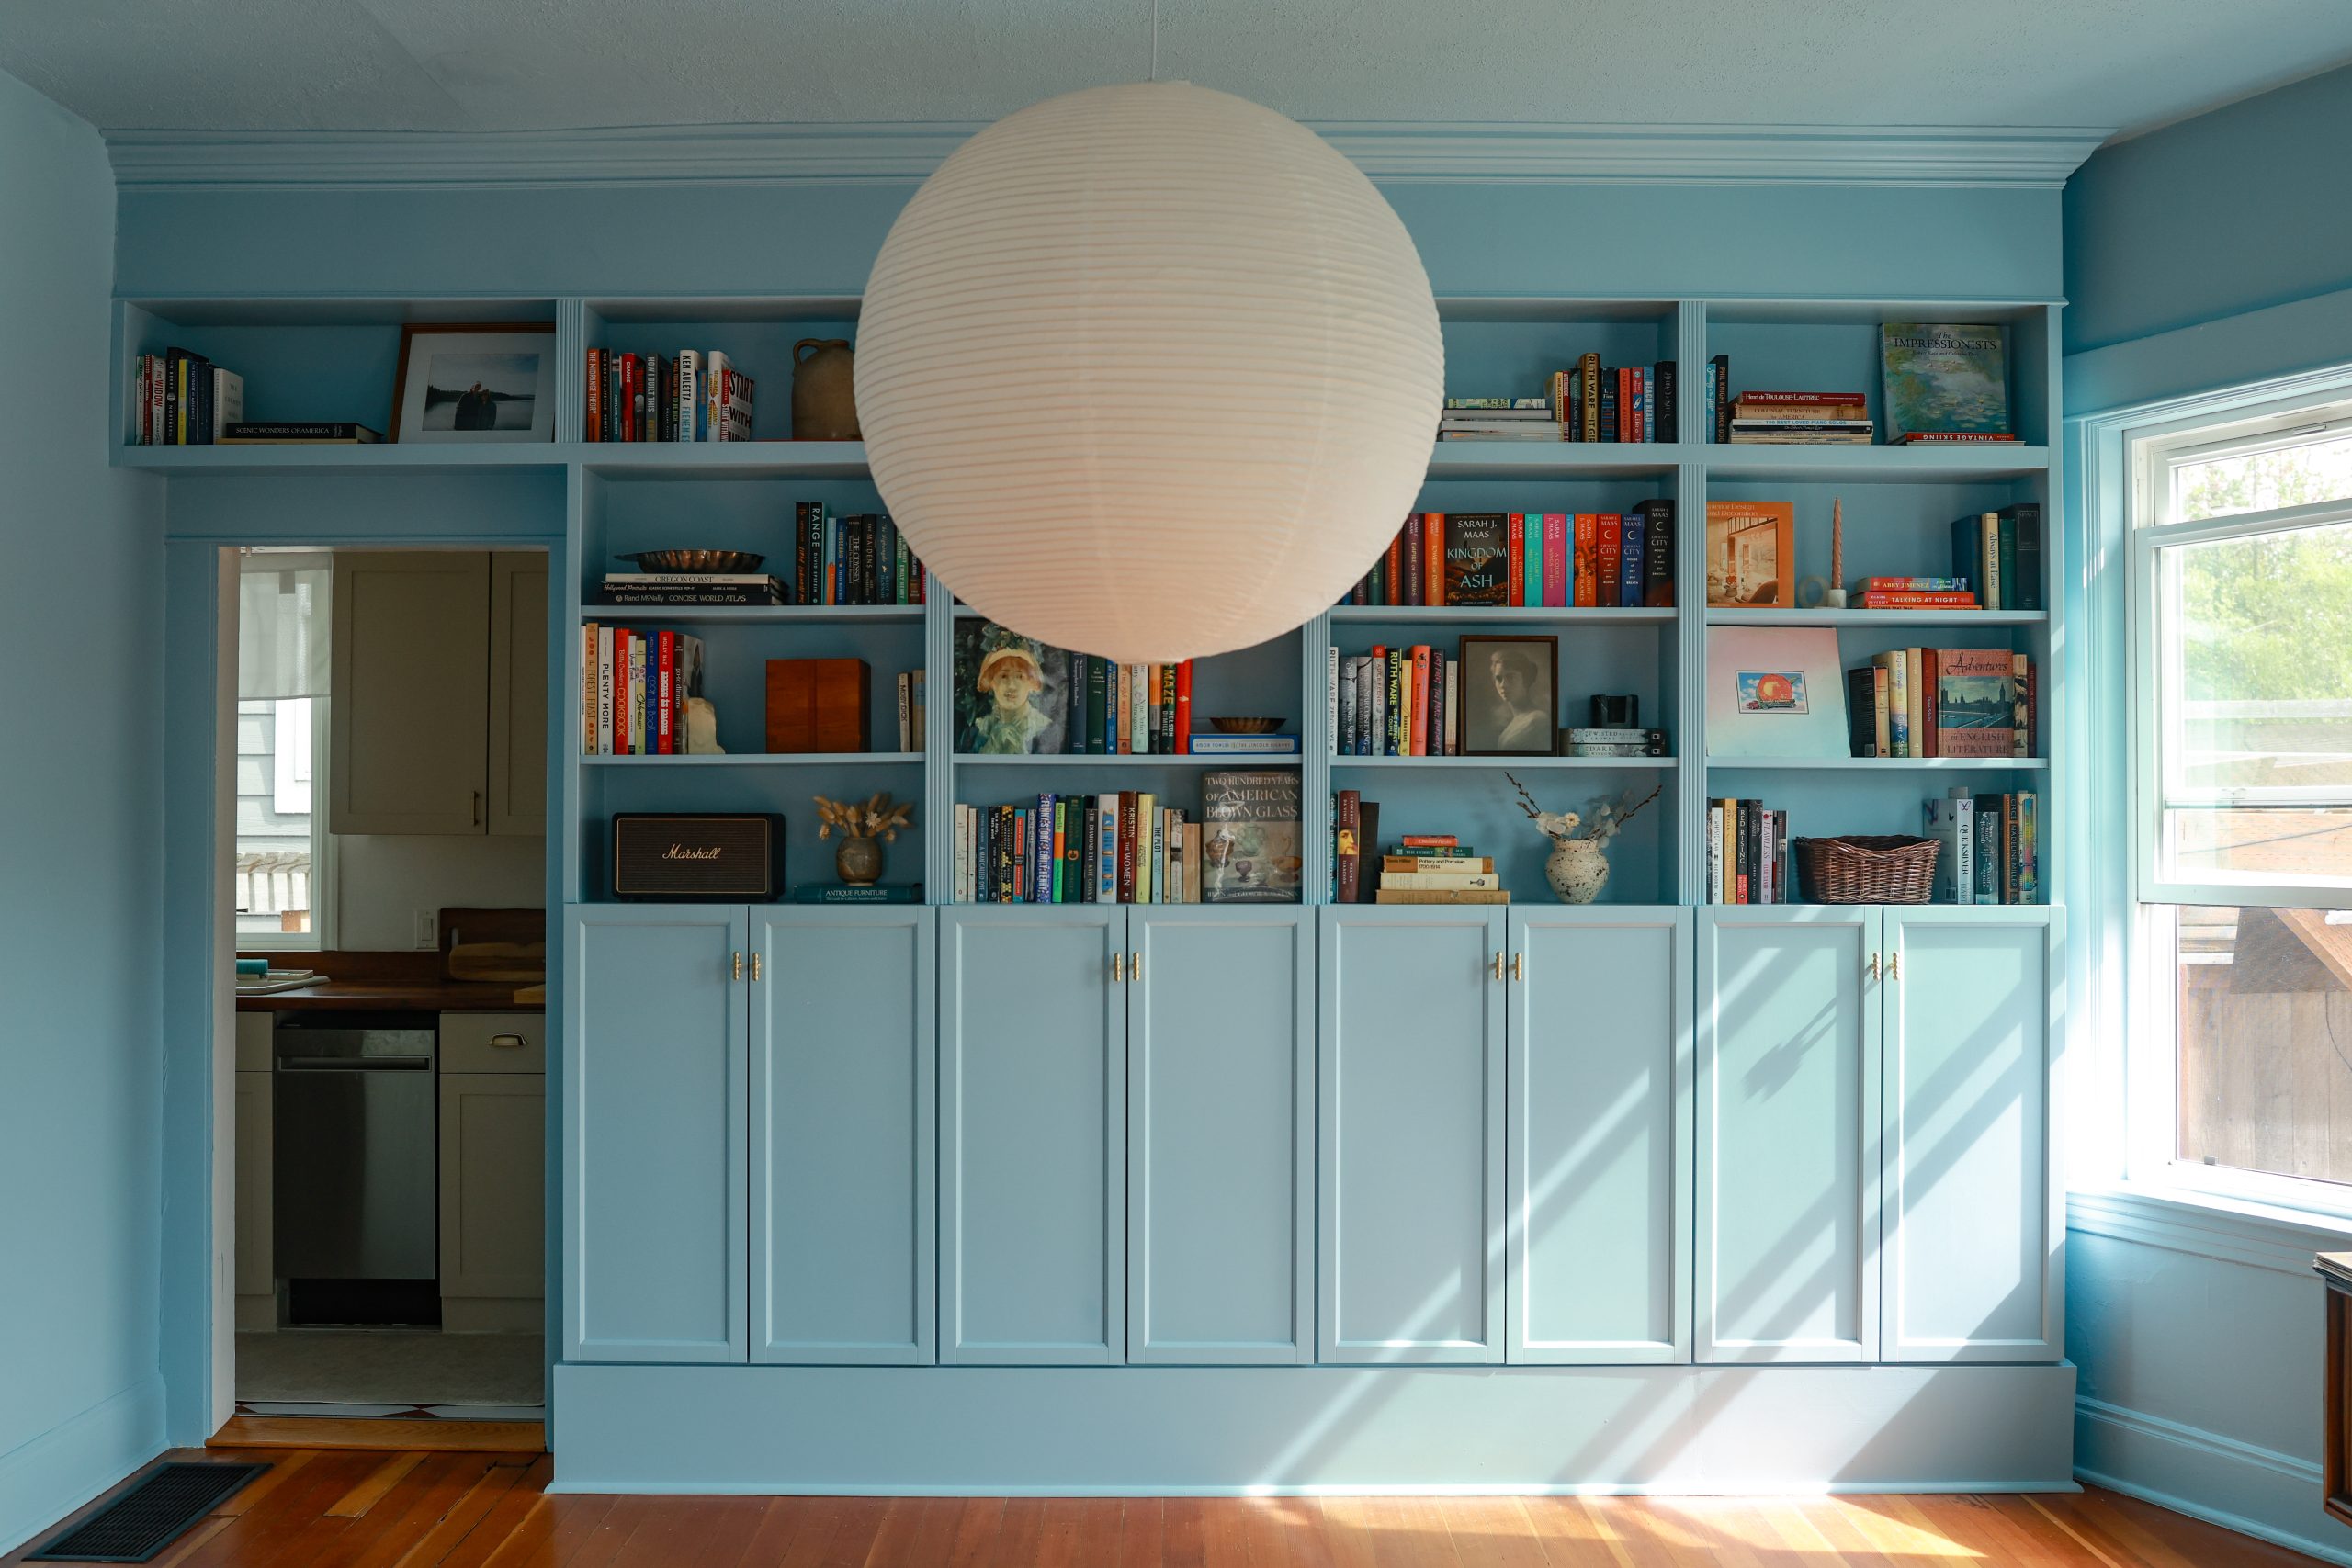
The inspiration for this project was rooted in my love for books and my desire to create a special space to showcase my collection. Reading has always been important to me, but this past year it became an essential part of my daily rituals. I had seen so many beautiful home libraries in English cottage-style homes on Pinterest, which sparked my motivation to make the vision come to life.
Eventually, I started coming across videos about creating “custom” built-in bookcases using IKEA Billy Bookcases. That made the project feel so much more approachable! My plan was to use the IKEA bookcases as the base, then focus on adding trim and crown molding to achieve that luxurious, built-in look. It allowed me to bring the cozy, library feel to my home without being overwhelmed by the scale of a full custom build. One of the things I love most about IKEA is how their products are so universally used. The DIY community is full of creative “hacks” that feel like open-source learning — everyone can start with the same materials and personalize them in their own way. Since IKEA pieces are so popular, I was also able to score my IKEA bookcases second hand on Facebook Marketplace to help keep the project on a budget.
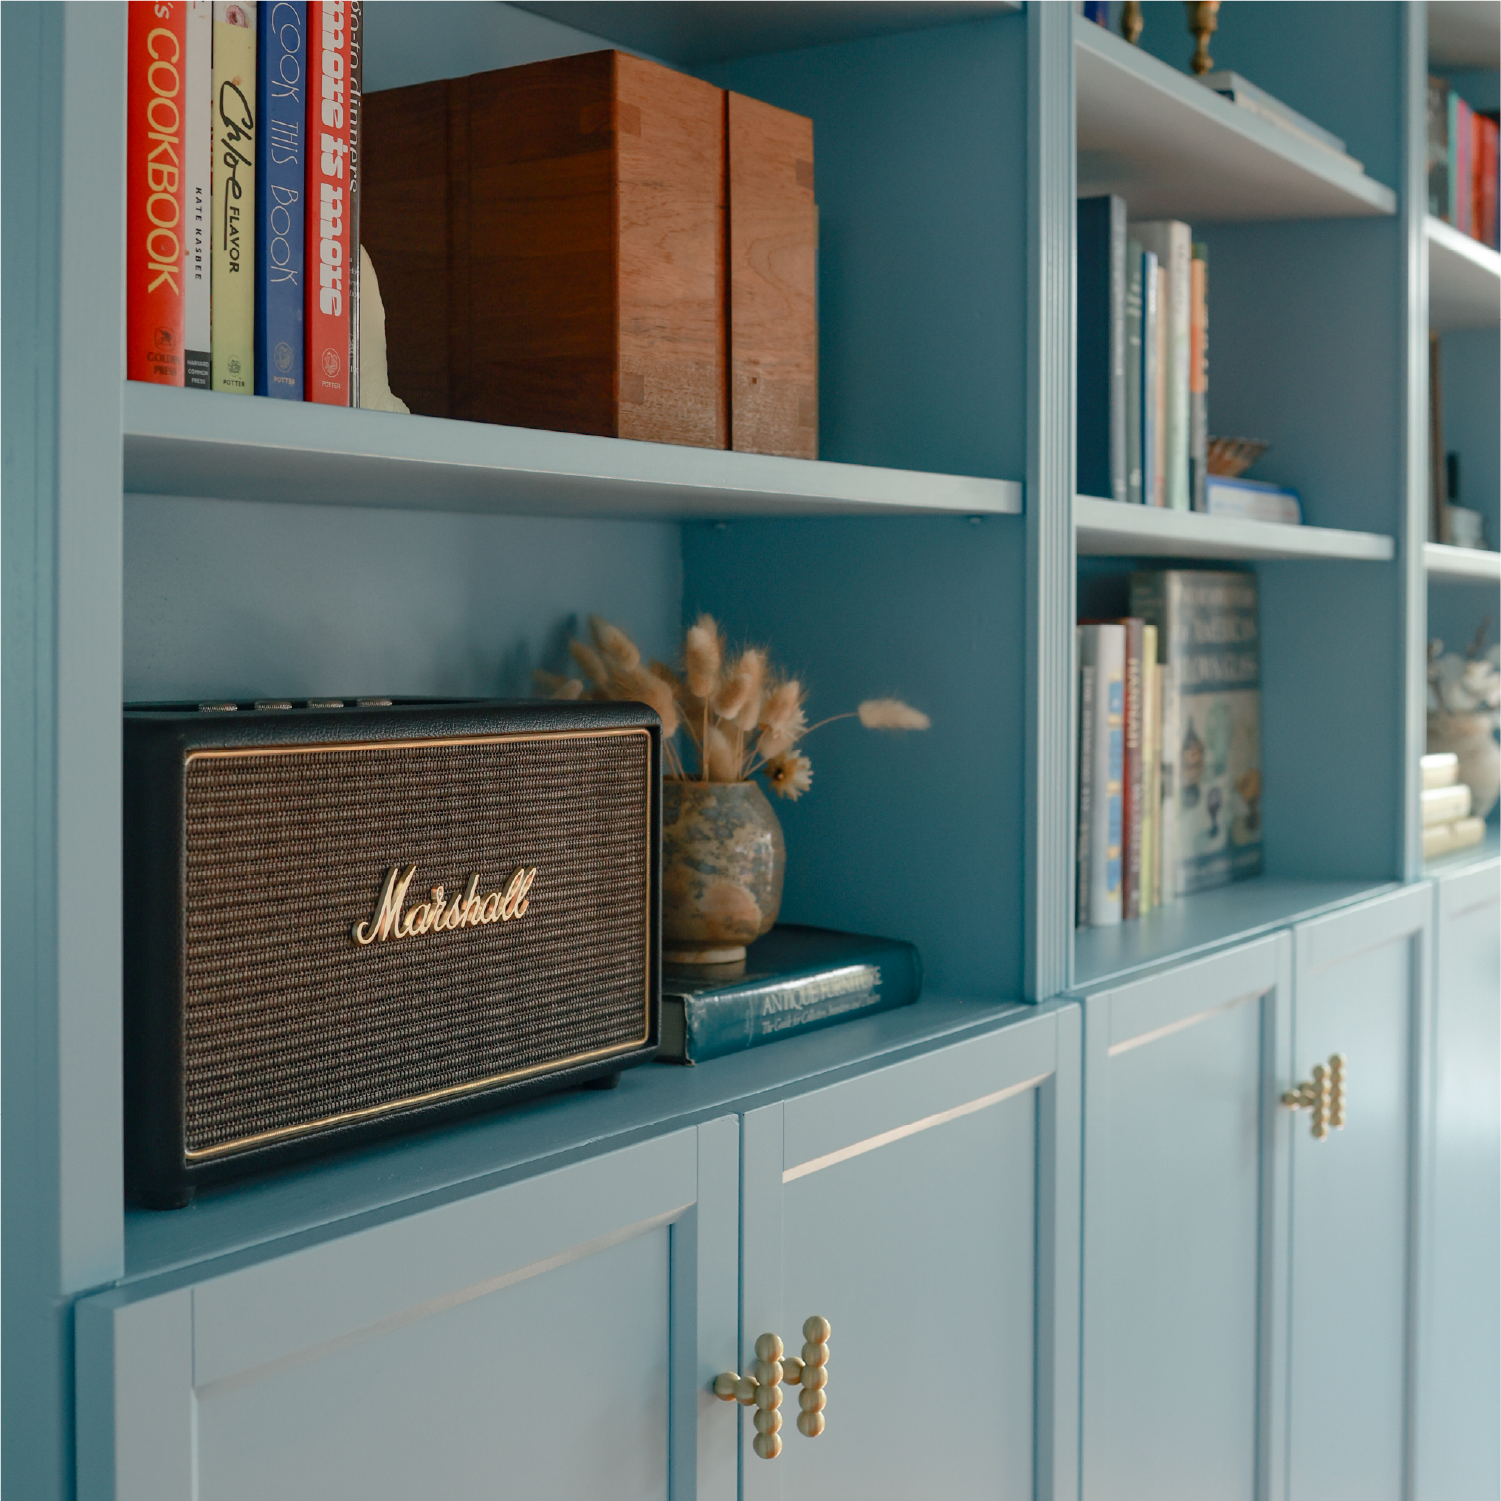
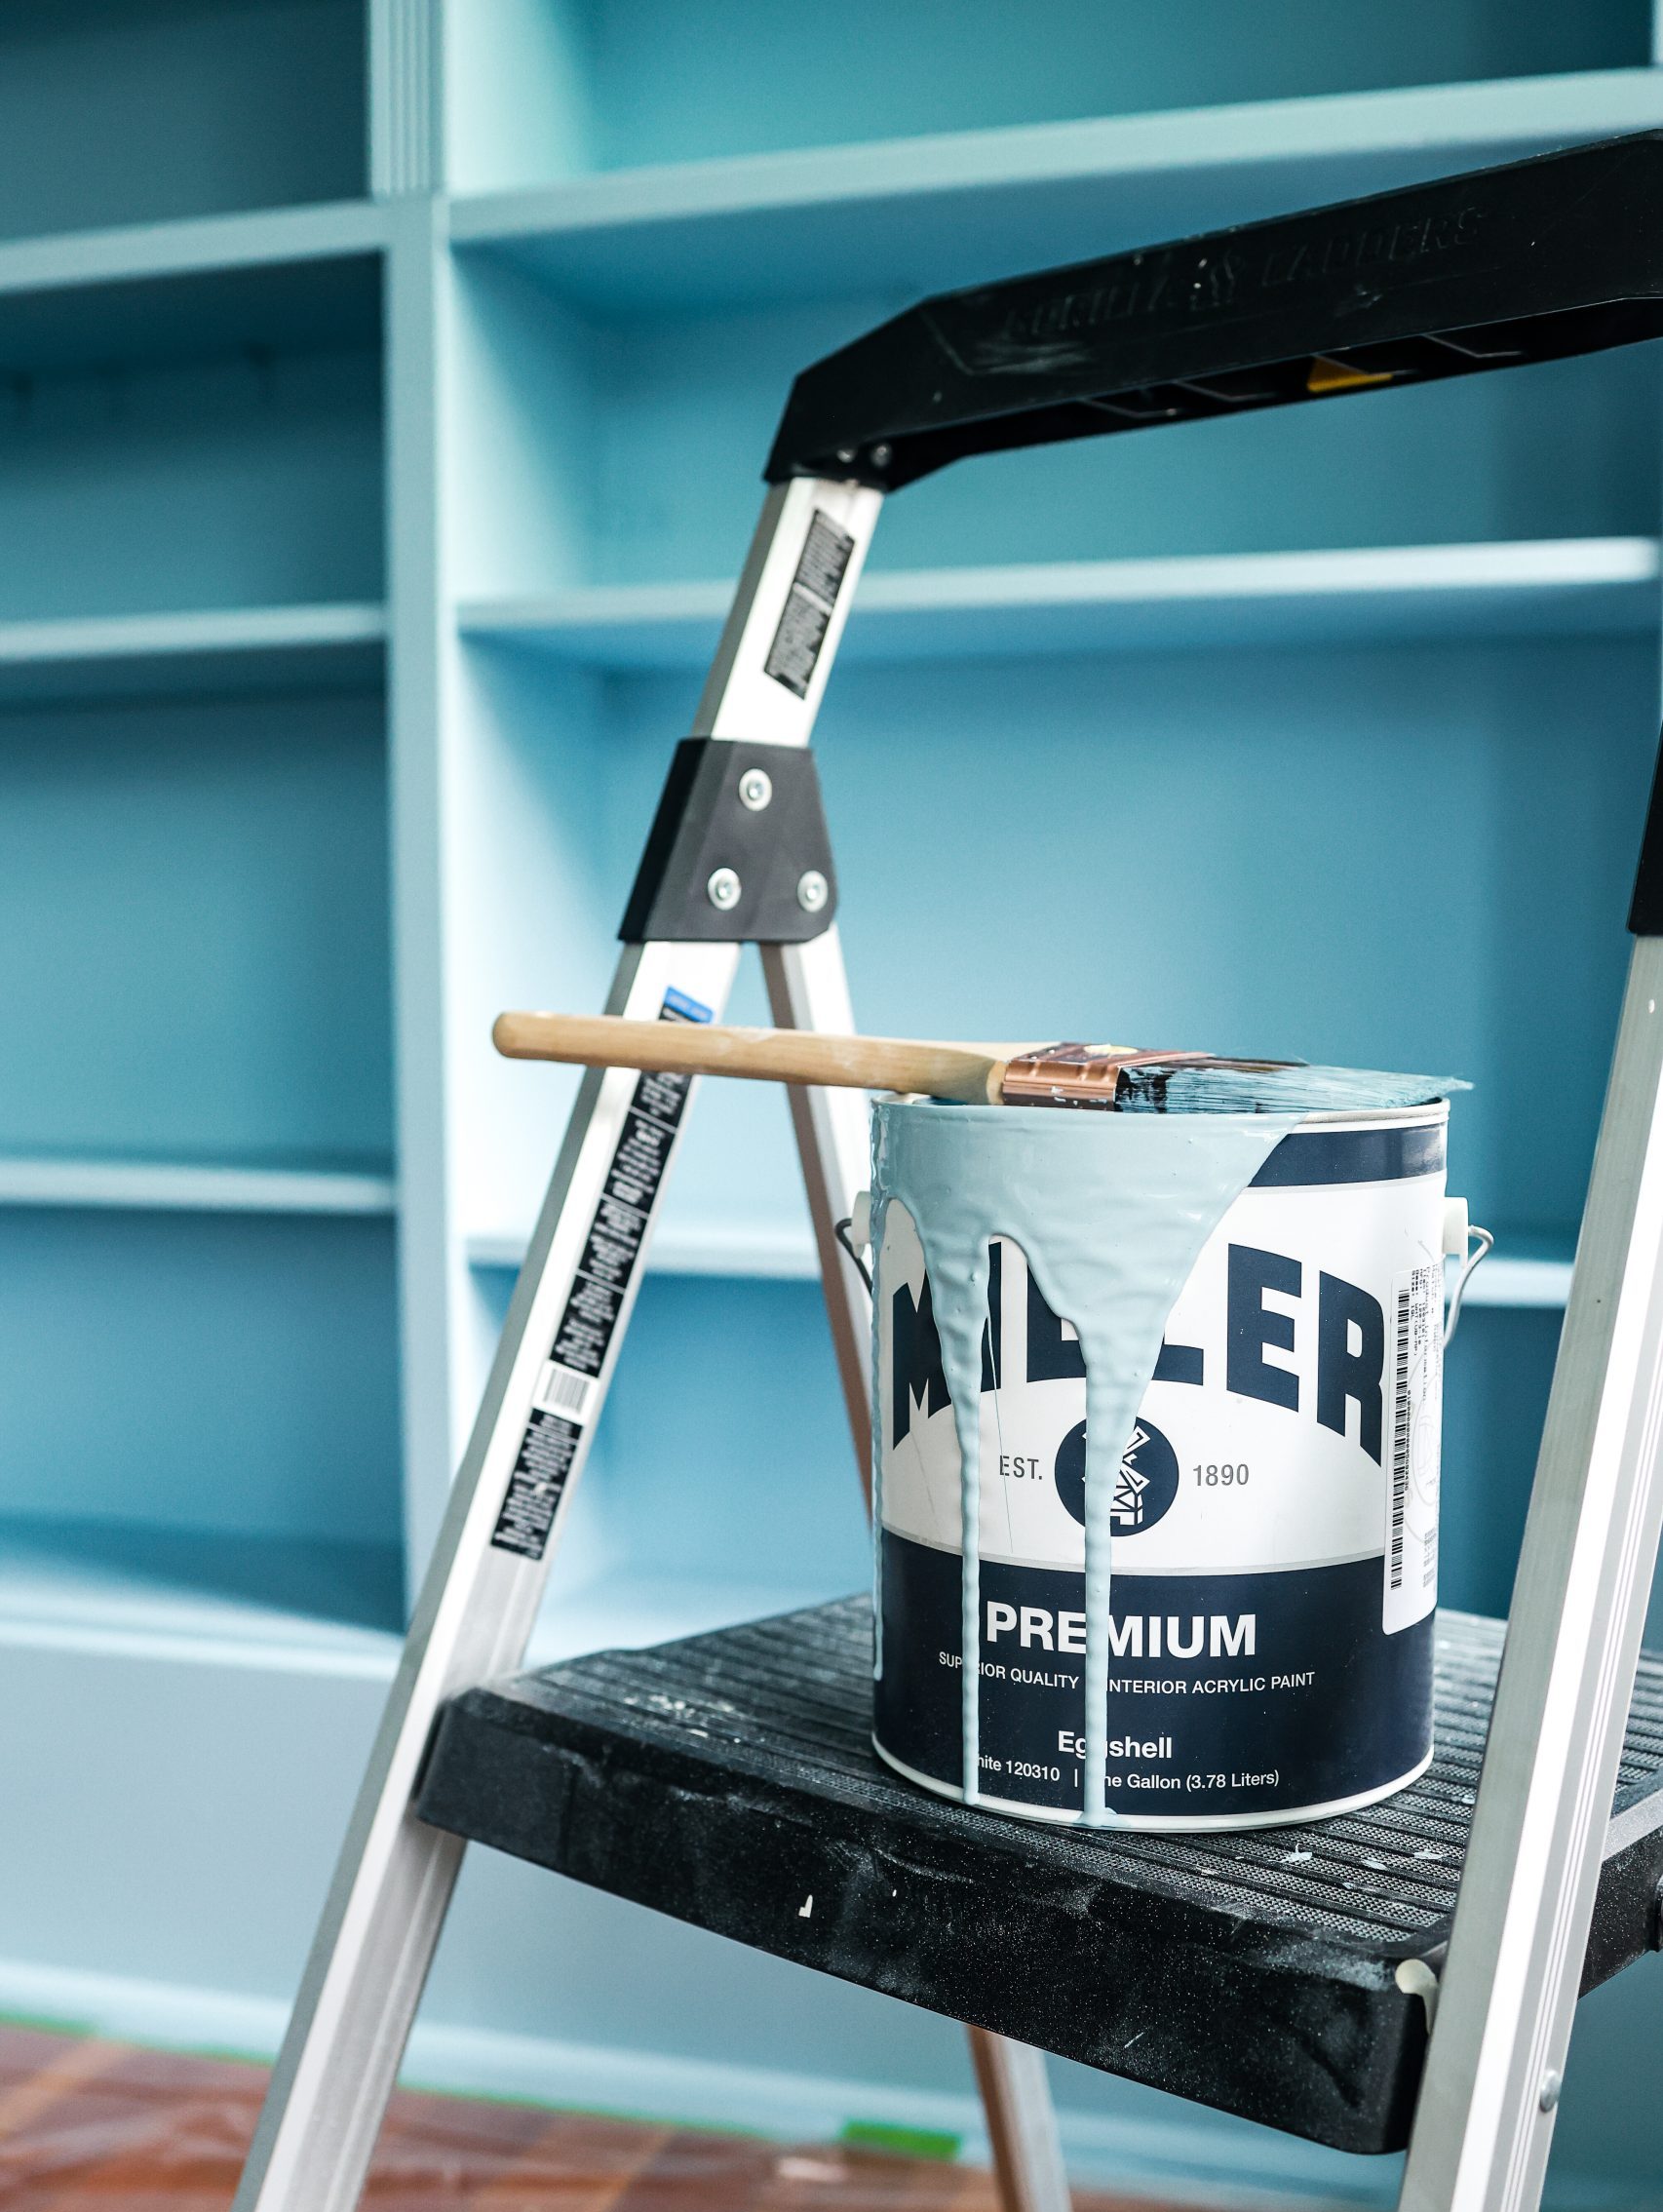
You chose Miller Paint’s Shimmering Wave | R086 for this project. What was your color selection process like? Was there an “aha!” moment when you were testing swatches and knew it was the perfect choice?
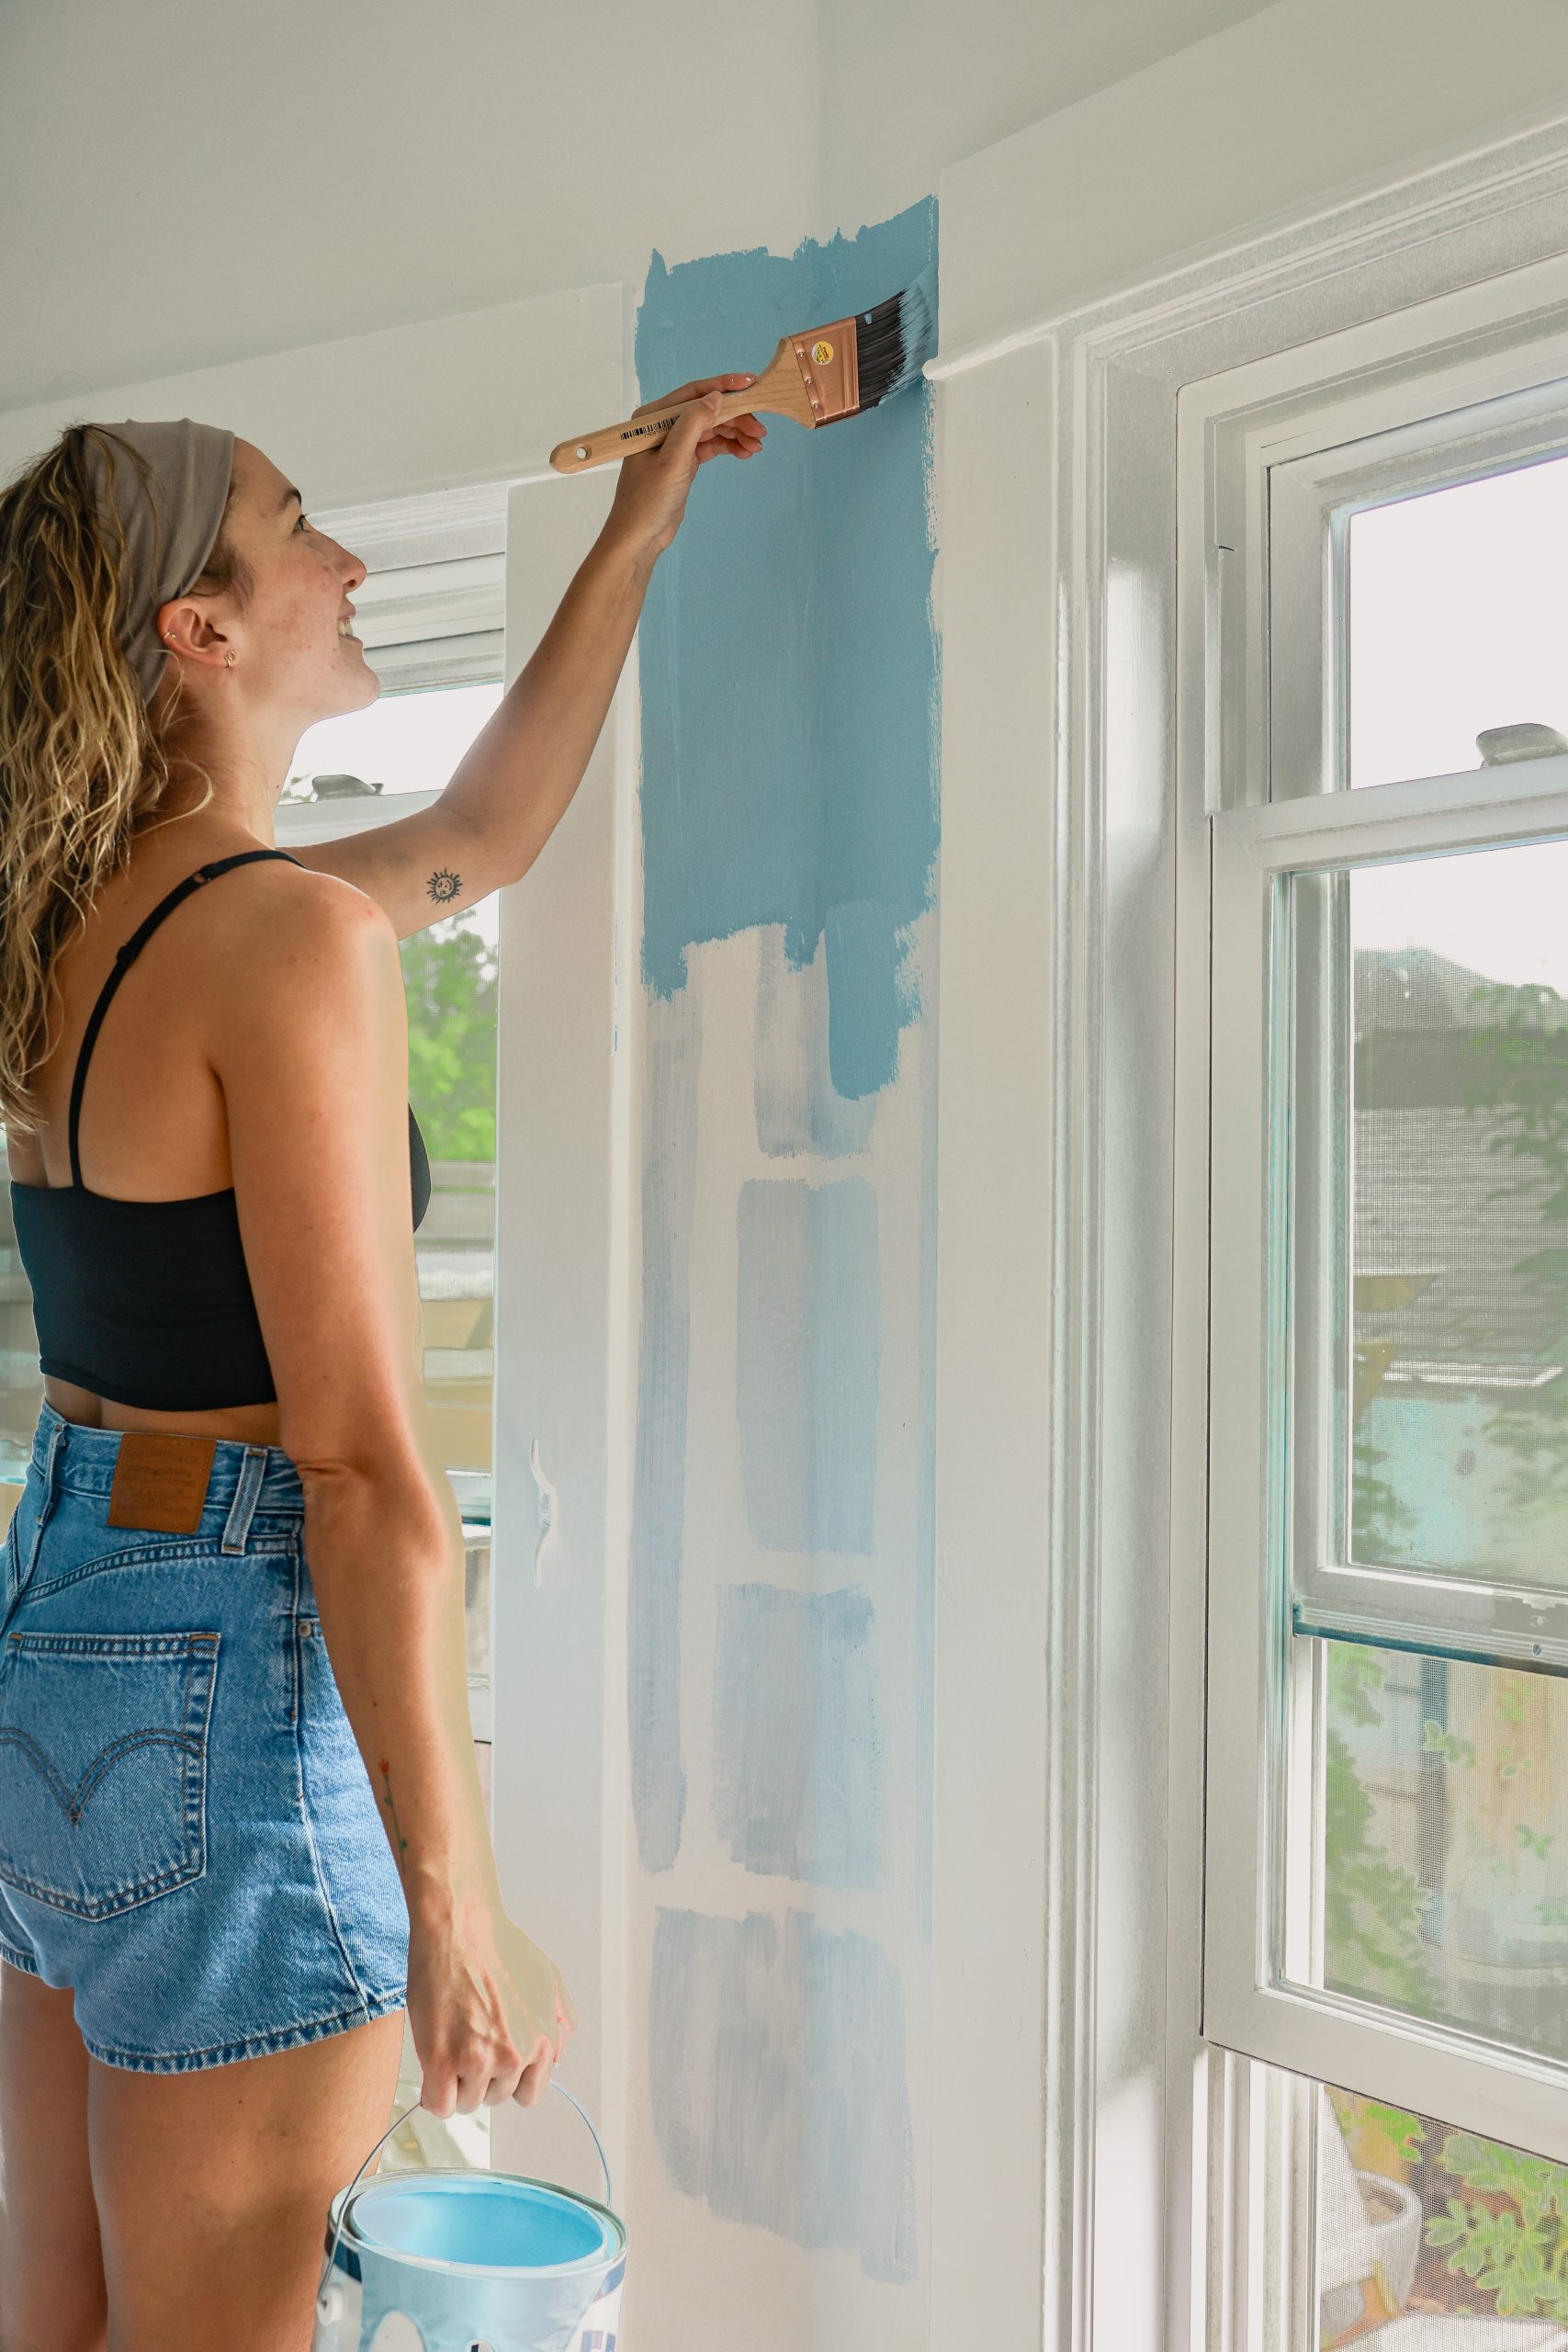
I was really stuck trying to find the perfect shade of blue. I had over-analyzed so many colors and inspiration photos that I had too many ideas swirling around. I knew I wanted a lighter blue with that “wedgewood” or “powdery” feel, but didn’t read too gray when the gloomy PNW weather hit this winter. The selection process was a lot of trial and error because the samples looked totally different once I swatched them on my walls. It was a wild experience seeing the contrast between how the colors looked in-store and in my home. Even on my west-facing wall versus my east-facing wall, the same swatch looked like two entirely different shades.
After a few trips to the store, I ended up pivoting and grabbed Shimmering Wave — because I was course correcting to a warmer and more saturated light blue than I had originally thought I needed. As soon as I put the first brushstroke on the wall, I knew it was the one. It felt brighter and warmer next to the graveyard of blue samples I had tested before. I was confident it would adapt beautifully through the seasons and stay cheerful yet calming all year long. That was my “aha!” moment. While it took longer than I expected to pick the right color, I’d definitely recommend sitting with your options. Seeing the color on different walls, at different times of day, and in various weather conditions was pivotal in making the right choice.
What was your experience like selecting the right product, sheen, and paint type for this project? How did you decide which options would work best for the space?
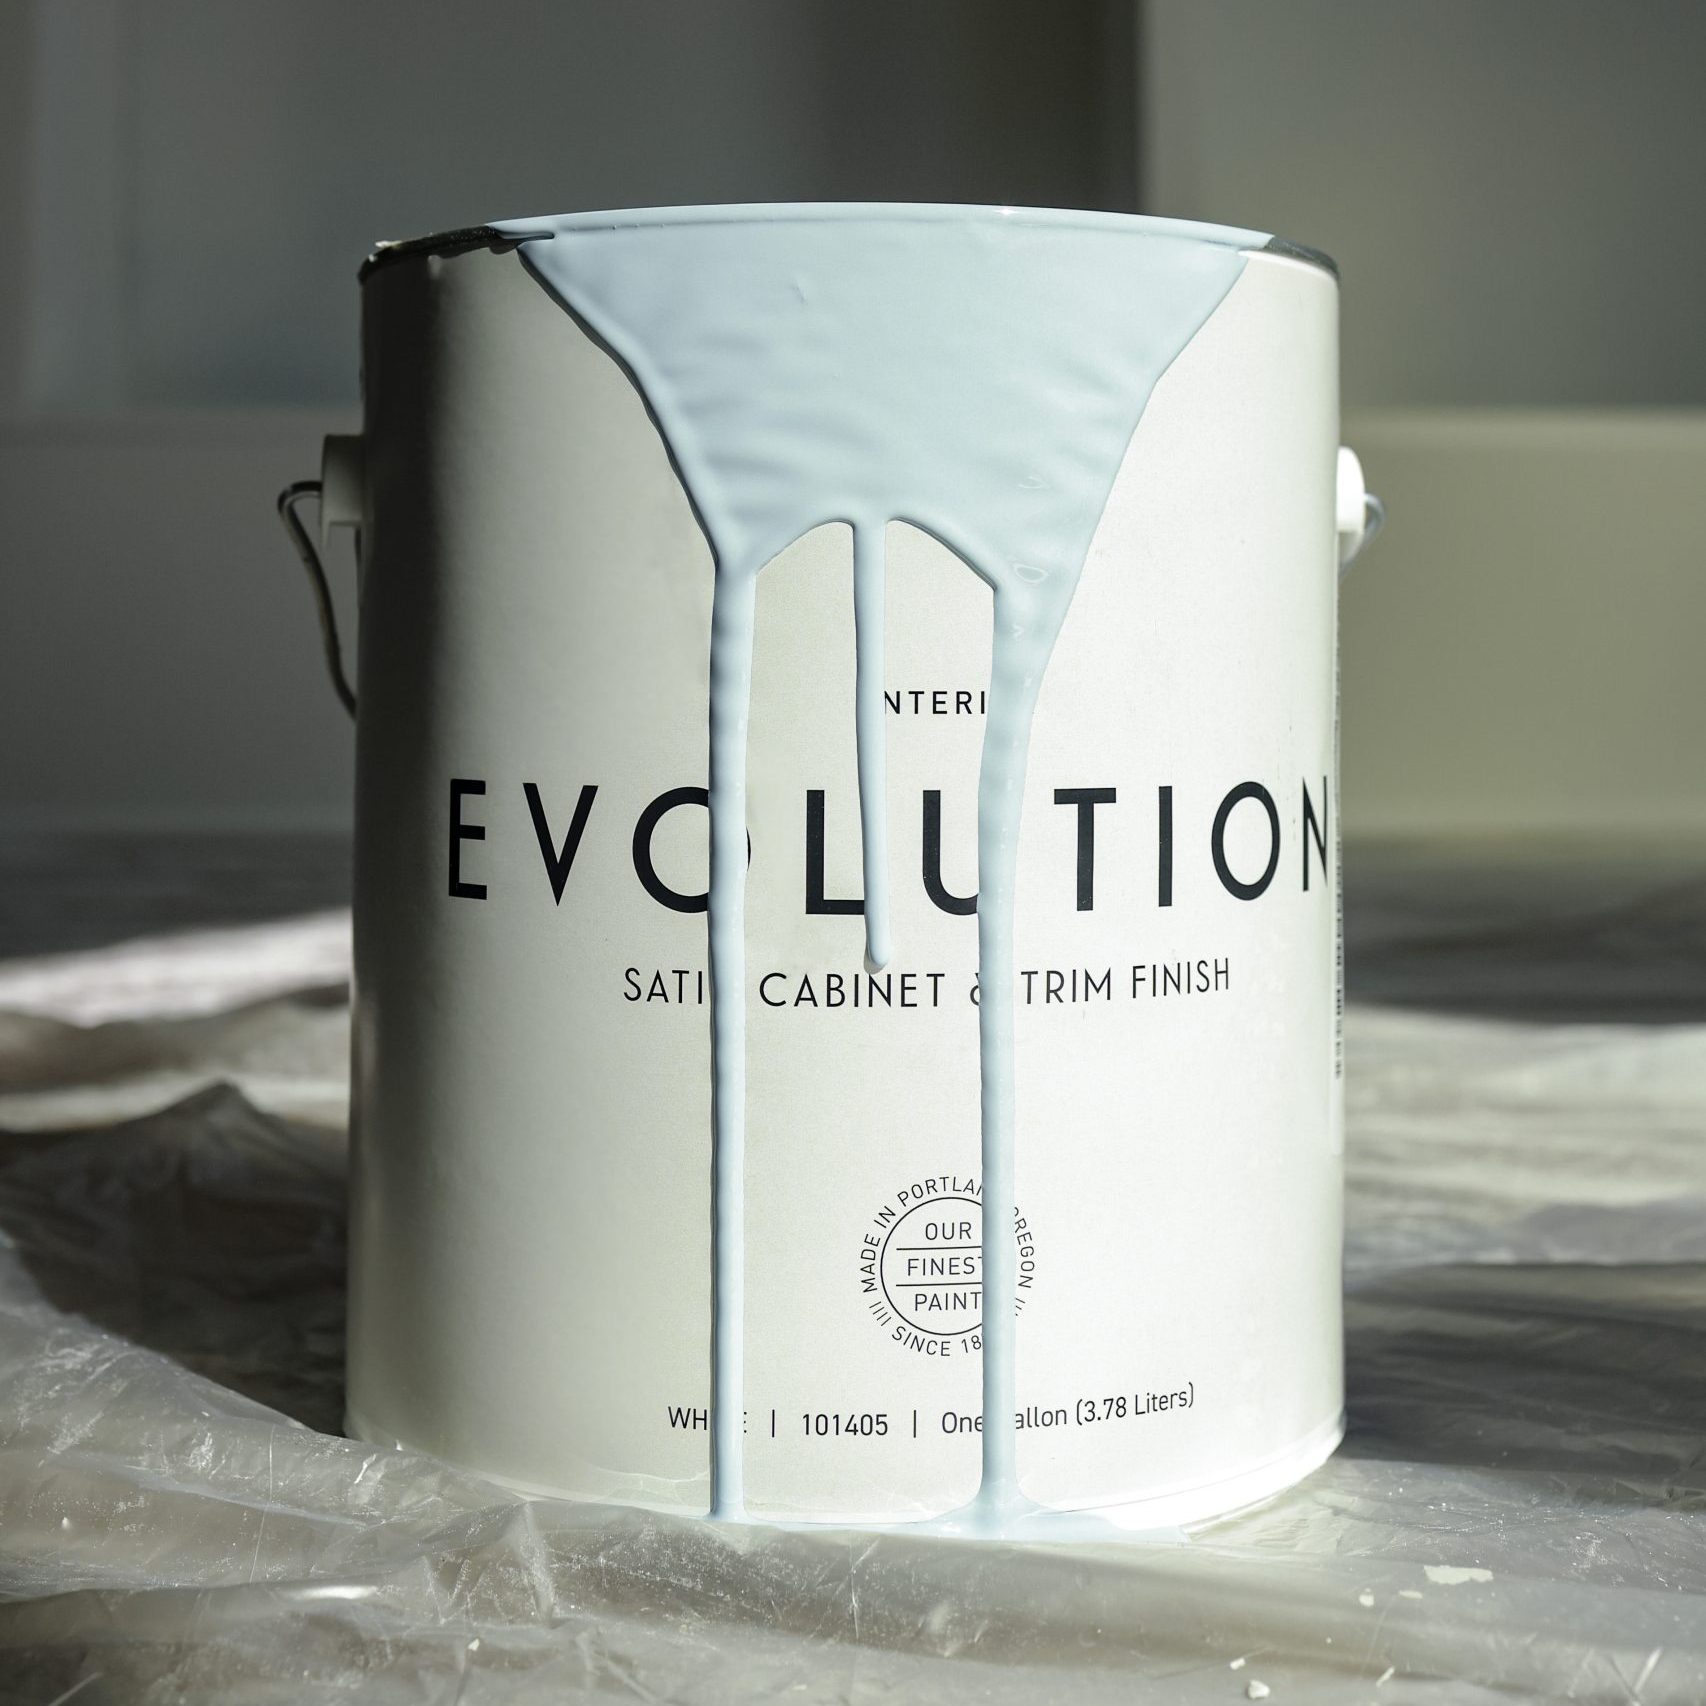
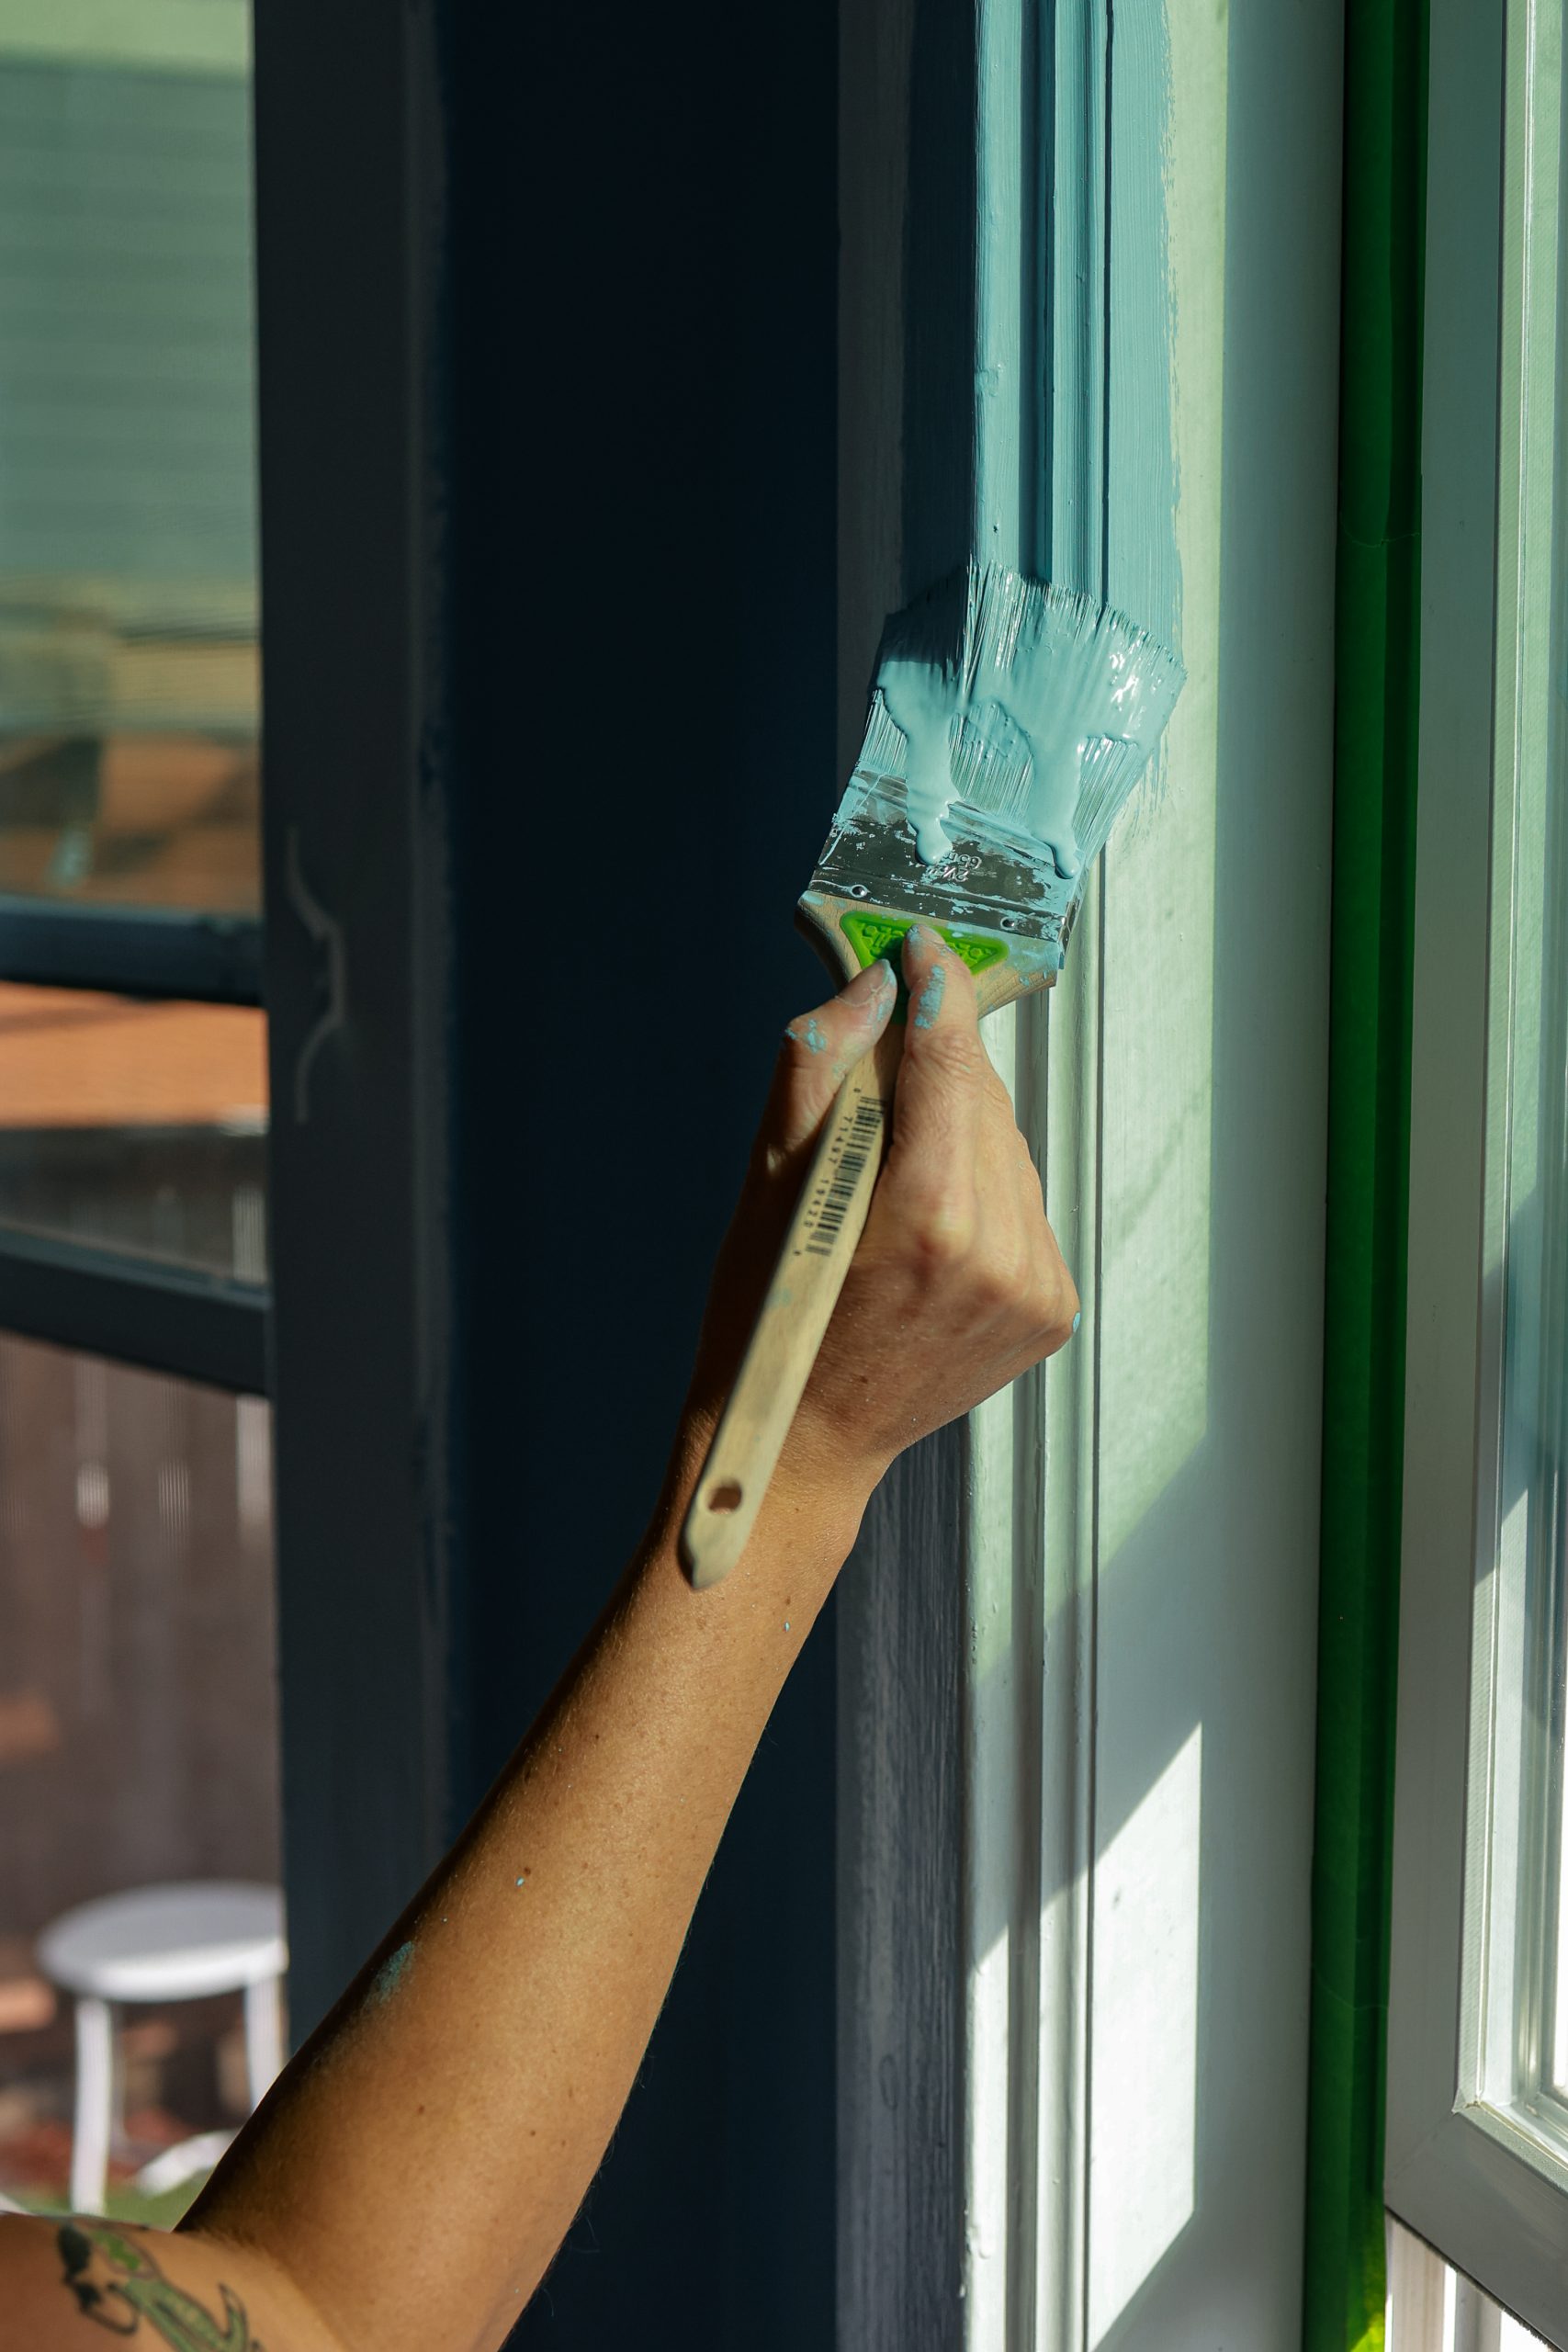
I knew I wanted to use an eggshell finish for my walls and a different sheen for the bookcases, but my knowledge didn’t go much beyond that. Thankfully, the team at the Alberta Miller Paint location was incredibly helpful in guiding me through the options. After explaining a few different routes, we decided on the Evolution Cabinet & Trim paint for the bookcases. It offered the durability I needed to protect against scratches as I add and remove books from the shelves. I chose a satin finish for a polished look without being overly glossy. For the walls, we went with Miller Paint’s Premium Interior in eggshell to keep the finish flat, but also help hide the imperfections in my really old plaster walls. I used my leftover Evolution Cabinet & Trim paint for the window trim, and I was super happy with the result! It all came together beautifully.
Were there any unexpected surprises throughout the process that posed a challenge? If so, how did you overcome those?
I have a bad habit of vastly underestimating how much time a project will take. My biggest hurdle was my own inexperience, which often made me second-guess myself. I found myself re-watching safety videos and taking more trips to Lowe's, terrified about injuries and wasting materials. In hindsight, I’m glad I did the extra research — but I also think I could have trusted myself more.
As a woman embracing woodworking and power tools, I felt like I was stepping into a traditionally masculine space — which only added to my imposter syndrome. Yet there’s something that feels incredibly empowering about it, even if it’s a longer road to feeling capable. This project may just be about bookshelves. But for me, it’s more than just learning new skills — it’s about reclaiming the narrative that certain tasks are only “for men.” If I had more confidence from the start, the project might have gone smoother. But I’m grateful for how it all came together; it feels incredible to take up space and break boundaries while crafting something meaningful.
Aside from the mental hurdles from learning so many new skills, my biggest tangible mistake was not opting for a more durable backing for the bookshelves. The backings that come with the IKEA shelves are flimsy and trifold, so I replaced them with an inexpensive continuous MDF sheet — but it wasn’t firm enough. After installing the shelves, the backing ended up moving around, which was a huge headache. I had to seal and glue the backings from the front, adding an extra two days to the project. It turned out okay in the end, but I really wish I had gone with a ¼ plywood backing for better stability and sealed it from the back before attaching it to the wall.
Did you try out any new tools for the first time during this project? How did mastering them influence your approach to future builds?
Before this project, my experience with power tools was quite limited, mainly just sanding and drilling. My dad's multiple warnings about the dangers of nail guns and power saws made me nervous at first. I watched a ton of safety videos on YouTube for the proper techniques, and after my first cut with the circular saw, I thought, “Oh! What? That wasn’t hard at all!” From there, it was easier to pick up the next tool. Using a nail gun was so satisfying, and I also enjoyed learning which hand tools were the best choices for various small fixes, like my new go-to: the oscillating multi-tool.
A crucial piece of advice from my dad was to remove the battery or unplug the tool whenever I wasn’t actively using it. It took a moment to form that habit, but it helped my overall sense of safety while experimenting with these tools.
In past DIY projects, I learned niche skills and walked away thinking, “Well, I guess I learned that, but when will I ever need it again?” But building a woodworking foundation with power saws has made me feel infinitely more capable, like these skills are more adaptable and flexible for future projects.
There’s a deep sense of self-reliance and independence that comes with envisioning an idea and bringing it to life with my own two hands. This journey has instilled a confidence that flows into other areas of my life. Like if I can tackle the intricacies of woodworking, I can face any challenge head-on. It feels like so many mental doors have opened, and my bigger ideas I never thought I could do myself are finally within reach. I always have a long list of what I want to tackle next. But this time, I know I’ll approach them with much more efficiency and confidence!
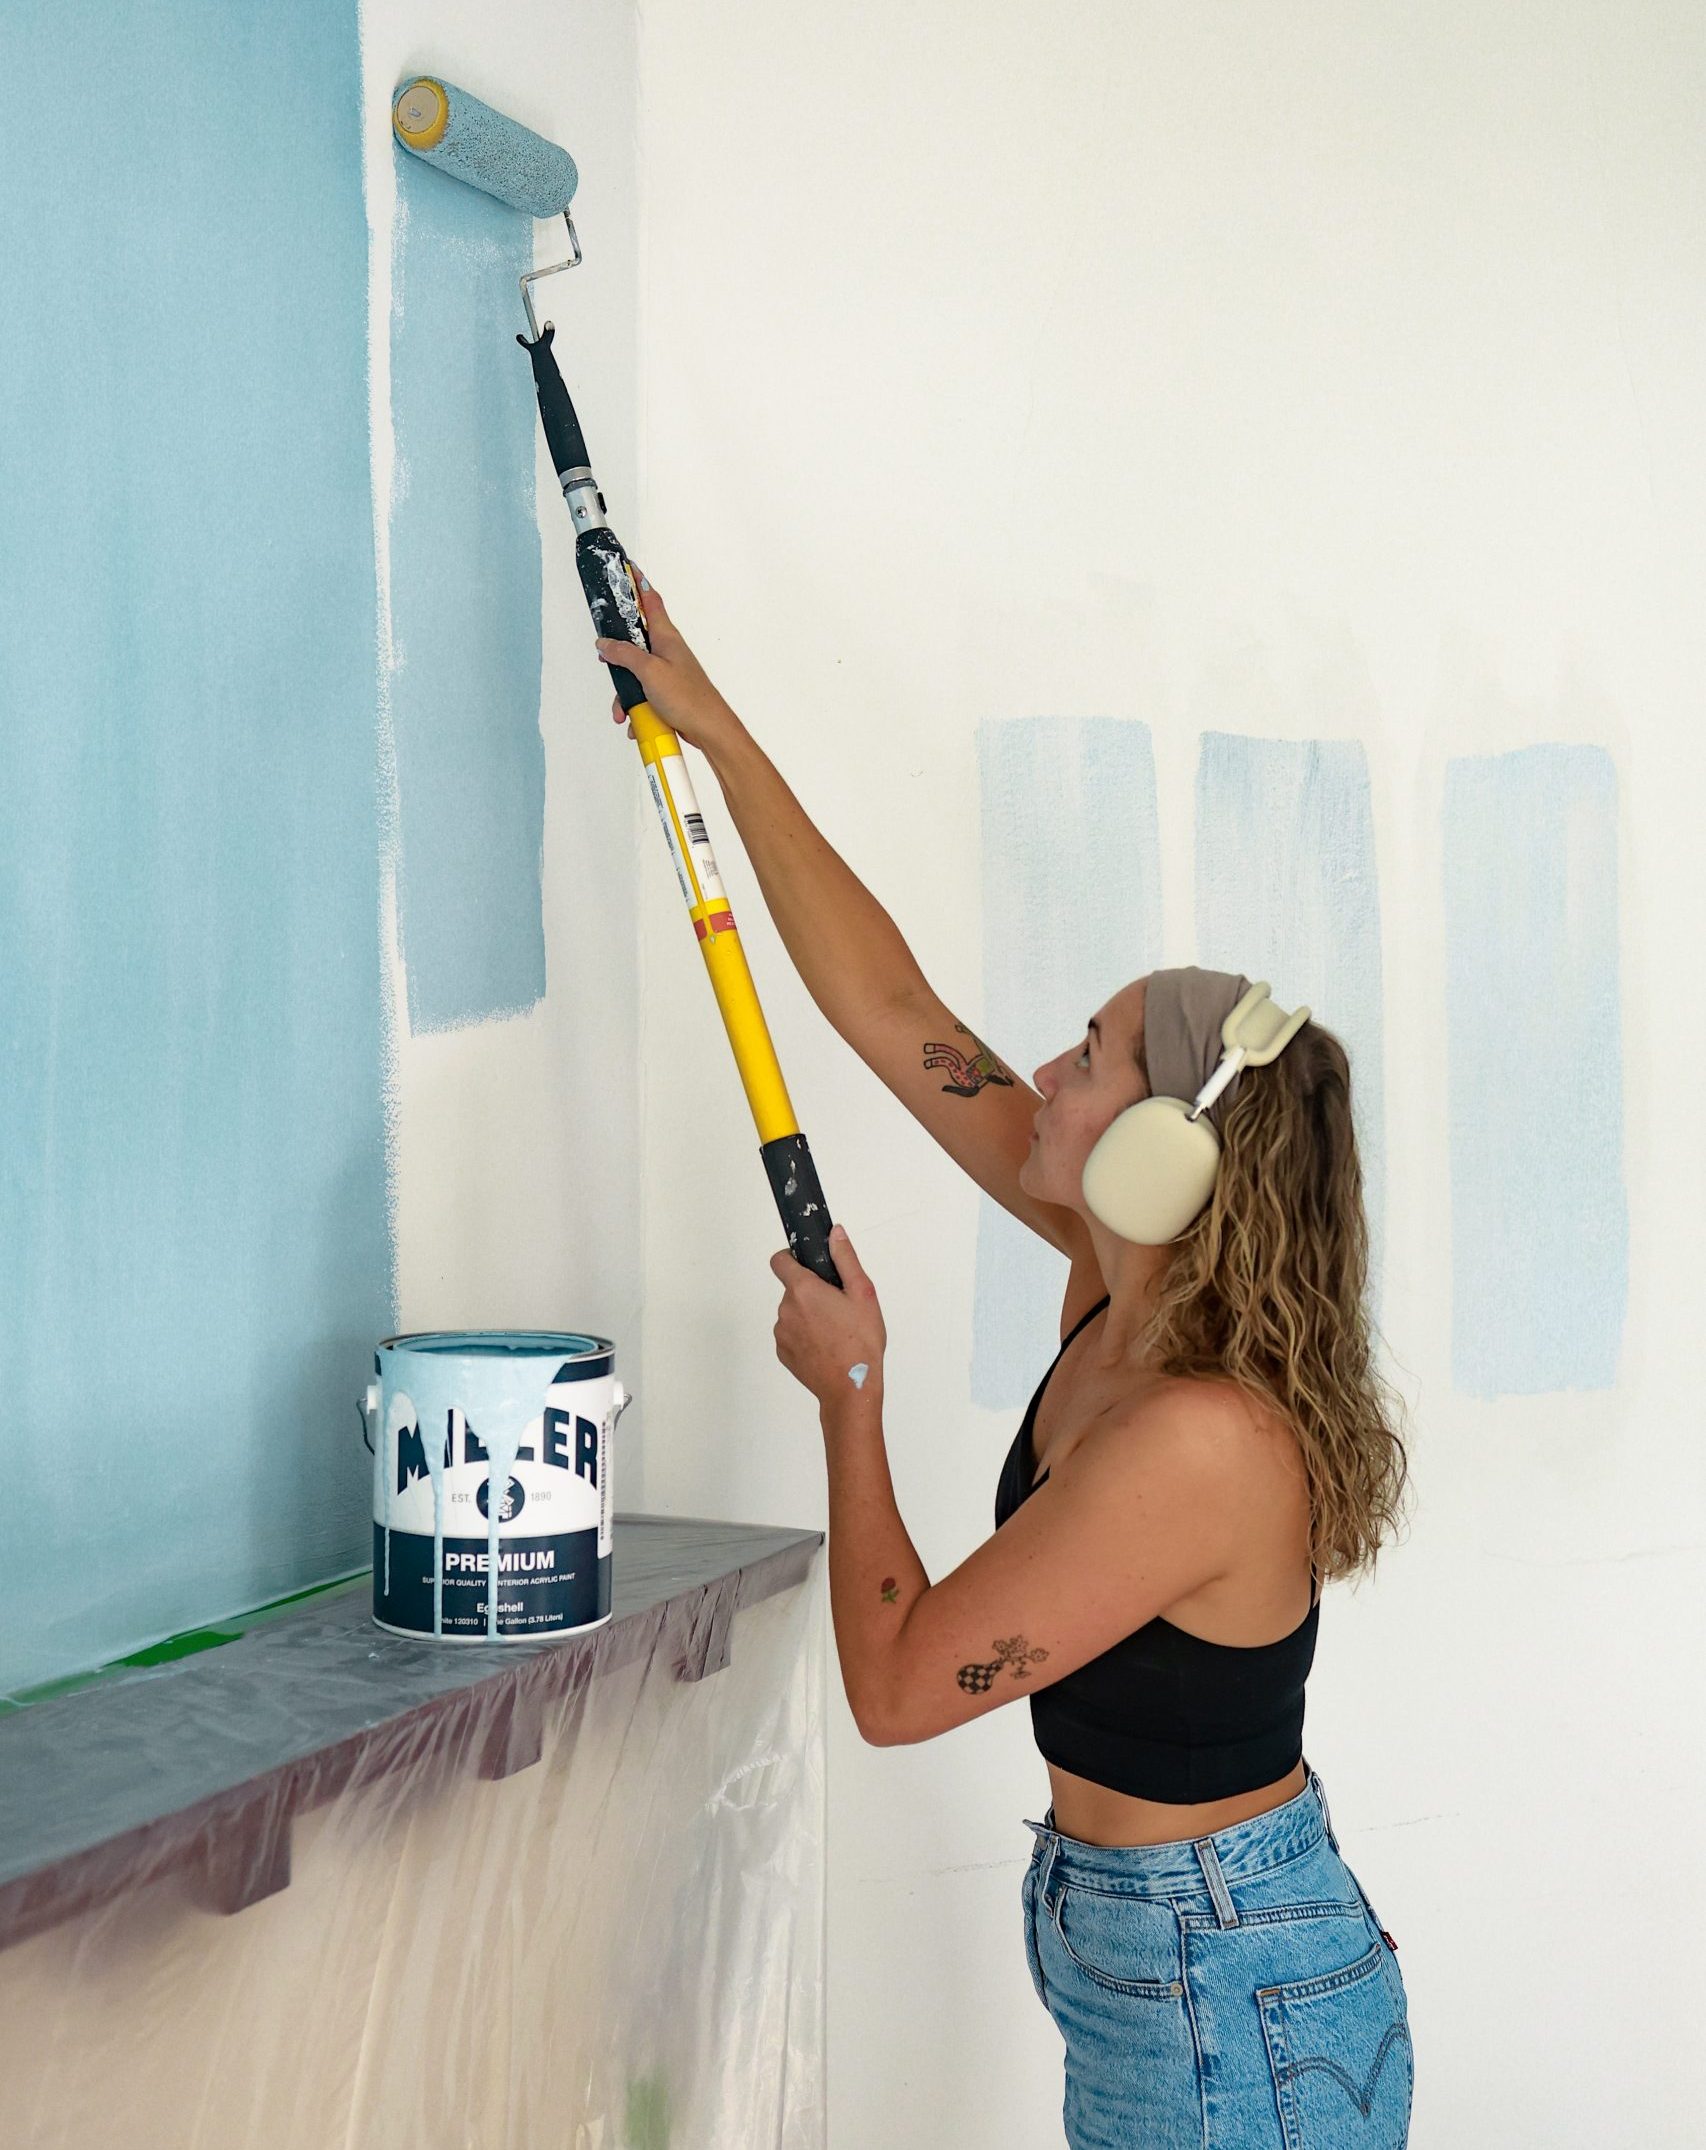

Building the bookshelf was a project in itself, but painting the entire room took it to the next level! How did the new paint color transform the overall vibe of the space? Did the final result match what you had envisioned?
The transformation felt like a night-and-day difference once I finished color-drenching the room. Our house was blasted with off-the-shelf stark white paint — a safe choice, but it lacked warmth and personality. I was eager to add color to breathe life into the room. Initially, when I spray-painted just the bookshelves, I was stoked to see the change. But I was nervous that it felt somewhat out of place, standing alone against the stark white walls and ceiling rather than harmonizing with its surroundings.
After finishing the color drenching of the walls and ceiling, everything clicked into place like it was meant to be. Now I’m fixating on how this gorgeous blue room interacts with the adjacent living room, which still has its bare white walls. I'm excited to continue exploring color and how I can blend these two spaces into a cohesive flow.
What’s your favorite feature of the finished project? Is there a detail or element that you think really elevates the space?
My favorite feature of the final look has to be the fluted trim I added to the face of the bookshelves, along with the thick crown molding at the top. It infused the built-ins with a sense of historic and traditional charm that makes them feel as if they could have been part of the original build of my 1906 home.
While I’m lucky to have a house still filled with most of its character, there are still areas that were stripped of its original details over the years of renovations. Adding classic elements in the trim was a deliberate choice to honor the home’s history, while still bringing in a modern touch with the color-drenched blue. As I continue to decorate and renovate other rooms, my main goal will always be to respect the original era to bring back any charm and character that’s been lost, while still incorporating fresh perspectives to blend it with my personal style.
What advice would you give someone who’s considering taking on a similar DIY project? Any tips or tricks you learned along the way?
There are so many ways to bring built-ins to life, no matter your experience level. While I spent extra time learning new techniques and invested in tools I plan to use for future projects, there are definitely simpler, more accessible ways to create a custom library look — some that could even go as far to be renter-friendly. One of the coolest parts about developing a base foundation of DIY skills is learning how different tools can accomplish the same task. For example, there’s a wide range of tools at different price points that you can use to cut down trim. You can invest in a full workbench setup with a $250+ miter saw, use a $70 handheld circular saw, or if you're on a budget, grab a $10 miter box that comes with guided angle cuts. You’ll get the same result, just with a little more elbow grease in each cut.
Another great tip is to take advantage of in-store resources to reduce time and tools needed. Both Home Depot and Lowe's offer services like cutting larger sheet materials in-store at the back of the lumber aisle — this was a huge help when I needed my bookshelf backings cut to an exact size. If storage is an issue or you need to invest in a full collection of tools, renting from these stores is a great option.
But the biggest piece of advice I can offer is to be patient and sit in the planning phase for a while. Before diving in, spend time ideating, researching, and nailing down what works for your skill level, budget, and time constraints. My social life and free time took a big hit during this project, so decide if you want to knock it out quickly with help from extra hands, or if you’re okay with materials scattered around for a few weeks while you pace yourself. Either way, it’s all about finding what works best for you!

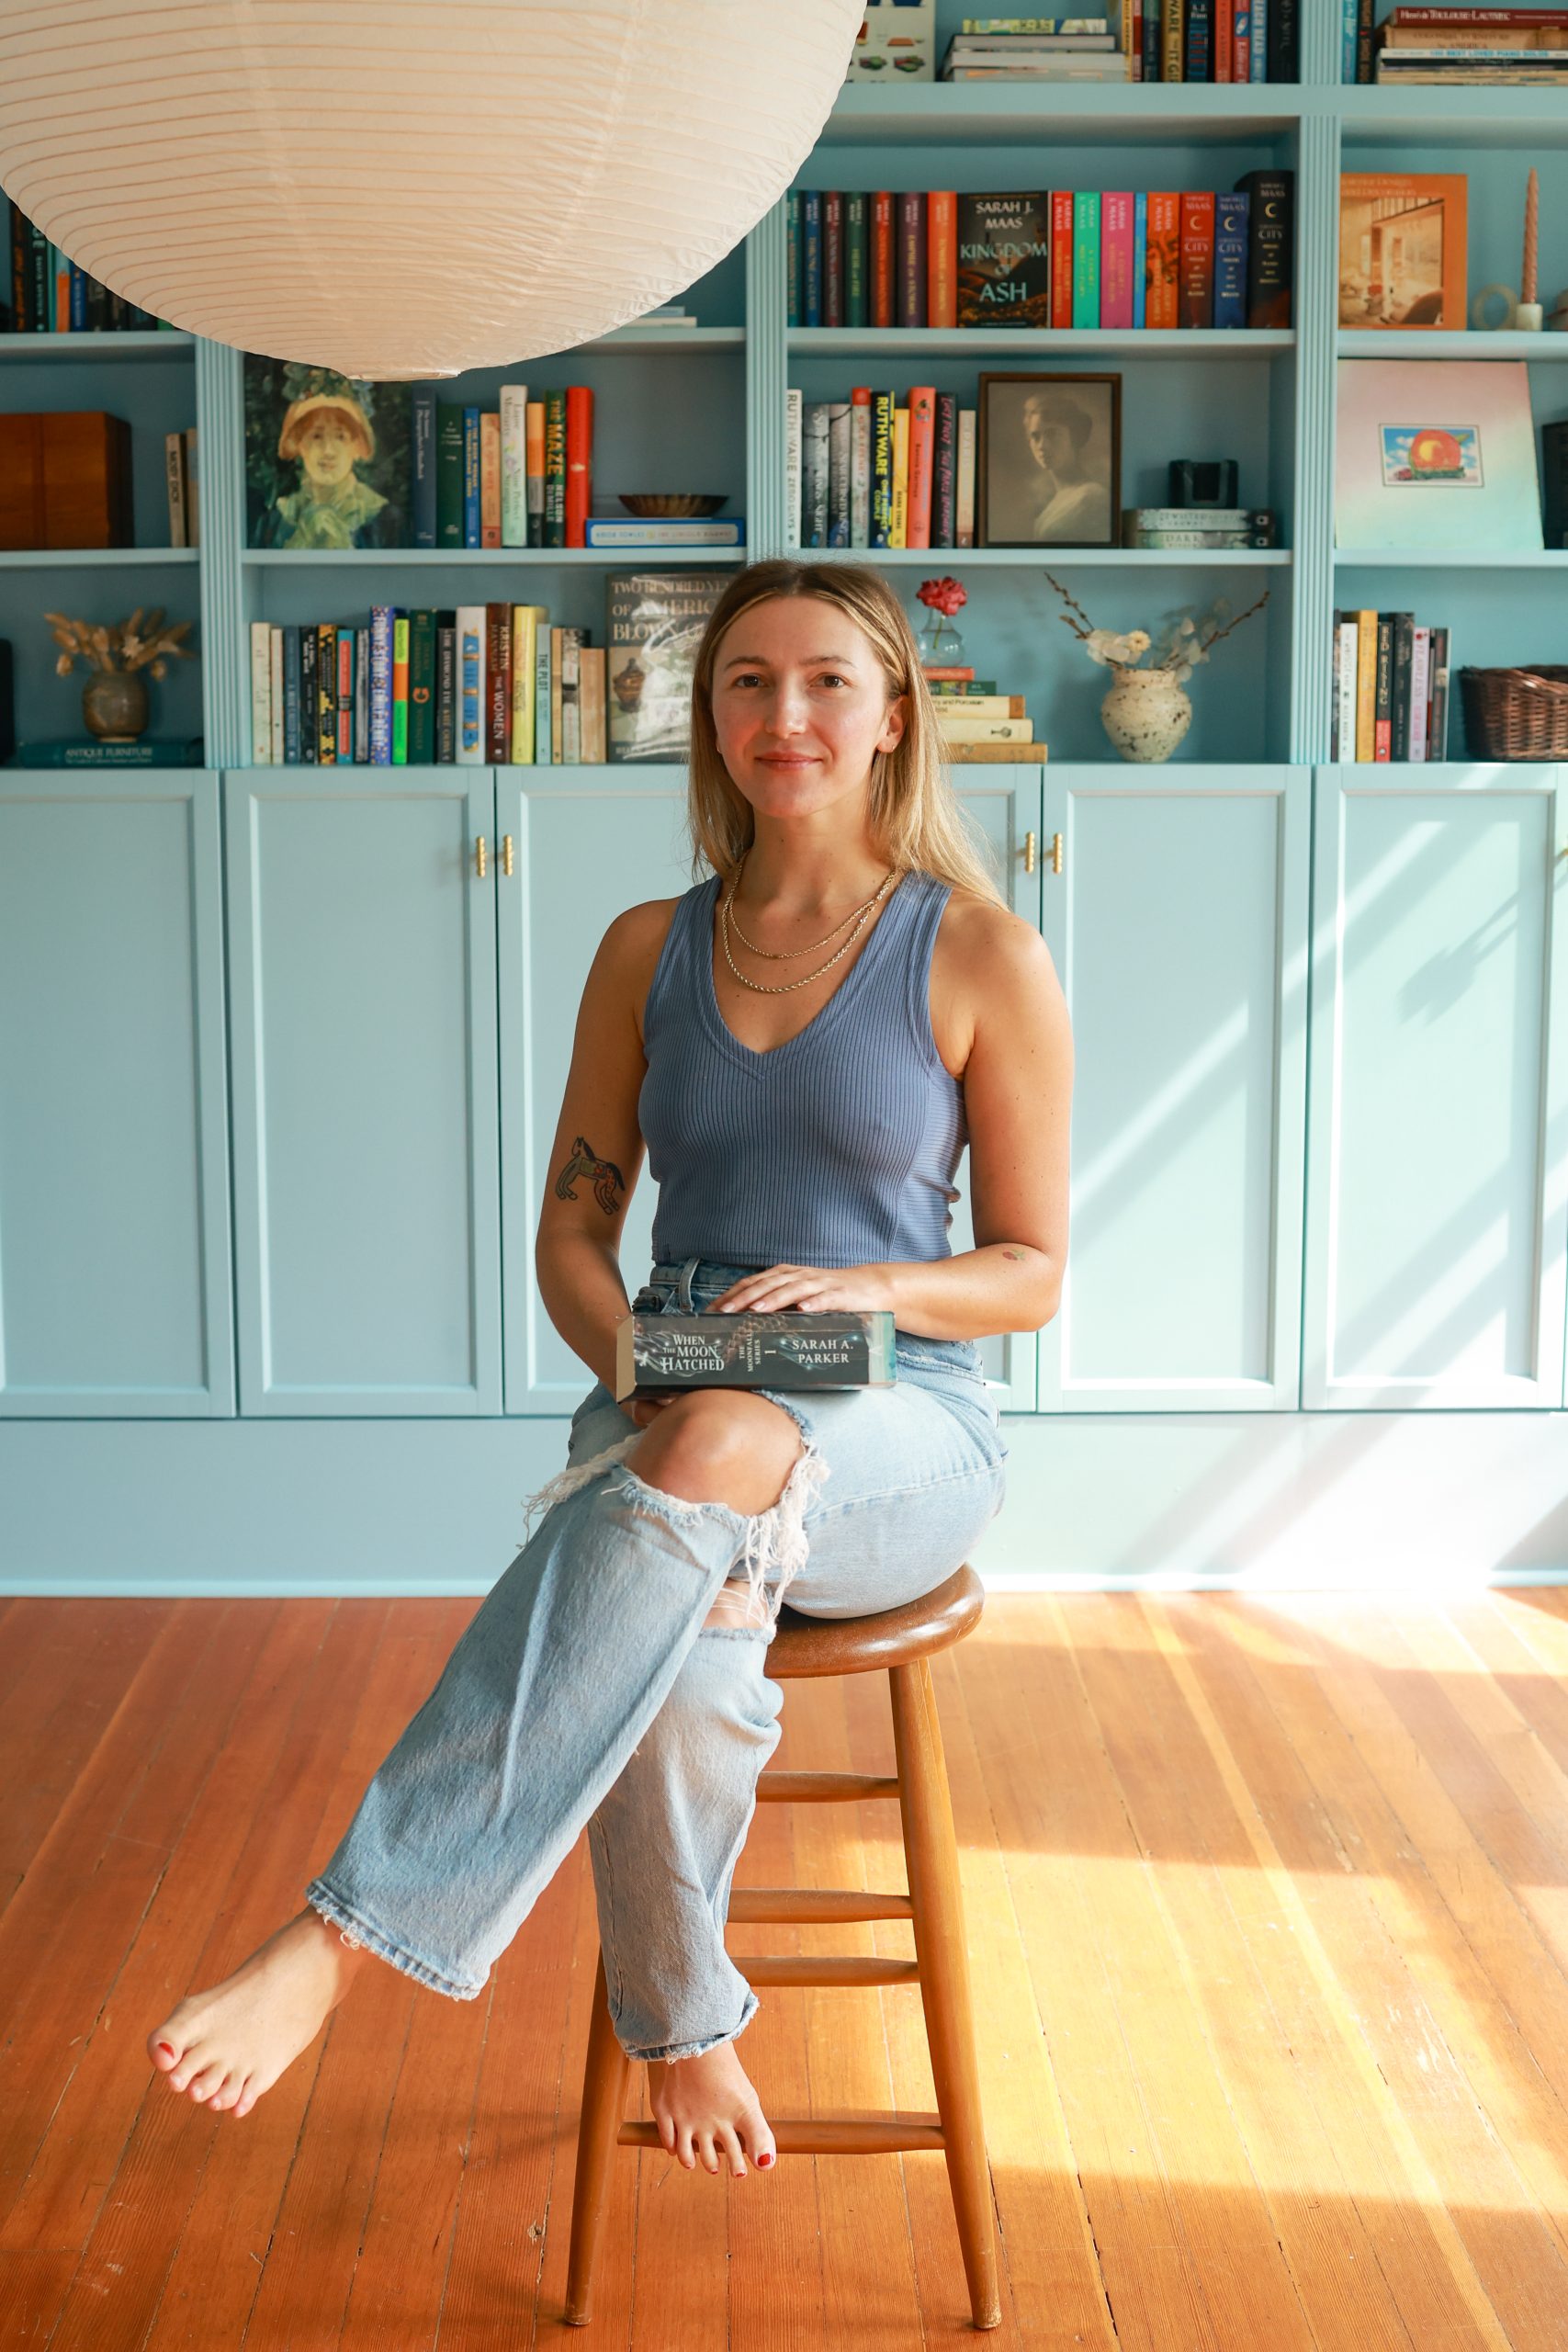
Now that the project is complete, how do you feel when you walk into the room? Does it inspire new ideas for future projects?
Every time I walk into the room, I can’t help but stop and stare at the bookshelves with my hands on my hips, still amazed that I pulled it off with such little prior experience. It’s such a rewarding feeling and definitely fuels my motivation to keep tackling other rooms. I have the typical laundry list of to-dos, but thankfully nothing as ambitious or time-consuming as these built-ins.
We’ve lived here for two years now, but I’ve been “slow decorating” as time and savings allow. A lot of the rooms are filled with what we just already had on hand, plus a new piece here and there, but they don’t feel intentionally curated just yet. I’m always setting higher expectations for myself as I lean more into DIY and interior design, so I still see many of my spaces as incomplete.
I’m especially excited to keep adding color throughout the house, to craft a cohesive color story that ties everything together. I feel re-energized to bring them to life with a renewed sense of creativity.
Where can we follow along with your projects and stay updated on what you’re working on next?
You can follow along with all of my projects on my TikTok account, @karamcswain. However, after seeing the needs of other beginners eager to learn in the comments, I’m really inspired to dive into YouTube and potentially start a blog of my own to provide a variety of educational materials that will cater to different learning styles. Stay tuned for more!
Photography by @karamcswain
