PAINT THIS: The Perfect Arch
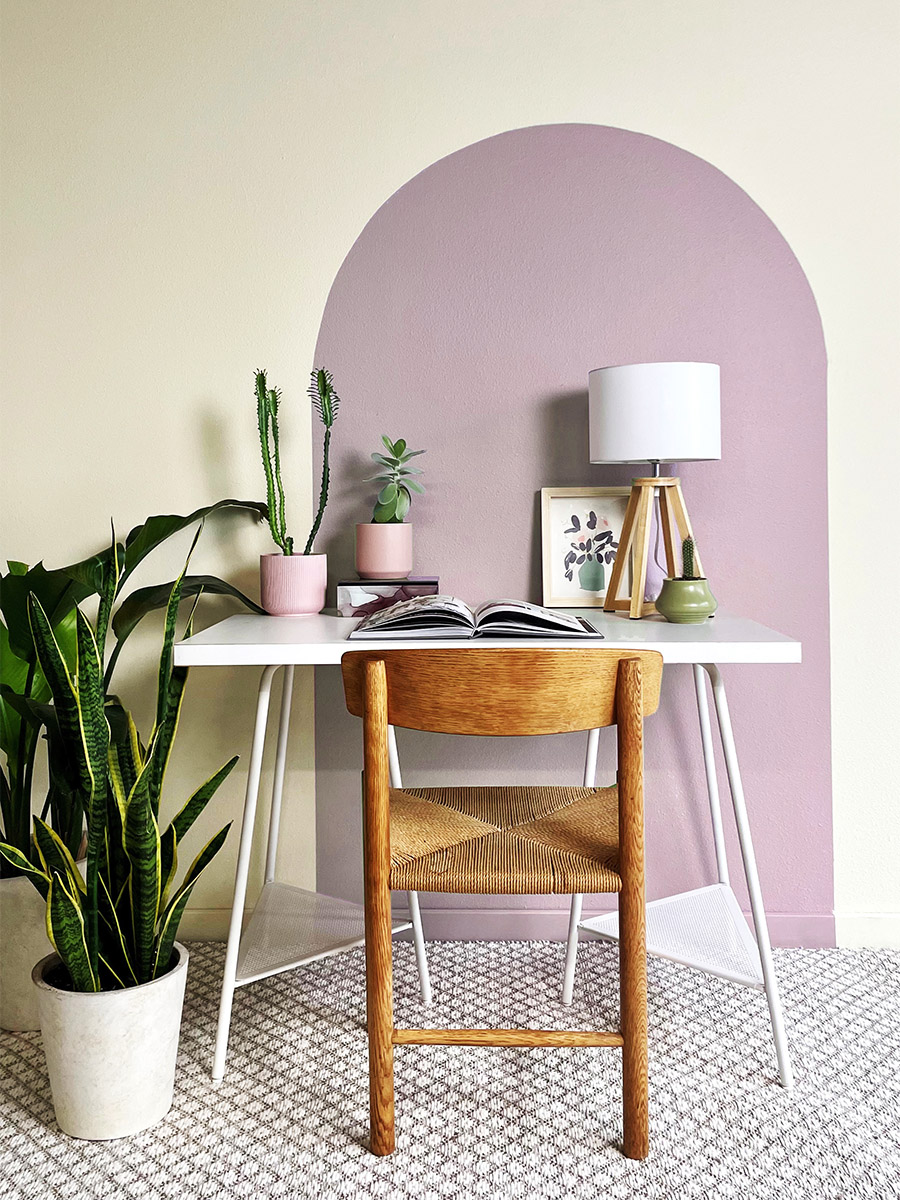
Create a colorful boundary around your workspace by painting the perfect arch. This simple DIY will set your office apart from the rest of your home or shared workspace — and might even make Monday mornings better!
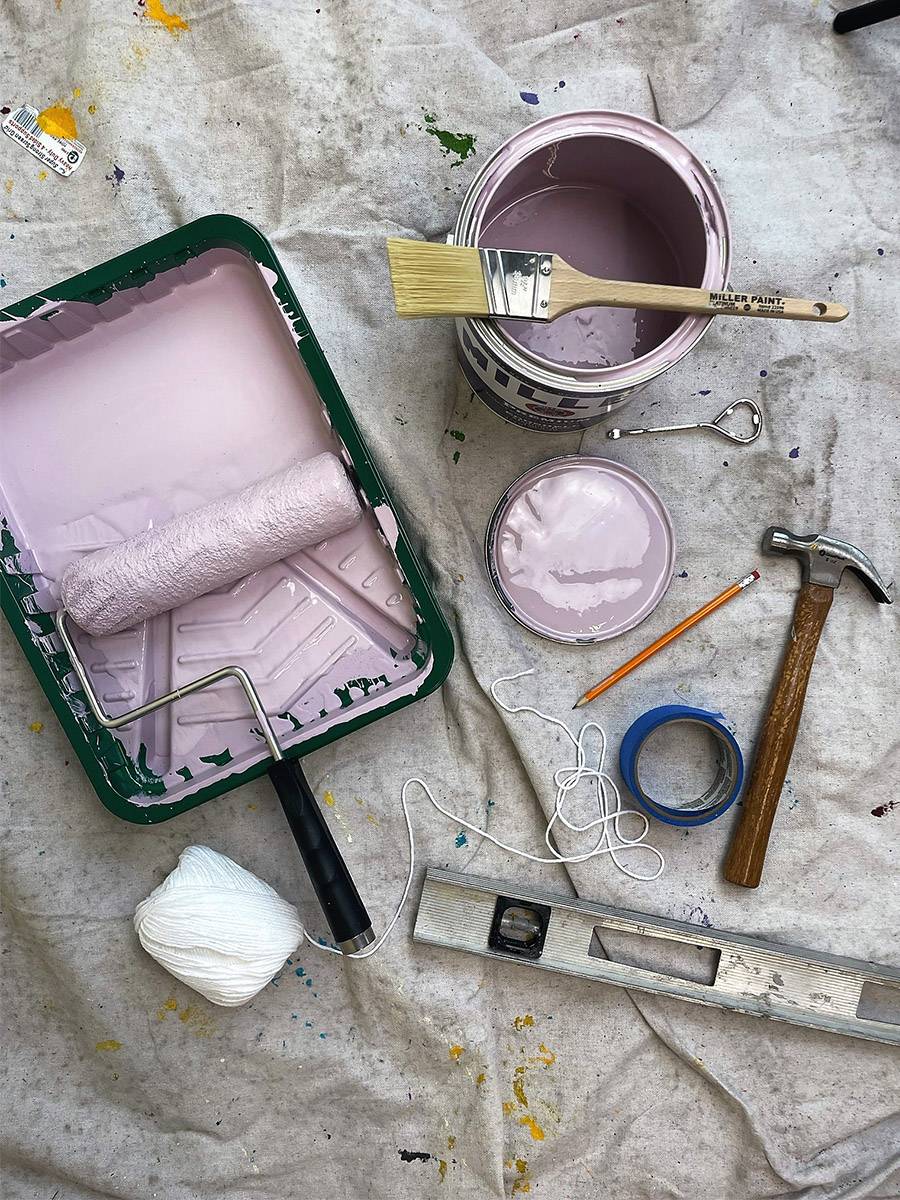
What you will need:
- 1 qt Desireé | 1219 Premium Eggshell
- Level
- 3/8” roller cover, handle, and tray
- String
- Pencil
- Blue painter’s tape
- 1.5” angle brush
- Drop cloth
- Tape measure
- Hammer and nail
How to:
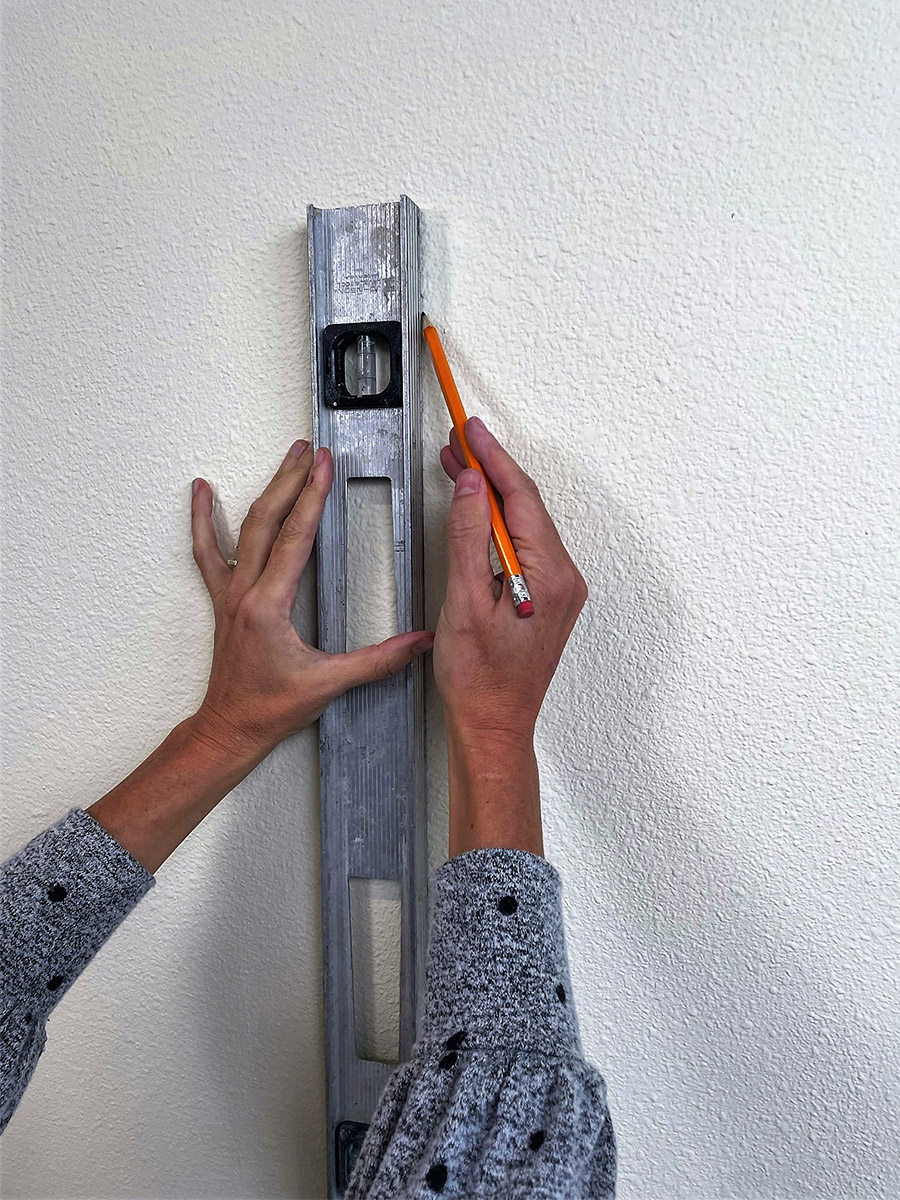
1. With a tape measure, determine how tall and far apart you want the vertical lines of your arch to be. On our arch, the vertical lines are 48” tall and 42” apart. Using the level, draw the lines down and cross.
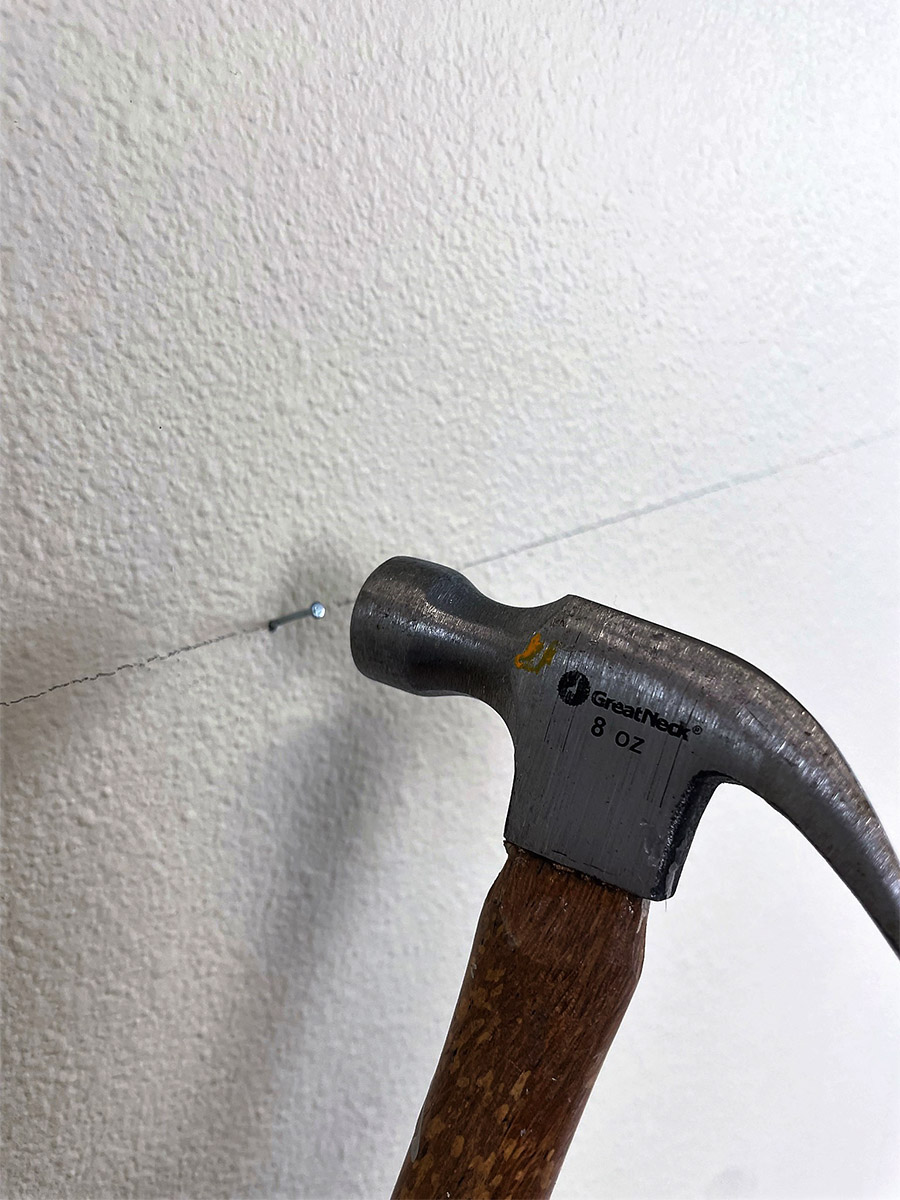
2. Find the center between the vertical lines and mark with a pin or nail. Measure the length from the nail to the edge of the arch. This is radius of the circle that will become the arch. In our design, our radius is 21”.
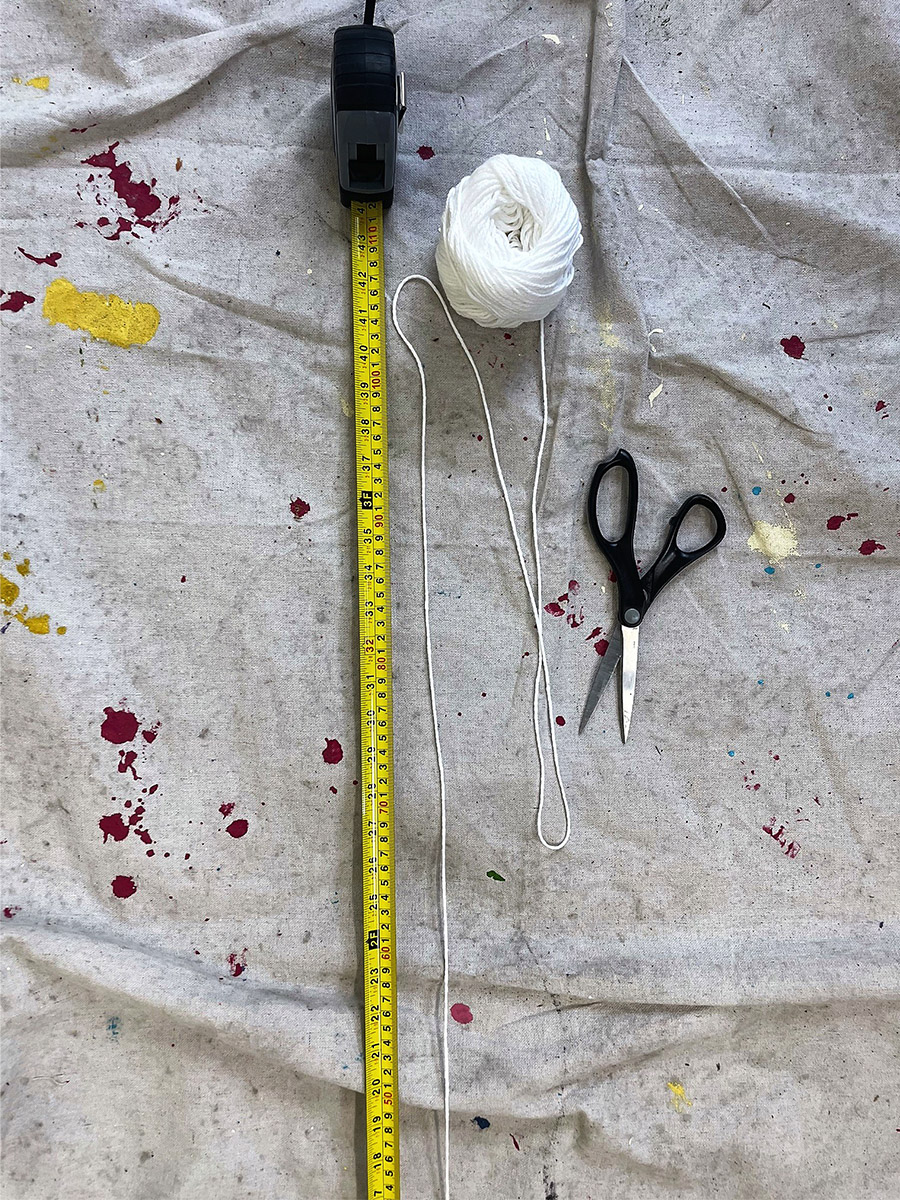
3. Cut a piece of string that is a few inches longer than the entire length across. Fold it in half and tie at knot at the measurement of the radius. In our design, we tied the knot at 21”.
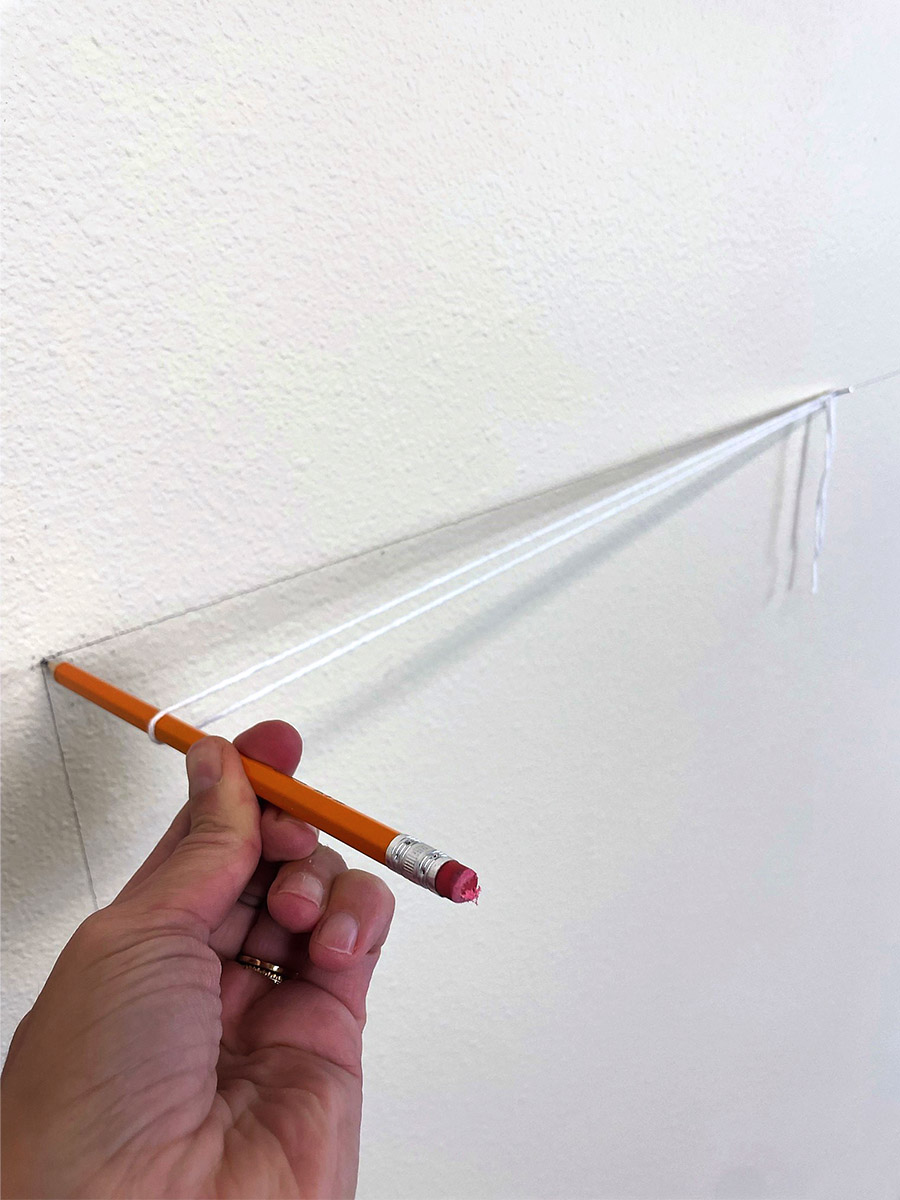
4. Attach string to the nail and position a pencil within the loop. Stretch to the edge of your vertical line.
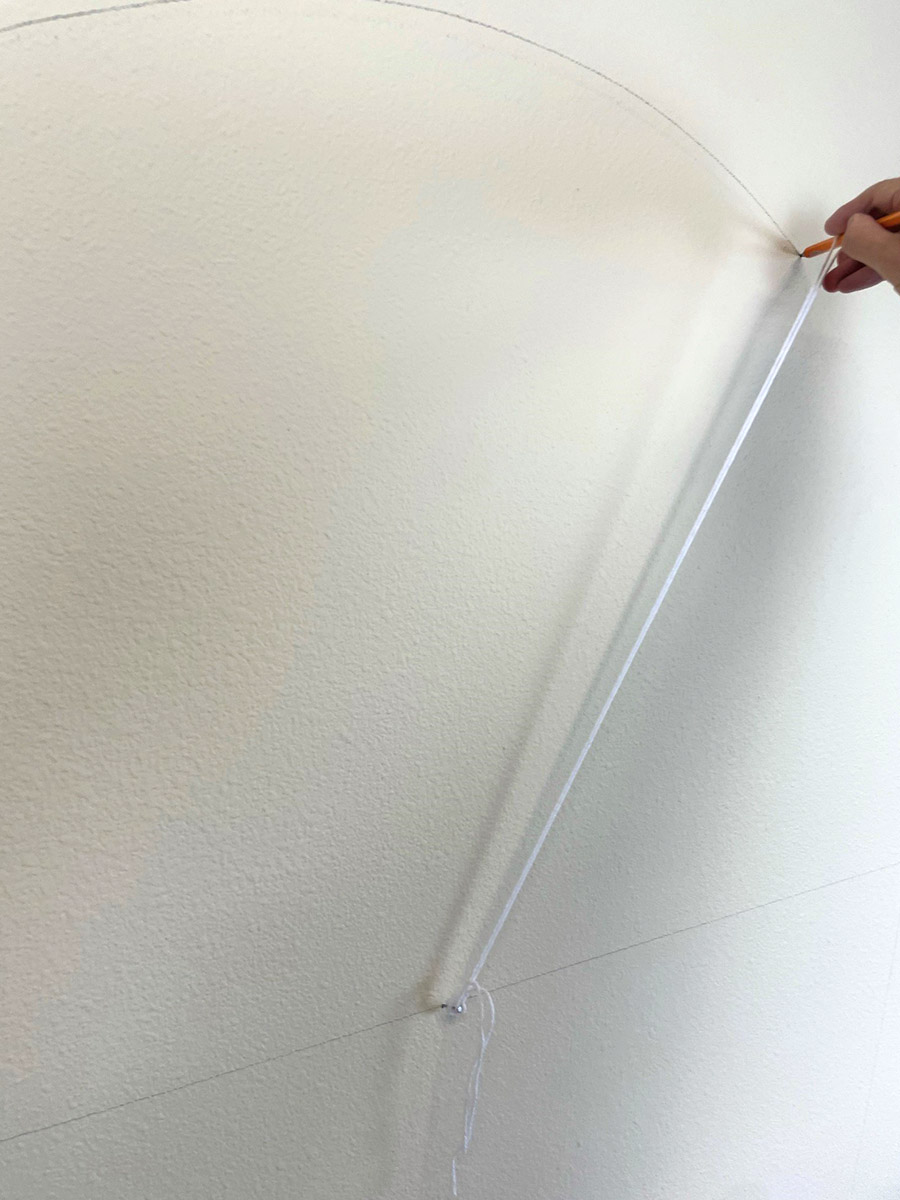
5. Pull on the string and draw a semicircle that connect to the other side. The outline of your arch is complete!

6. Using blue painter’s tape, tape off the straight lines of the arch. Remember to seal the inside edges of the tape with the existing wall color for perfect lines. In our design, the existing wall color is Ivory Parchment | 0300. For a modern look, take the arch all the way down onto the trim.
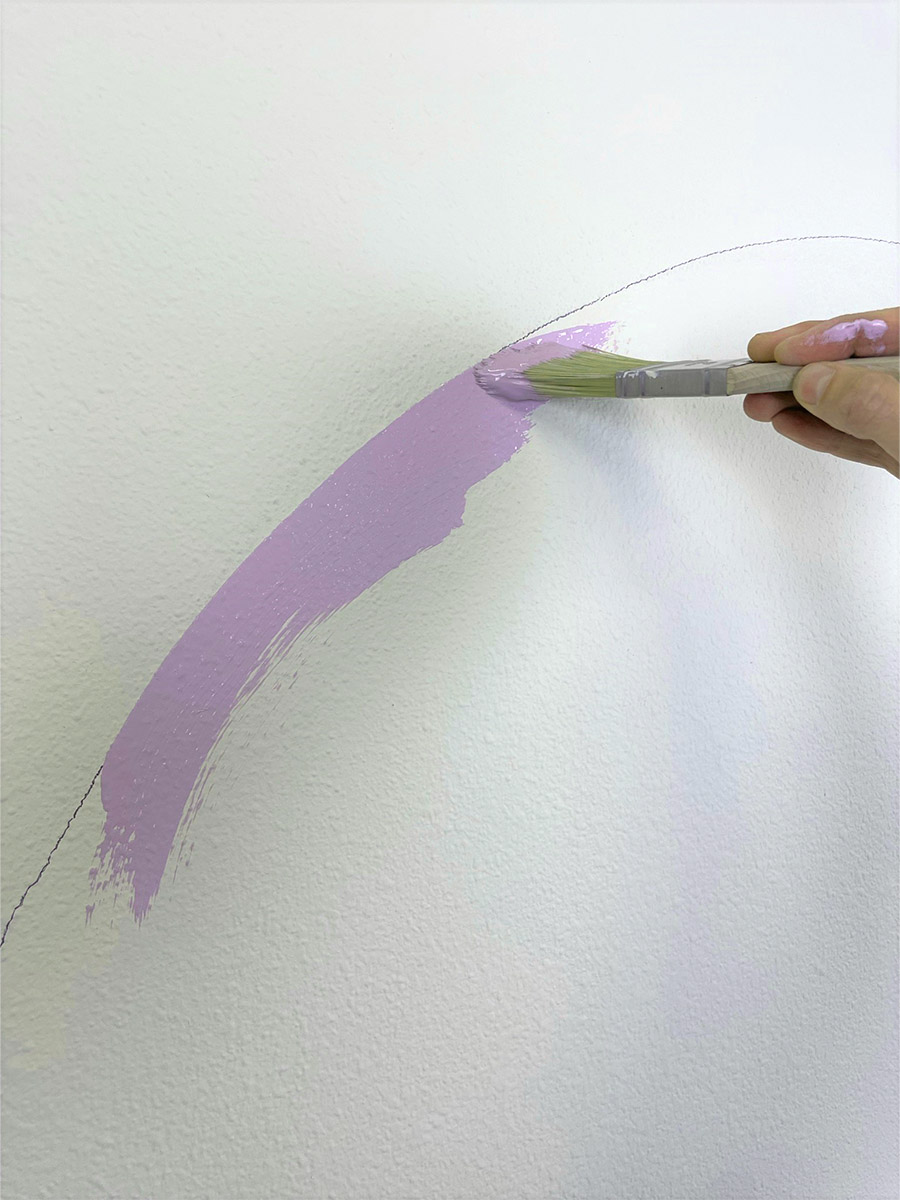
7. Using a 1.5” angle brush, cut in the arch pencil line.
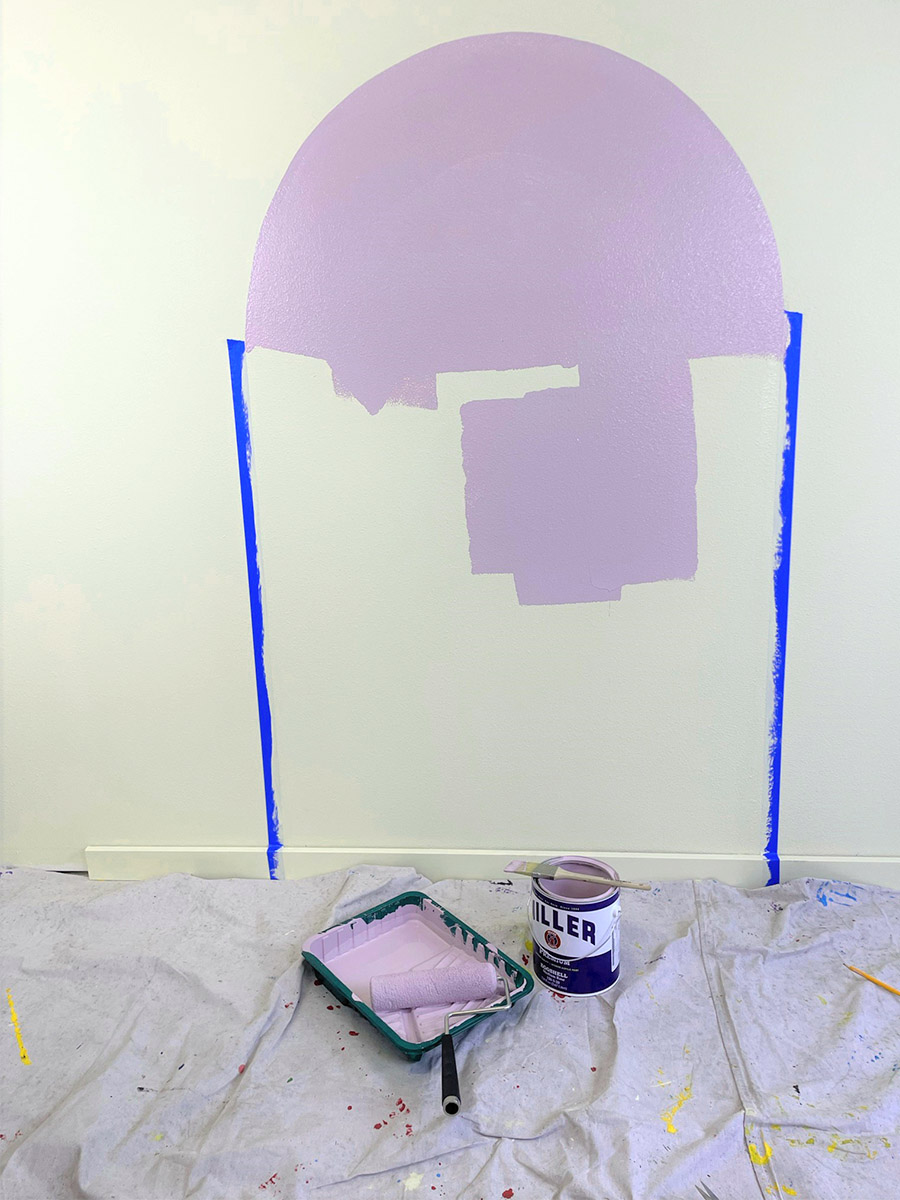
8. Fill in the arch with a roller. Let dry and apply a second coat if needed. Remove tape.
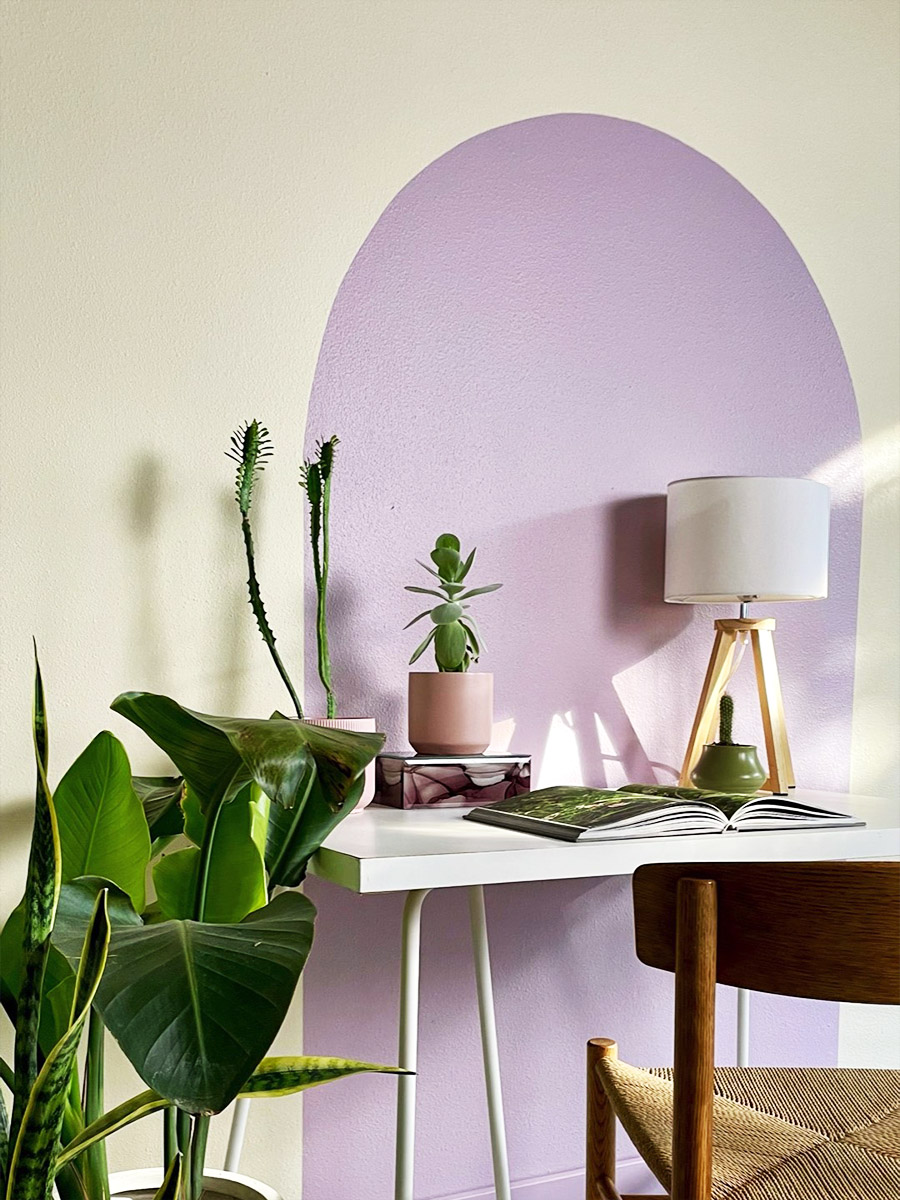
9. Voila! Time to style your new home office and get back to work!
