PAINT THIS: Colorful Wainscoting
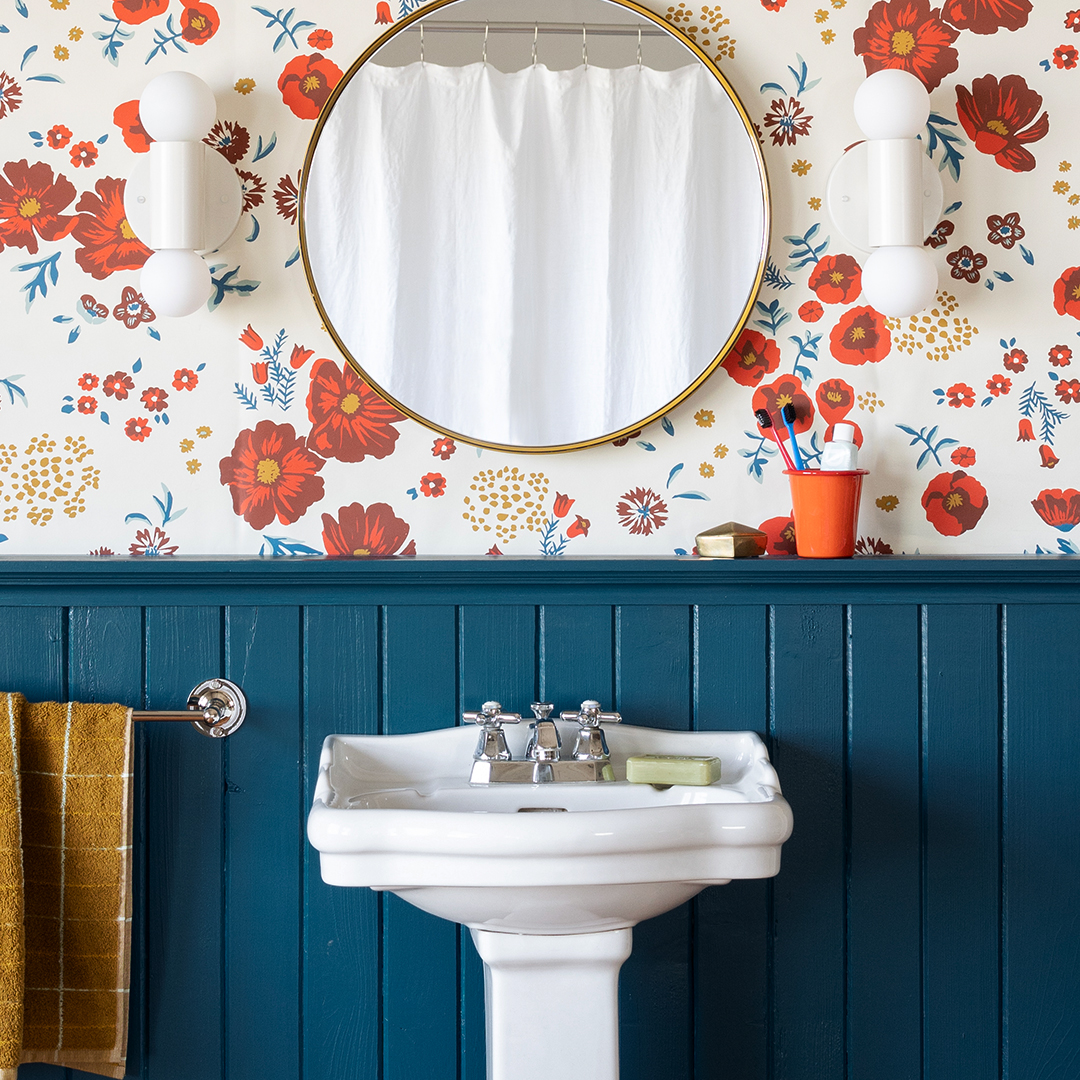
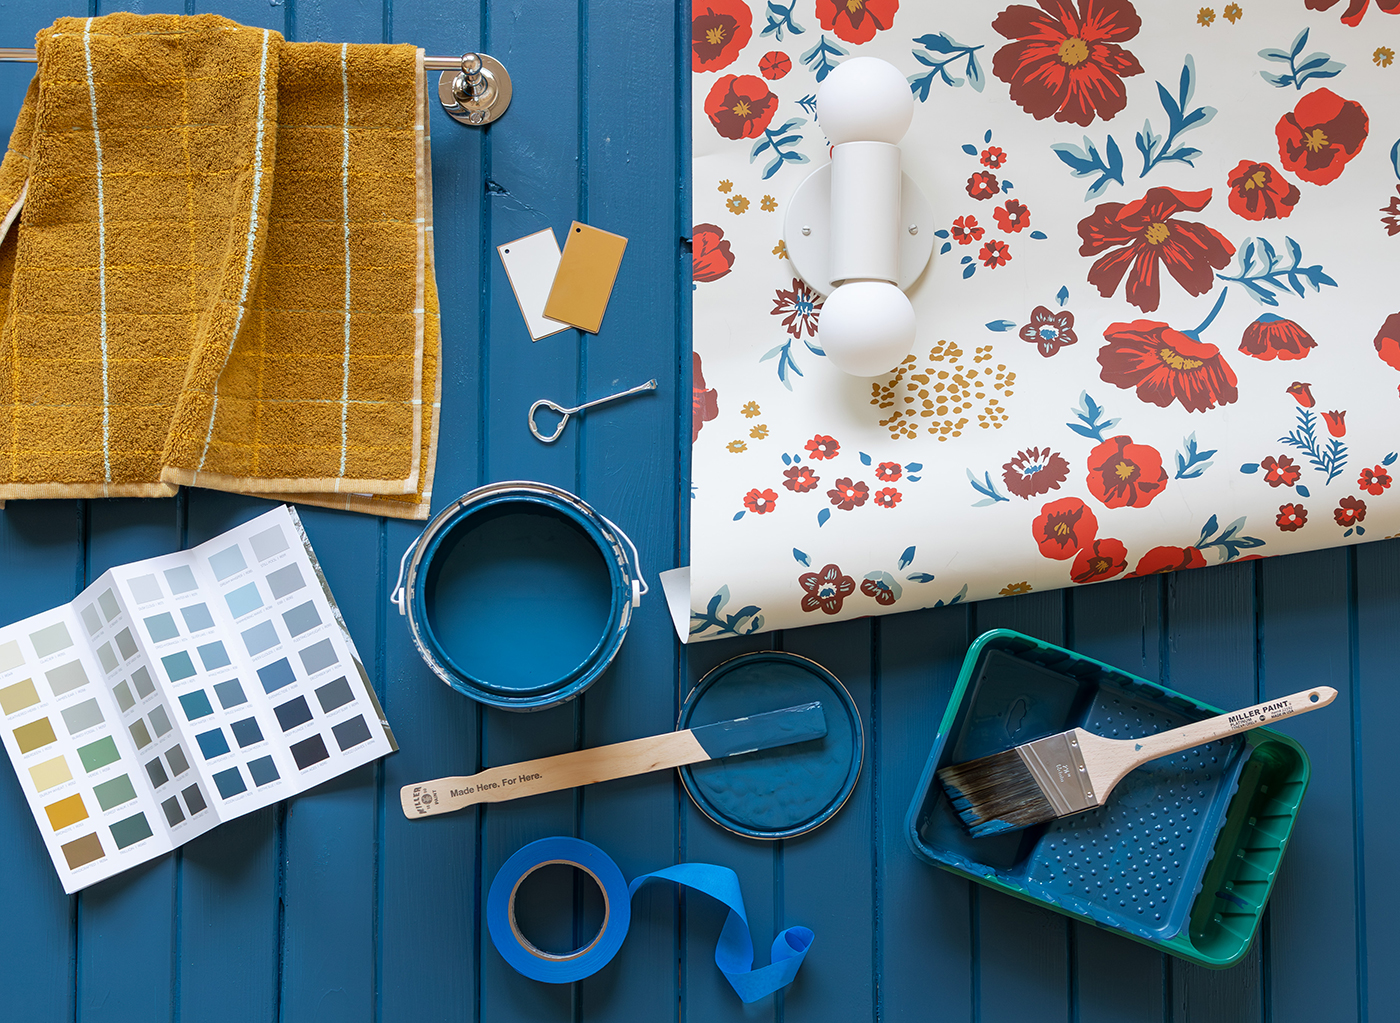
Painting wainscoting a statement color like Stellar Feather | R077 as an alternative to white can transform a space by highlighting the architectural detail in a home. Adding patterned wallpaper like Schoolhouse’s Cascade Meadow - Primary can take a room to next-level colorful! Read on for step-by-step instructions for how to get a quality paint job that looks just like a pro did the job with Puji Sherer.
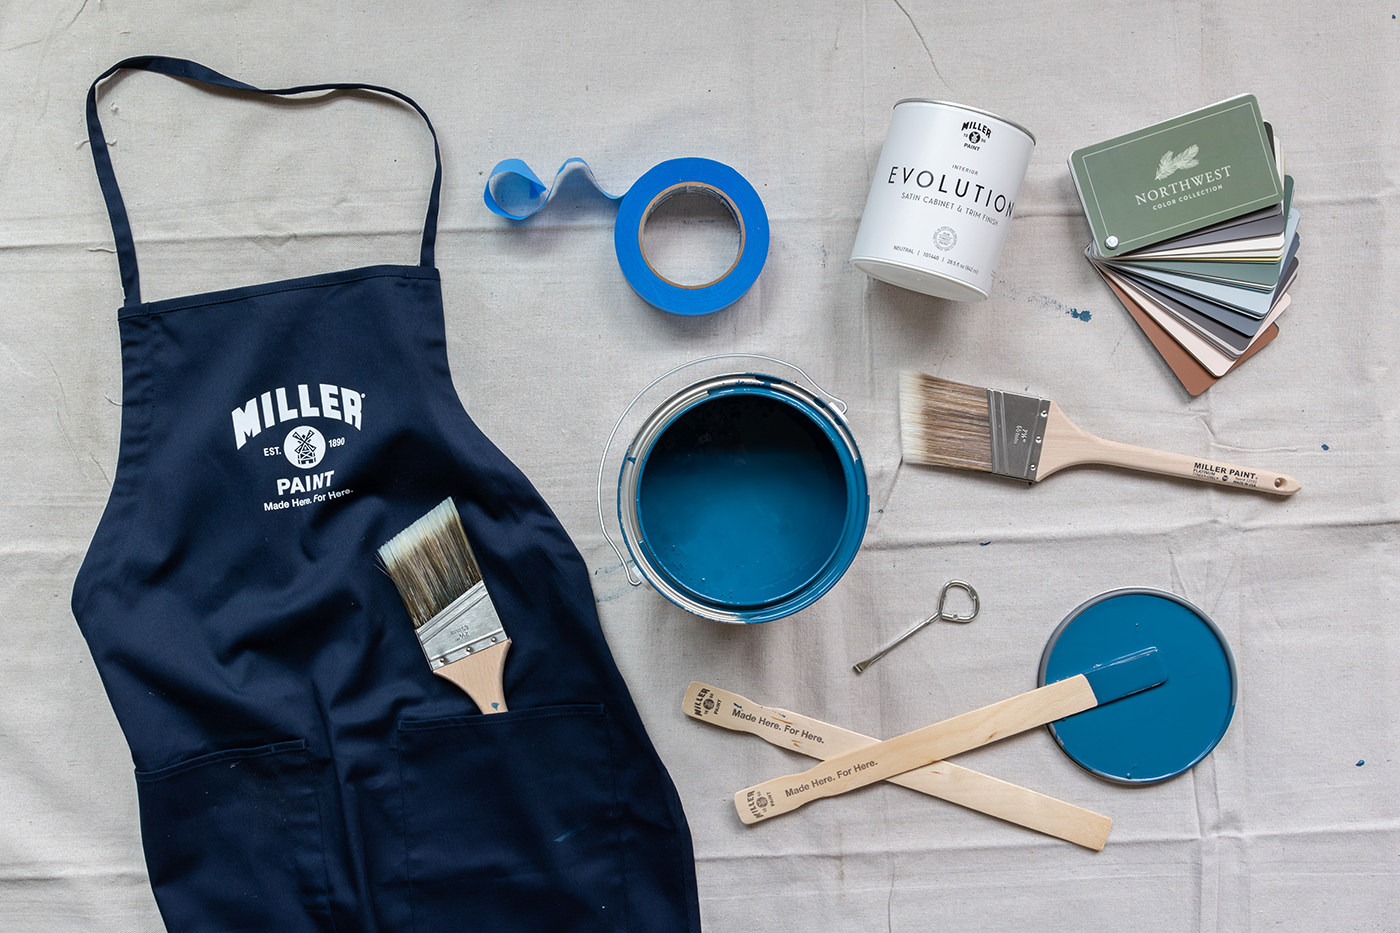
What you will need:
- Blue painter’s tape
- Drop cloth
- 2 1/2” angle brush
- Paintable caulking
- 200 grit sandpaper or medium/fine sanding sponge
- Dust mask
- Spackling paste
- Foam or shed-resistant mini roller
- Paint tray
- Soft rags
- Primer
- Evolution Interior in Cabinet & Trim Satin or Semigloss finish
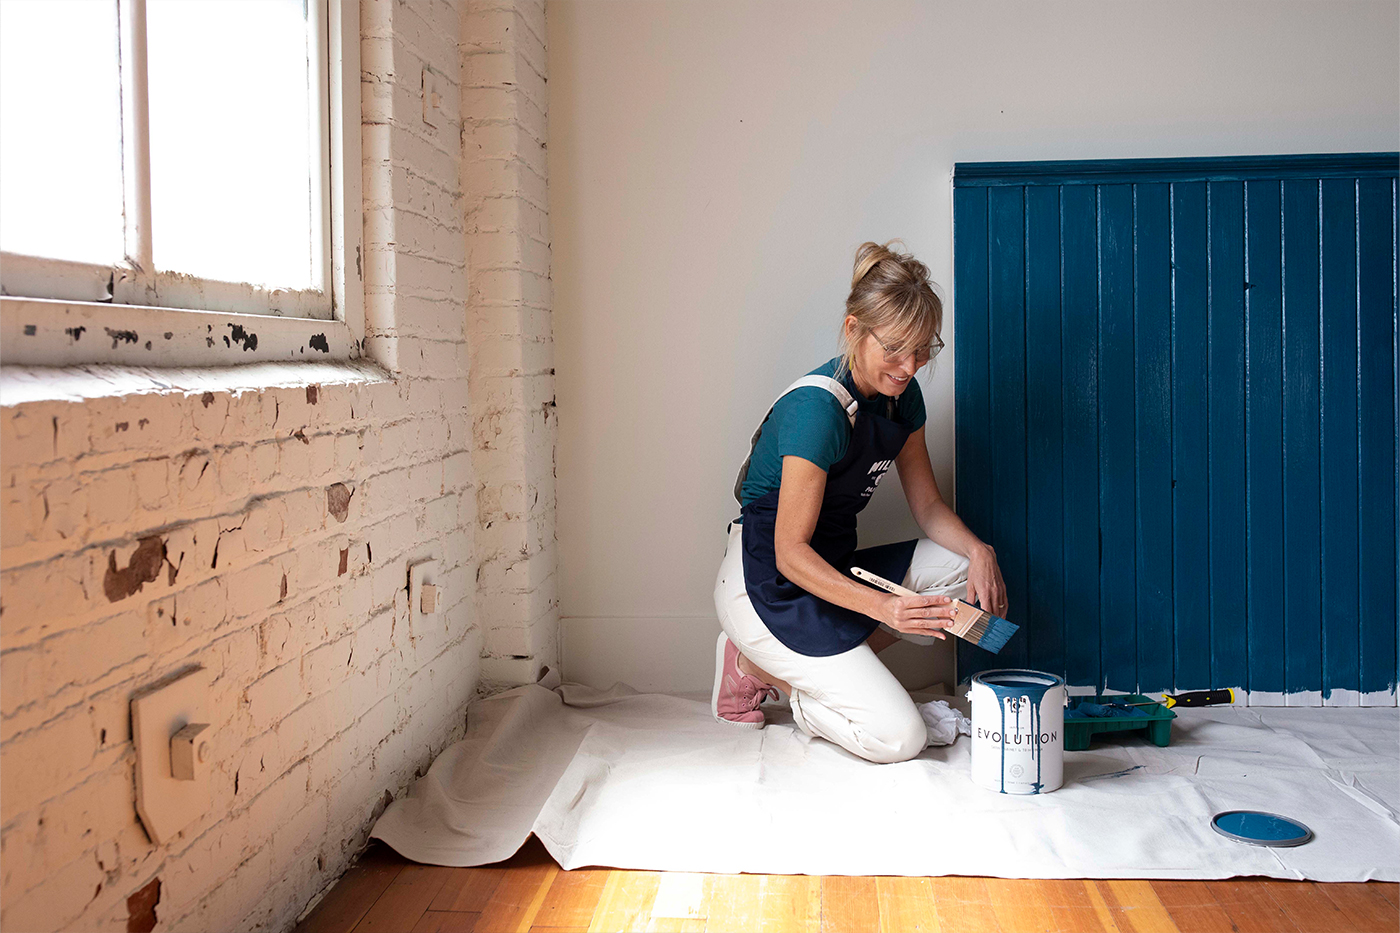
One of the most important parts of painting is the prep. See below for the first steps to an awesome paint job.
- Protect the floor by putting blue painter’s tape along the bottom of the baseboard. Cover with drop cloth .
- Clean surfaces to be painted with mild cleanser or TSP to remove oils and contaminants.
- Patch any nail holes using spackling paste.
- Sand spackle residue using 220 grit sandpaper or a fine/medium sanding sponge. Wear a dust mask for protection.
- Degloss any shiny surfaces to ensure proper adhesion of the topcoat. A bonding primer may be required for surfaces previously painted with oil-based paint.
- Vacuum dust from walls.
- Caulk any cracks or seams with paintable caulking. PRO TIP: cut tube at an angle with a 1/8” opening. Use a damp cloth to wipe any excess caulking.
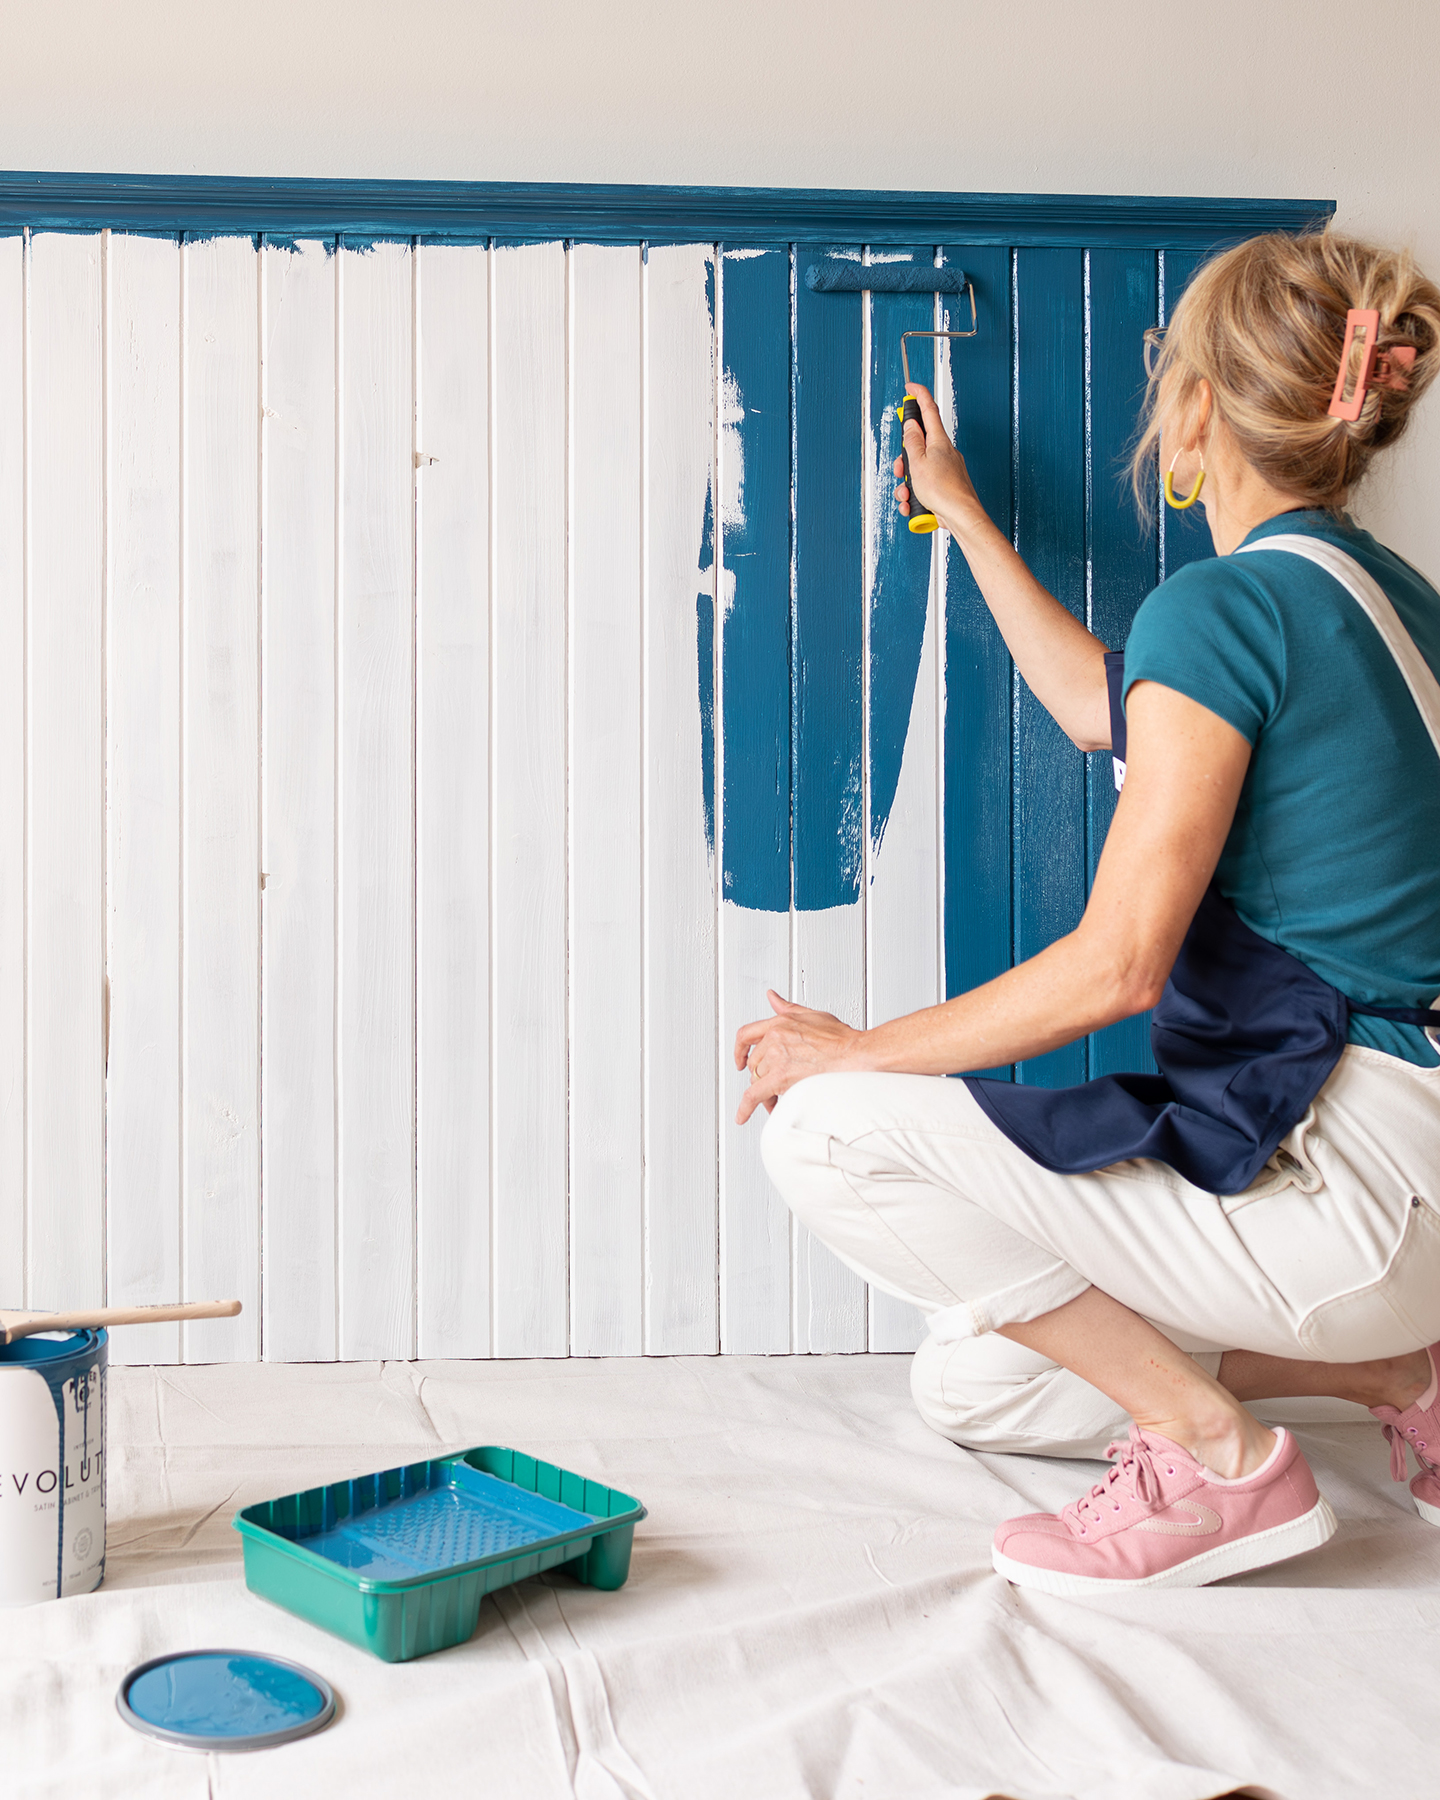
Now you are ready to paint! Below we give you all the information you need to make your paint project easy and fun! Keep an eye out for our PRO TIPS to make your finished project look that much better.
- When painting wainscoting, it is important to work from top to bottom.
- Start by painting the top lip of the wainscoting using the 2 1/2” angle brush. Watch for drips and if they appear, use a dry brush to wipe.
- Roll paint onto the wainscoting in long, even strokes in a V-shape with the foam or shed-resistant roller.
- PRO TIP: Paint out a 2-3’ section. Before the paint starts dry, use your brush to do a finish stroke by puling the brush from the top of the wainscoting to the bottom. This will remove any roller stipple texture and create a high quality, hand-painted look.
- Wait until the wainscoting is dry to the touch to begin painting the baseboards.
- Using the angled tip, draw a line with the brush along the top edge of the baseboard to help prevent pooling paint.
- Finish painting the face of the baseboard with the brush.
- Apply 2 coats if needed.
You are almost done! Just a few more steps to finish up your perfect paint job.
- Allow paint to dry to the touch before removing the painter’s tape.
- PRO TIP: Pull tape away from the painted surface, not into it, to break the seal and make a clean line.
- Clean brush and tools with warm soapy water.

DONE!
Time to stand back and admire your great work. For more colorful projects, check out the Miller Paint blog.
