BEYOND THE BASICS:
Learn to Use a Paint Sprayer
Curious about using a paint sprayer but unsure where to start? We are excited to share insights from Kara McSwain, a Portland-based lifestyle and DIY content creator who has been transforming her 1900s Portland Four-Square home. Kara shares her journey, from choosing the sprayer for a professional finish to navigating the challenges and rewards of this painting method. With tips, tricks, and lessons learned, Kara’s experience offers a helpful guide for anyone curious about the benefits of using a paint sprayer to take DIY projects to the next level.

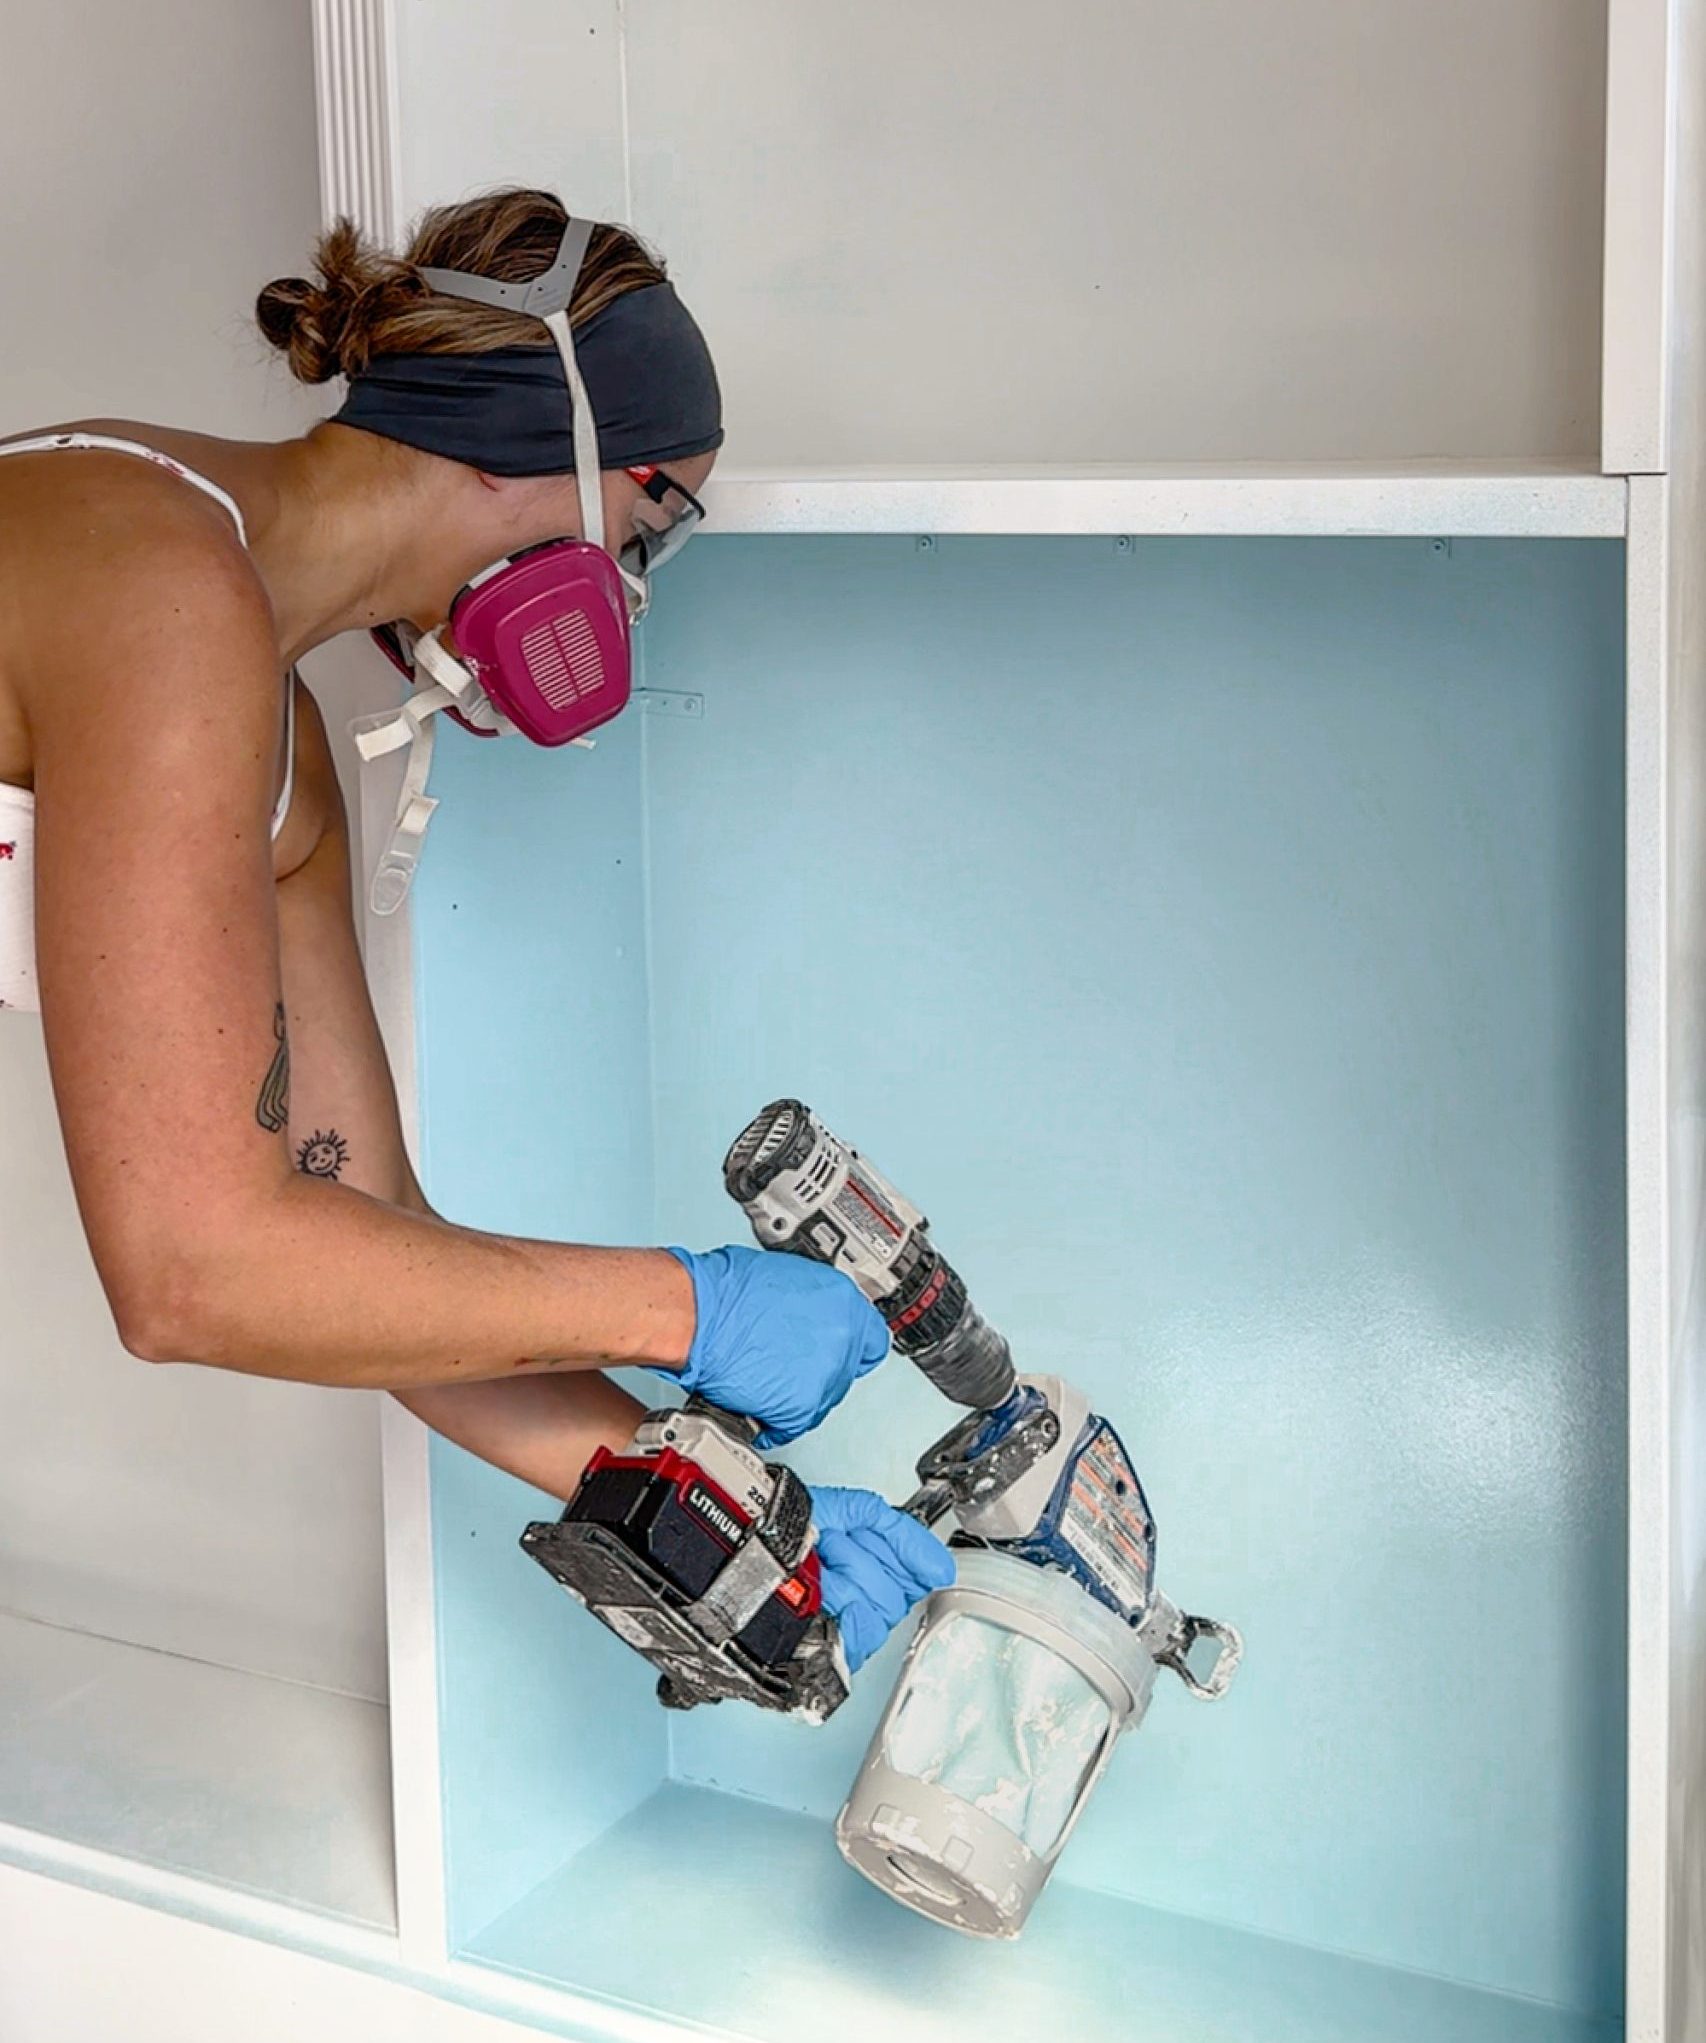
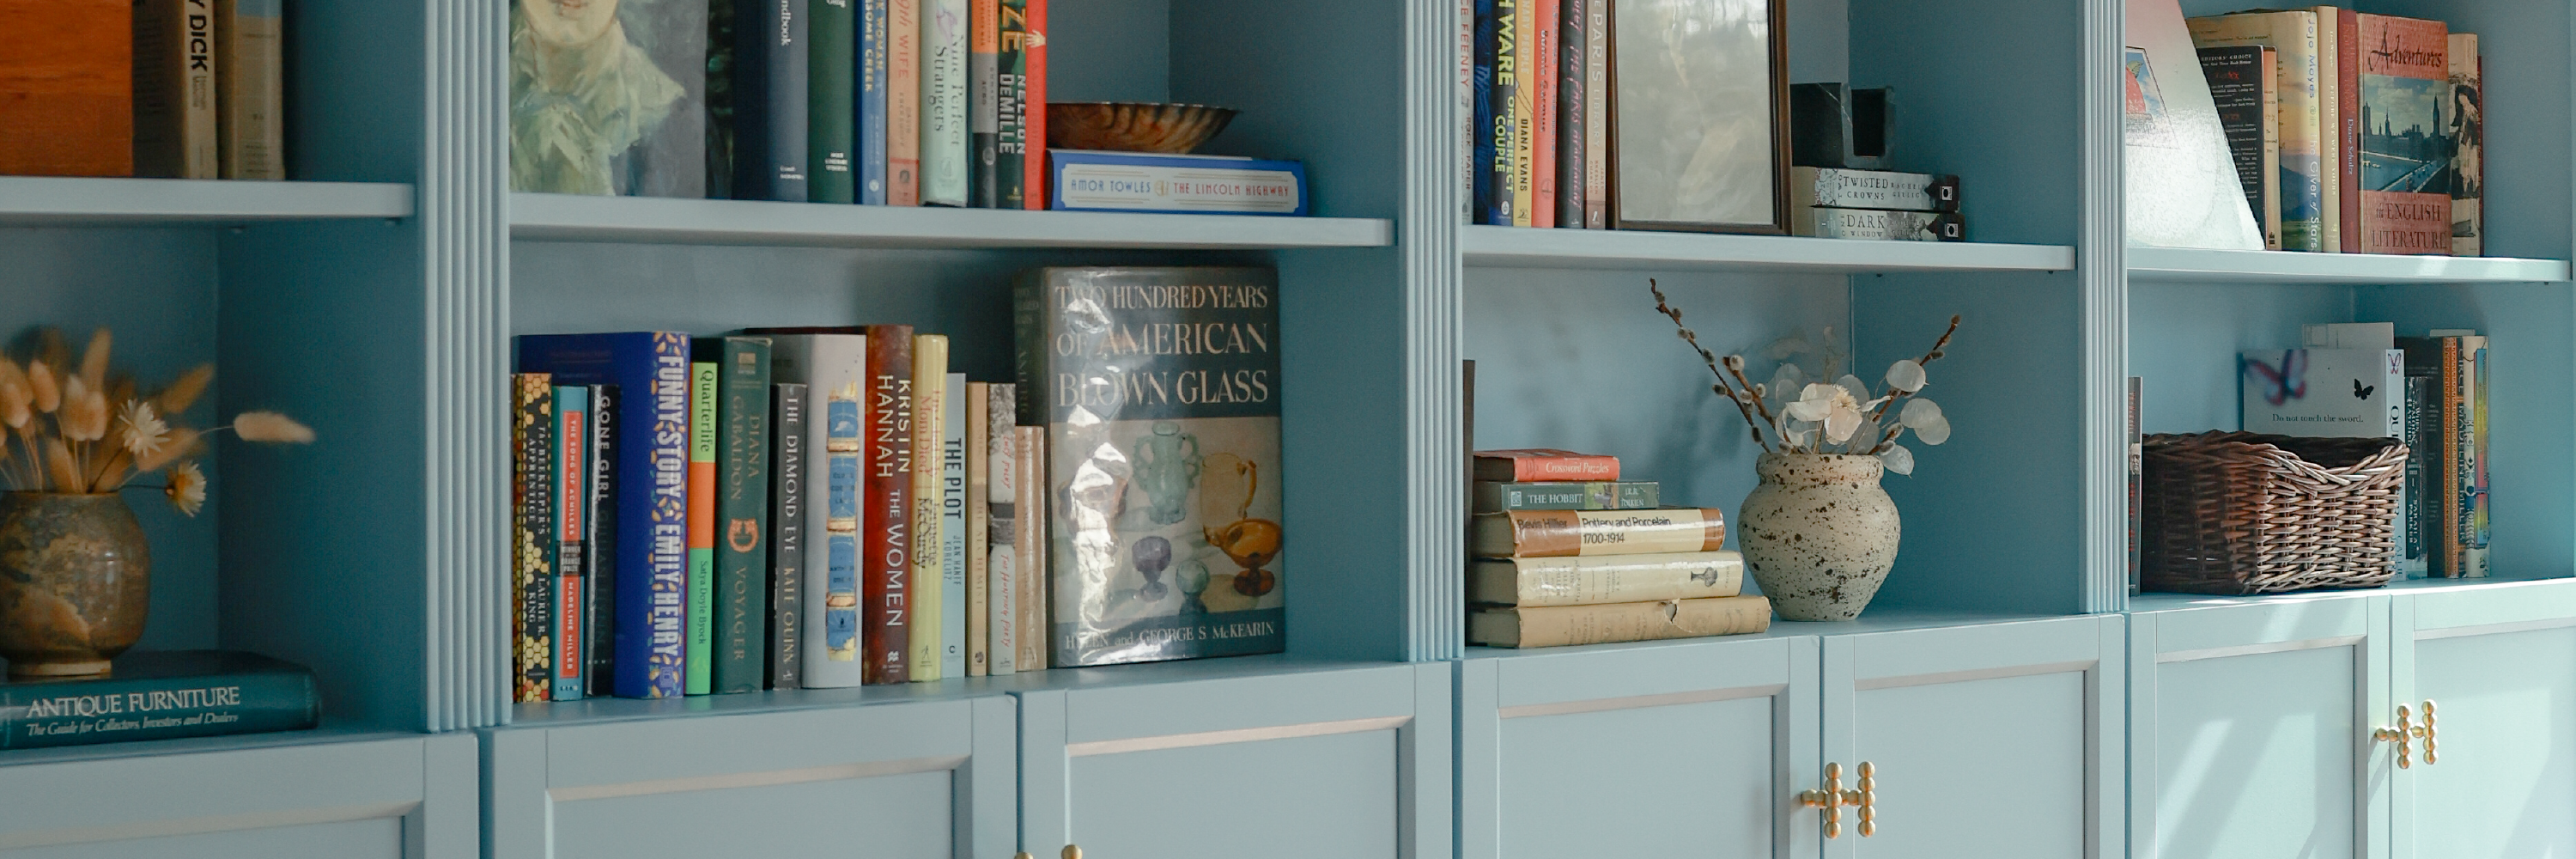
After seeing countless TikToks of people using paint sprayers, I was inspired to give one a try for my latest DIY project — a custom bookshelf built-in. My goal was to achieve a “professional-level” finish on the cabinets and to cut down on the time spent painting each shelf and crevice by hand. As I had already assembled the shelves and planned to paint them at the end, I knew that using a sprayer would make it easier to reach all those awkward angles and ensure even coverage on every surface.
First Impressions and Initial Challenges
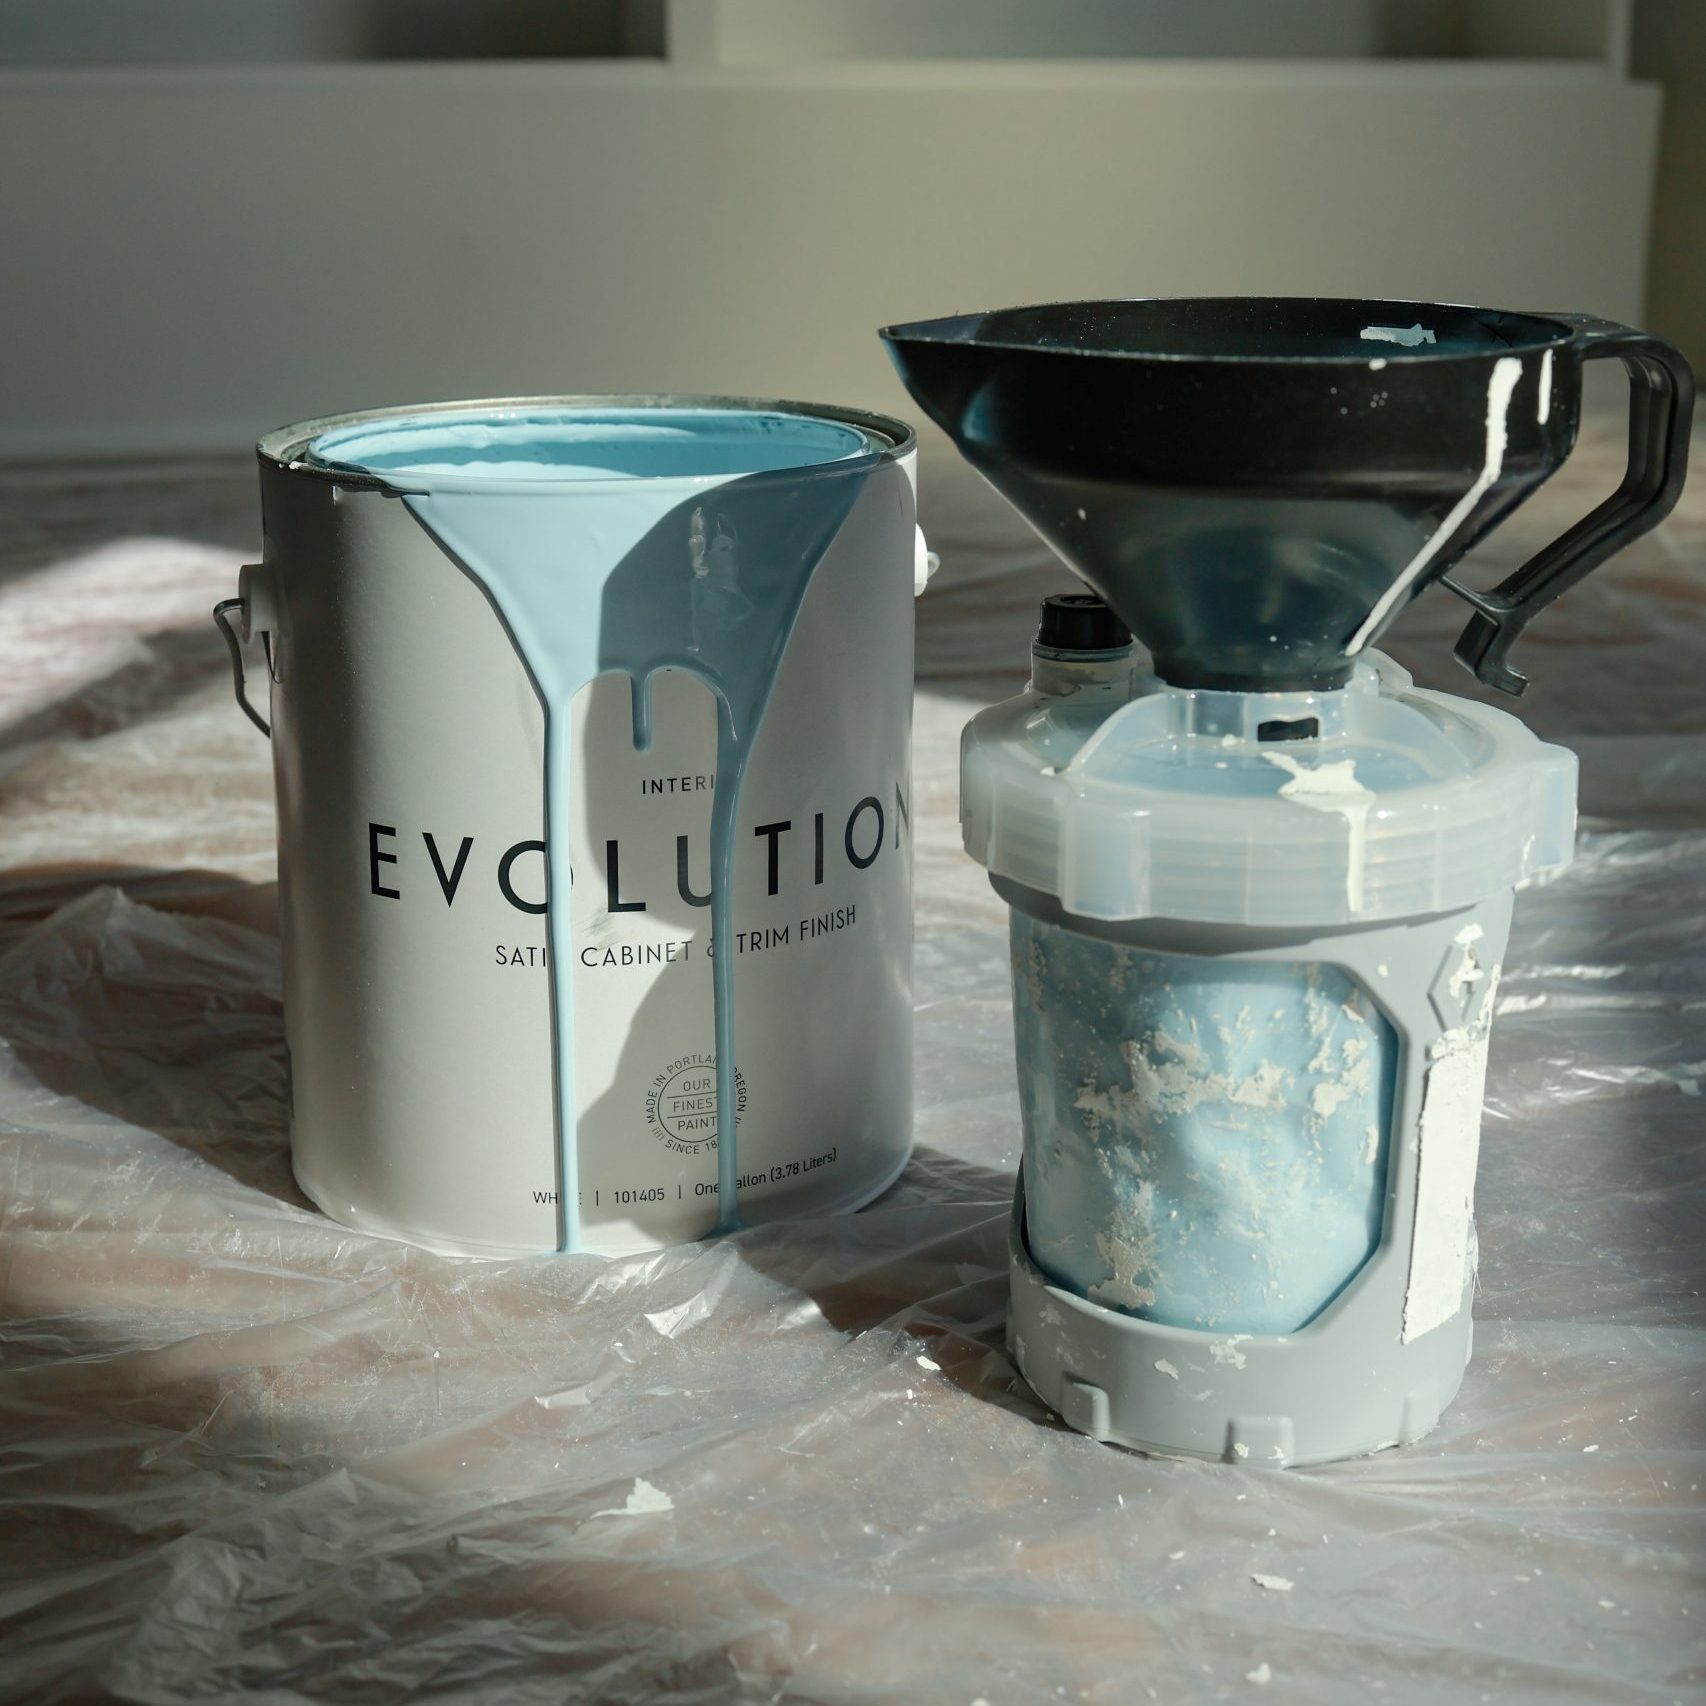
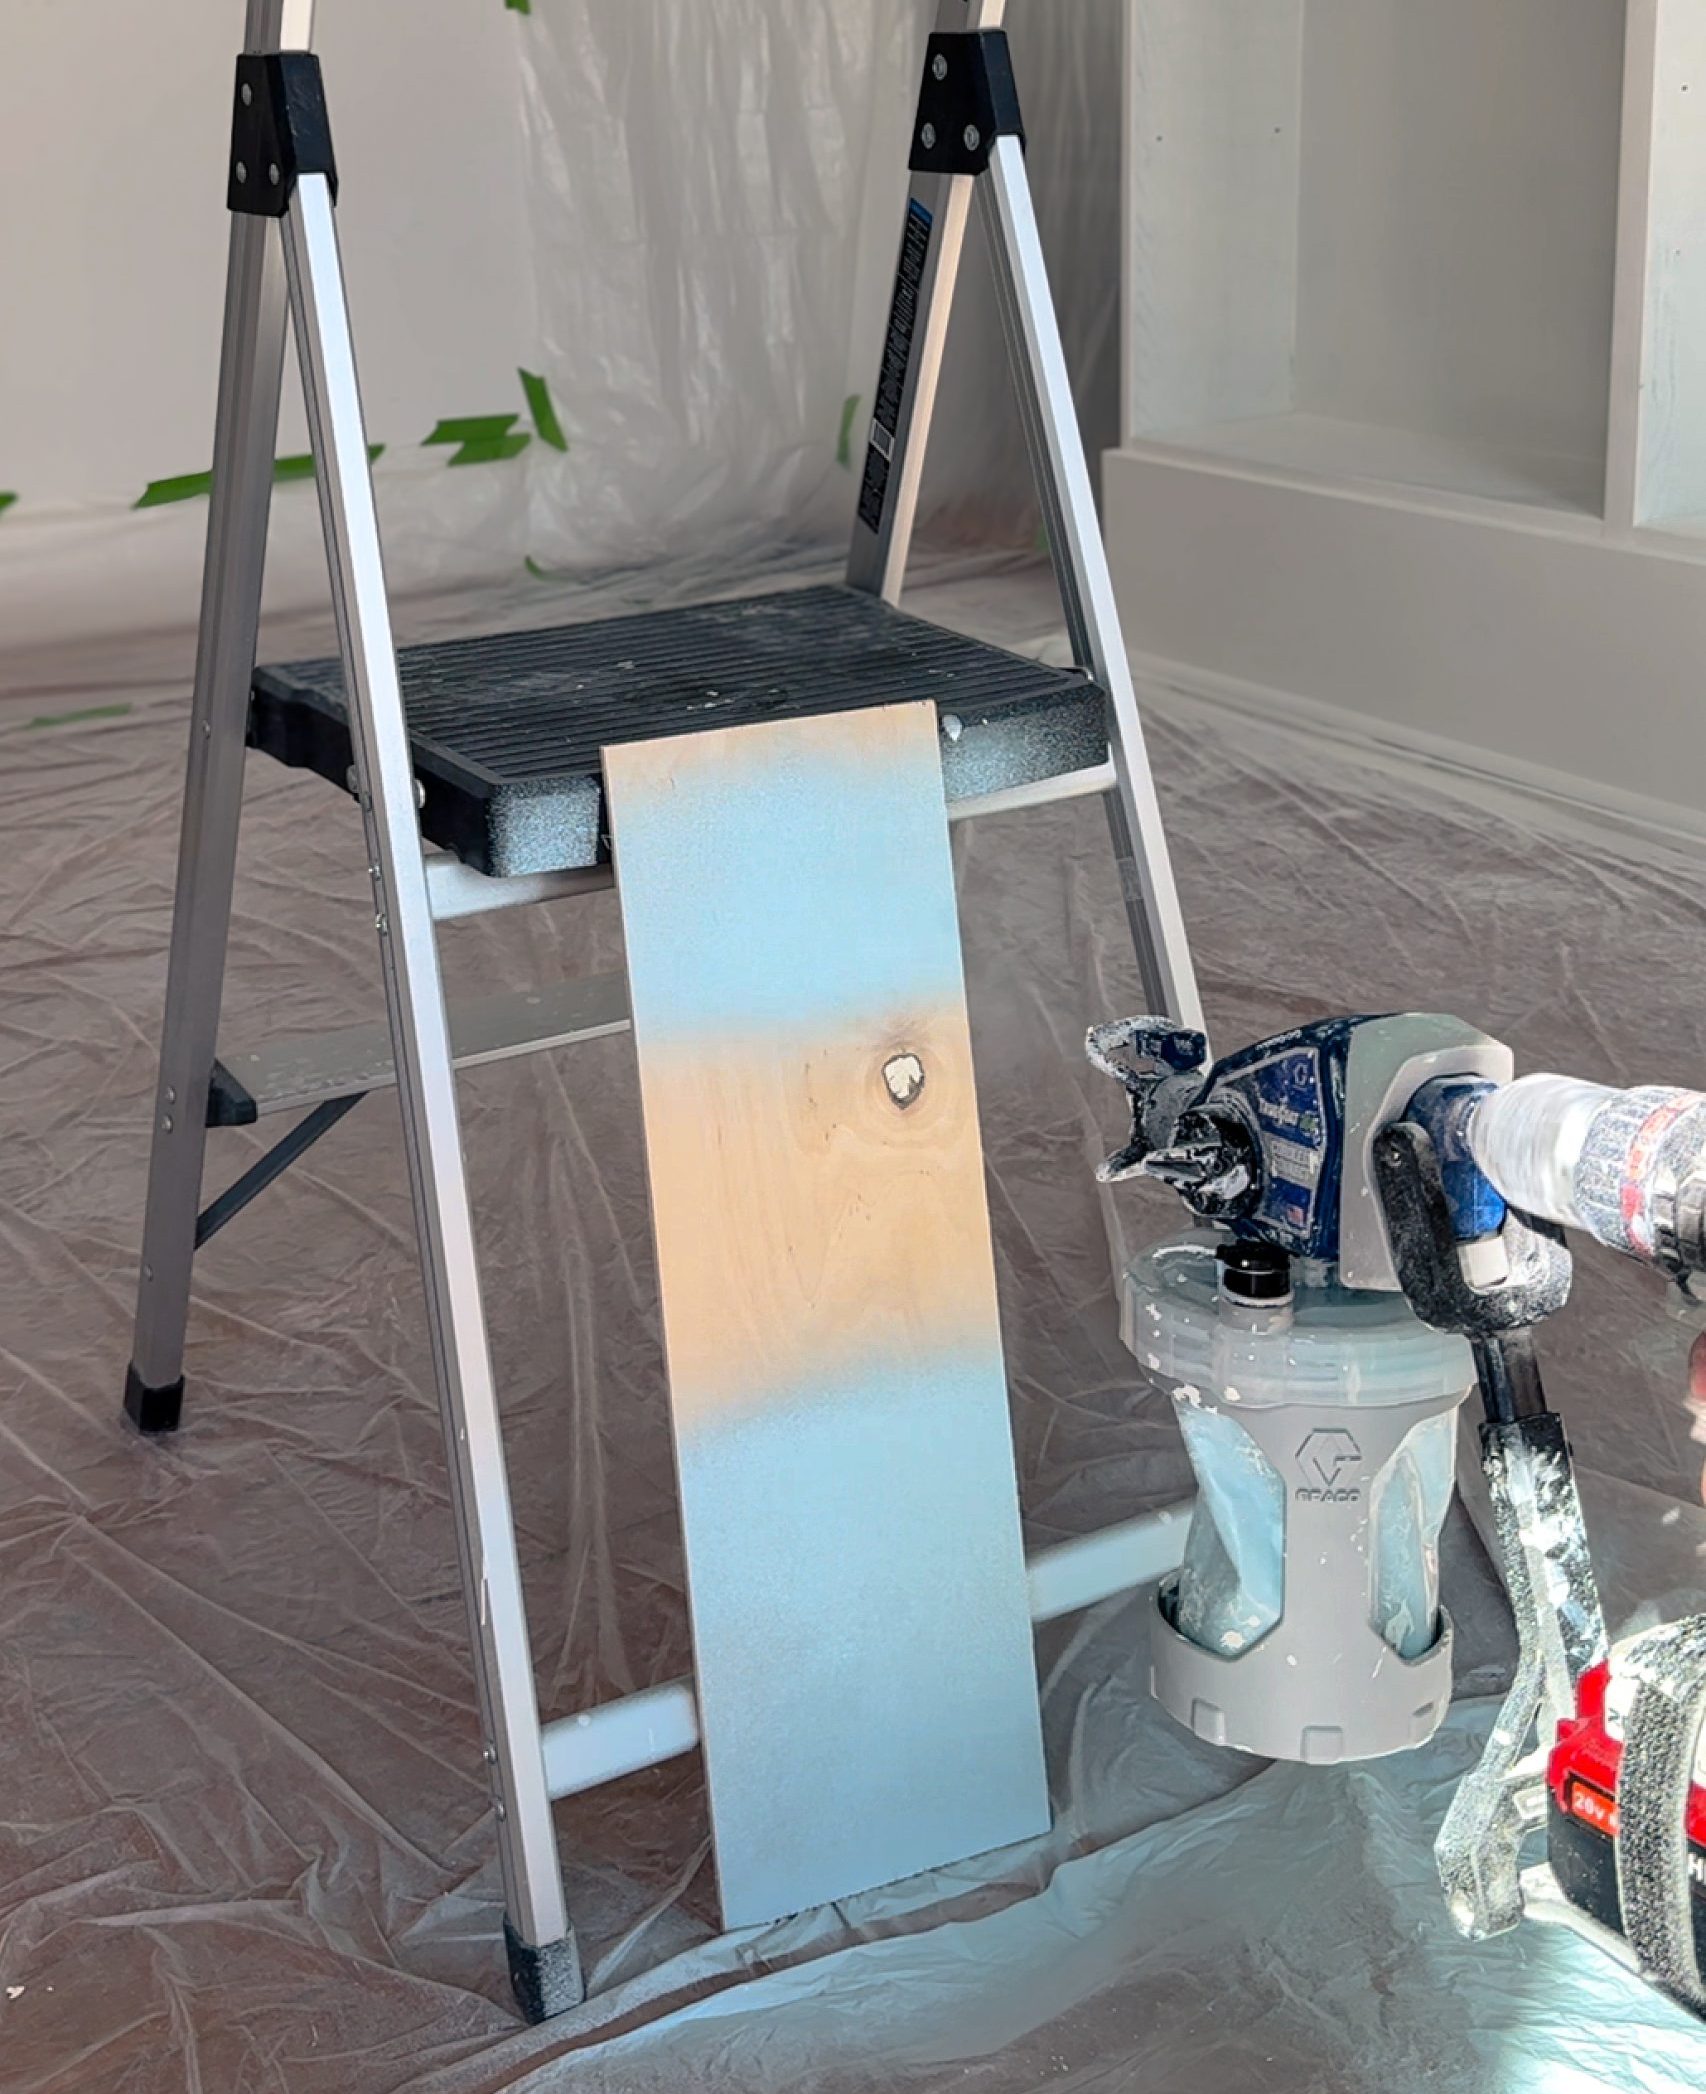
At first, I was a little intimidated by the sprayer setup. I knew getting the settings right was key to avoiding issues like air bubbles, uneven spray, or even drip spots. Thankfully, a family friend suggested I practice on a scrap piece of wood before diving into the bookshelves. This was great advice because Miller Paint’s Evolution Cabinet & Trim paint has thicker coverage than other brands, so I needed to make sure I wasn’t spraying too closely or heavily.
Learning the technique took some practice, especially since a sprayer requires a different hand movement than a roller or brush. I learned that you need to start moving the sprayer before you press the trigger and keep moving until you release it. Practicing this steady motion on scrap wood helped me avoid splatters, which would have been a pain to sand off later.
Preparing to Use the Sprayer
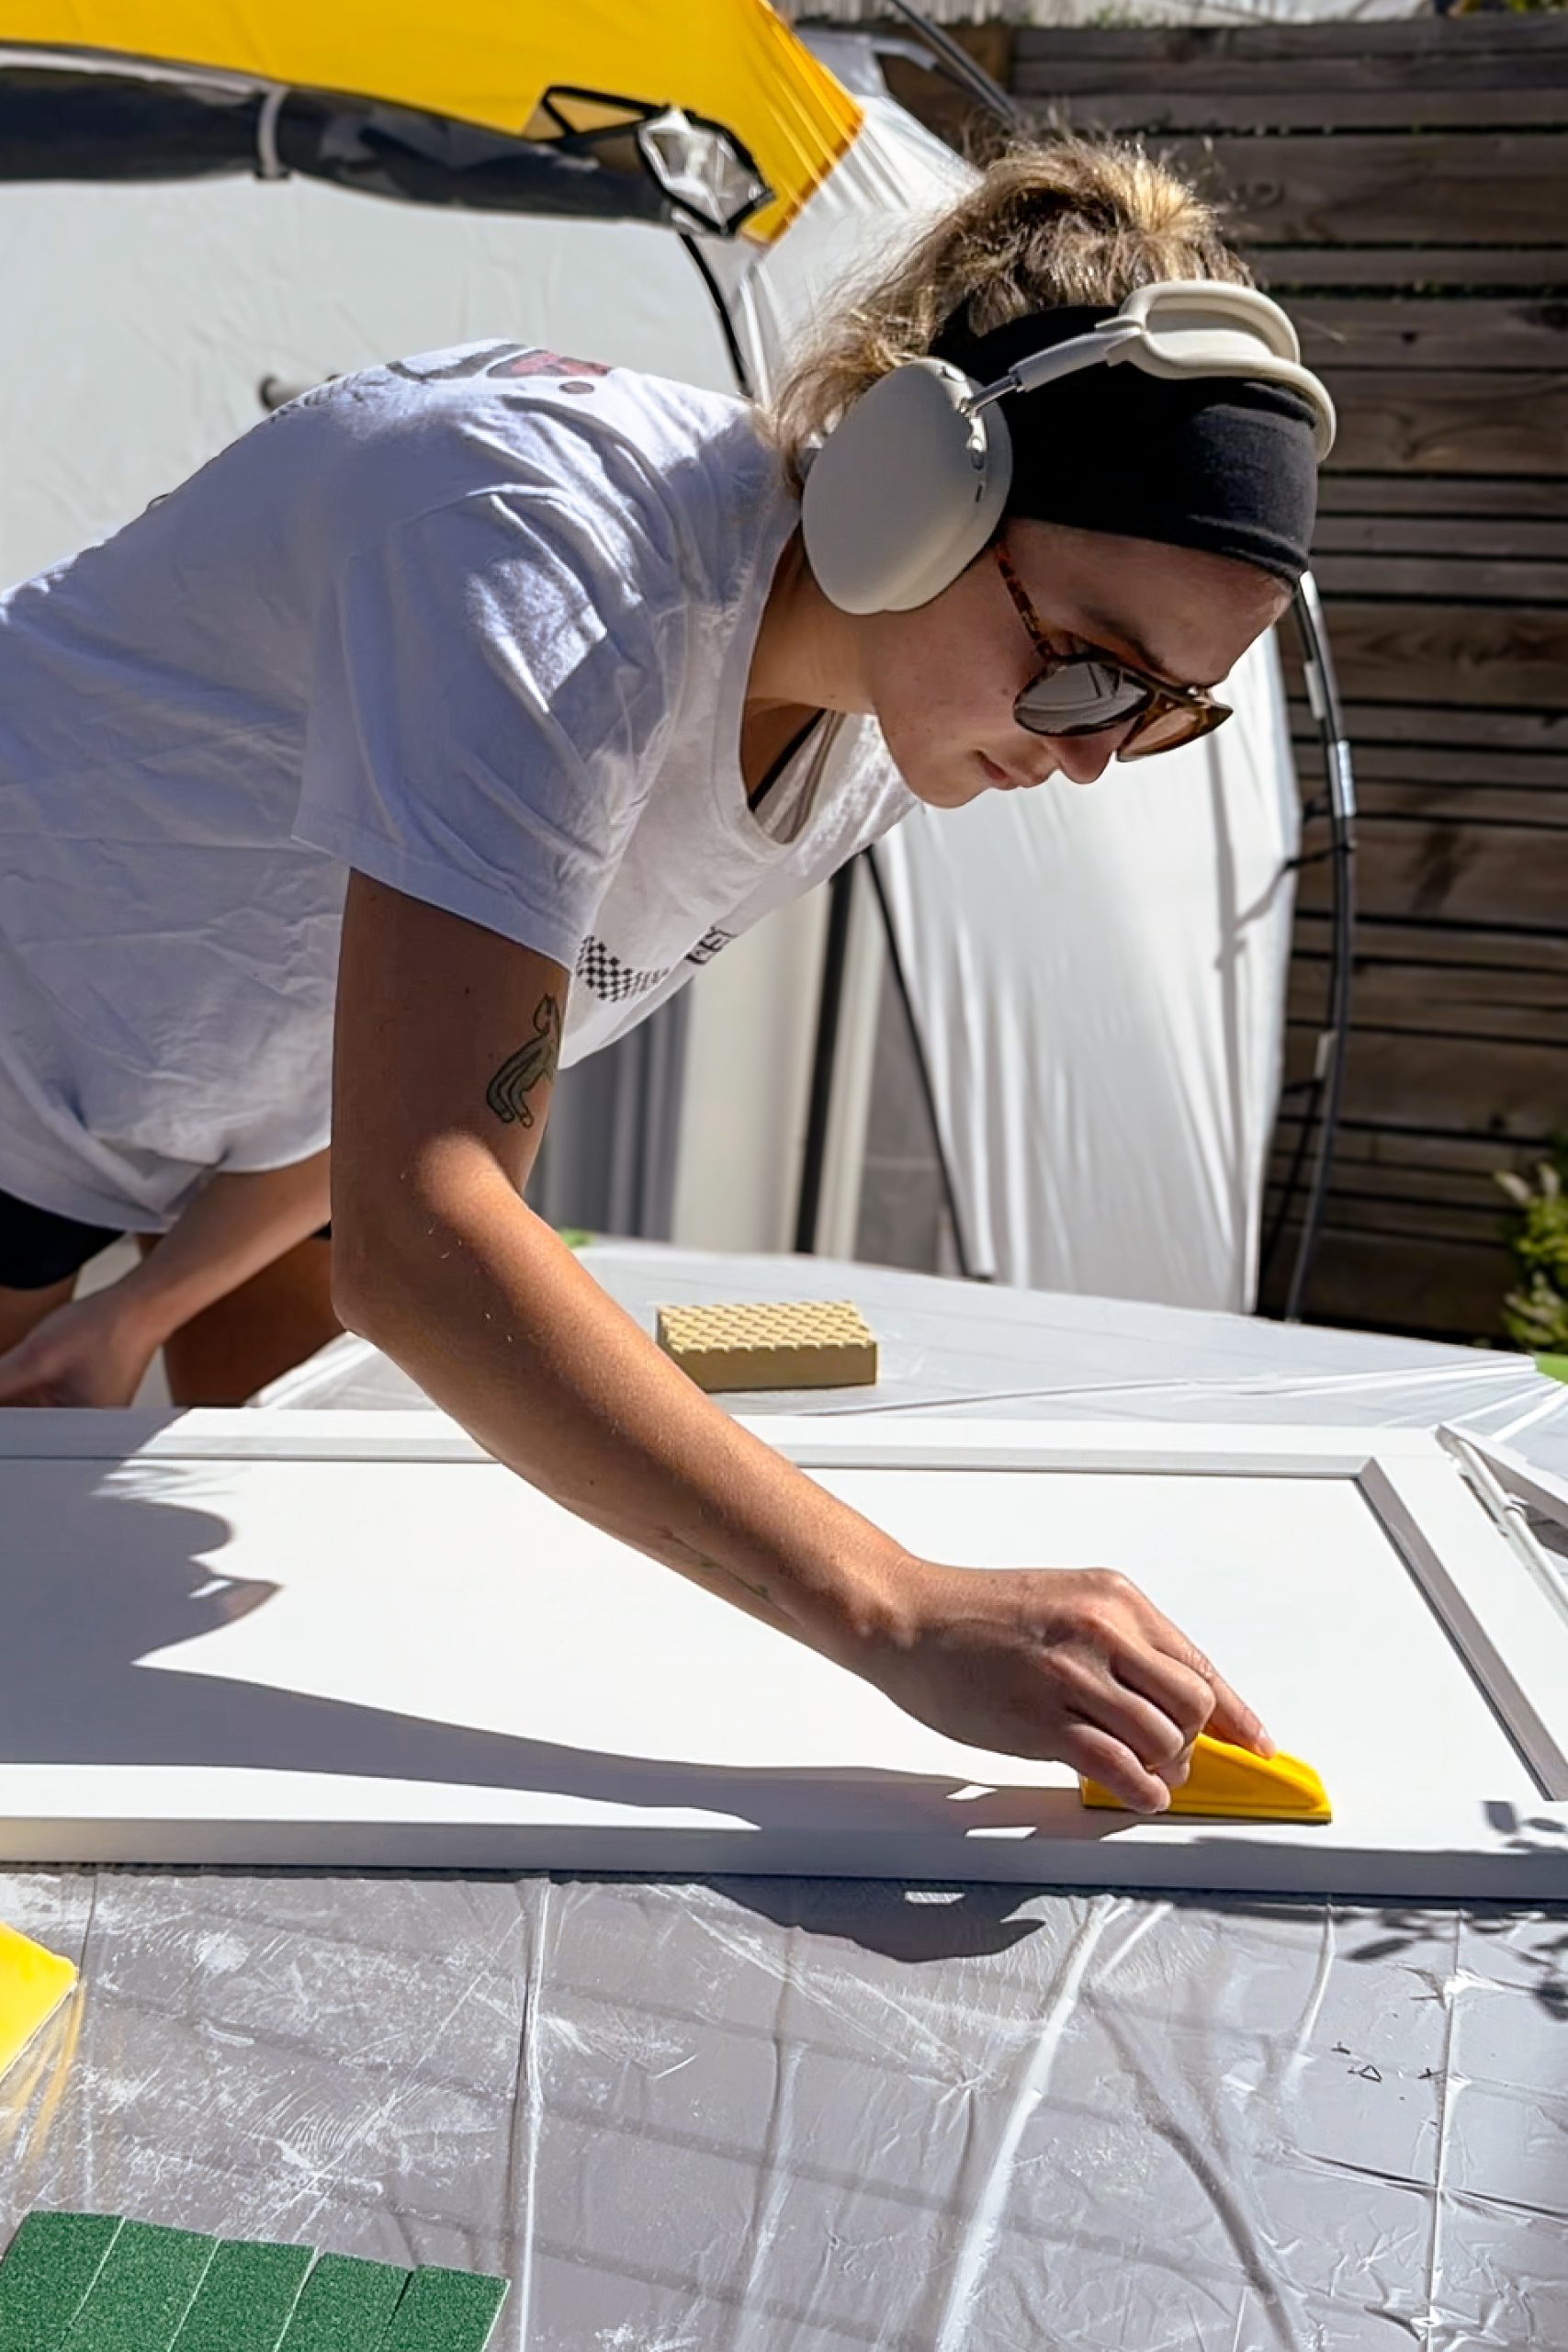
Preparation turned out to be just as important as the painting itself. First, I covered the entire room in plastic sheeting to protect my floors and windows — overkill, maybe, but I was grateful I did it once I saw the amount of spray particles floating around. I also wore old clothes, but after getting covered head to toe in paint, I see why some people wear full-zip plastic suits for this kind of job!
Another critical step was calculating how much paint I’d need. Paint sprayers generally use 25-33% more paint than rollers, so I made sure to buy extra to avoid running out in the middle of the project.
Tips for First-Time Paint Sprayer Users
If you're trying a paint sprayer for the first time, here are a few things I learned that could save you a lot of hassle:
- Safety first: 1. Wear safety glasses, protective clothing, and a NIOSH approved respirator.
- Practice: Getting comfortable with the spray technique on a test surface will help you avoid drips and splatters on your final project.
- Overlap spray paths: To get even coverage, overlap each spray pass by about 50% with the next.
- Watch the trigger: Make sure you’re fully pressing and releasing the trigger at the start and end of each stroke. If you don’t, you may end up with splatters or an uneven mist.
Getting the Professional Finish I Hoped For
The sprayer made a huge difference, especially on detailed areas like the fluted trim work and crown molding, where a brush would likely have left uneven coverage. Hanging the cabinet doors on a rack allowed me to spray them from every angle, ensuring a flawless, streak-free finish. If I’d used a brush or roller, I think I would have been frustrated by visible marks, so I’m glad I went with the sprayer.
Unexpected Benefits and a Few Drawbacks
One surprise was how much easier it was to clean the sprayer after using Miller’s paint compared to the shellac-based primer I used initially. Cleaning shellac-based primer from the sprayer was a chore, requiring denatured alcohol instead of water. If I tackle another IKEA hack, I’ll stick with a roller for primer and save the sprayer for the final paint coats.
Final Thoughts on the Paint Sprayer
I’m now a paint sprayer fan, especially for projects with lots of detail or awkward angles. The sprayer was definitely worth it, and I see myself using it for doors, fences, furniture, and other projects where a smooth finish is essential. For regular walls, though, I’ll stick to my trusty roller — it’s just simpler.
Using a sprayer added some time in setup and cleanup, but the professional result made it worth the effort. This experience has me excited to try more upcycling projects with my new paint tent, where I can avoid the full plastic-room transformation. Overall, I’d say it was a win!
Photography by @karamcswain
