PAINT THIS:
DIY Decorative Ladder
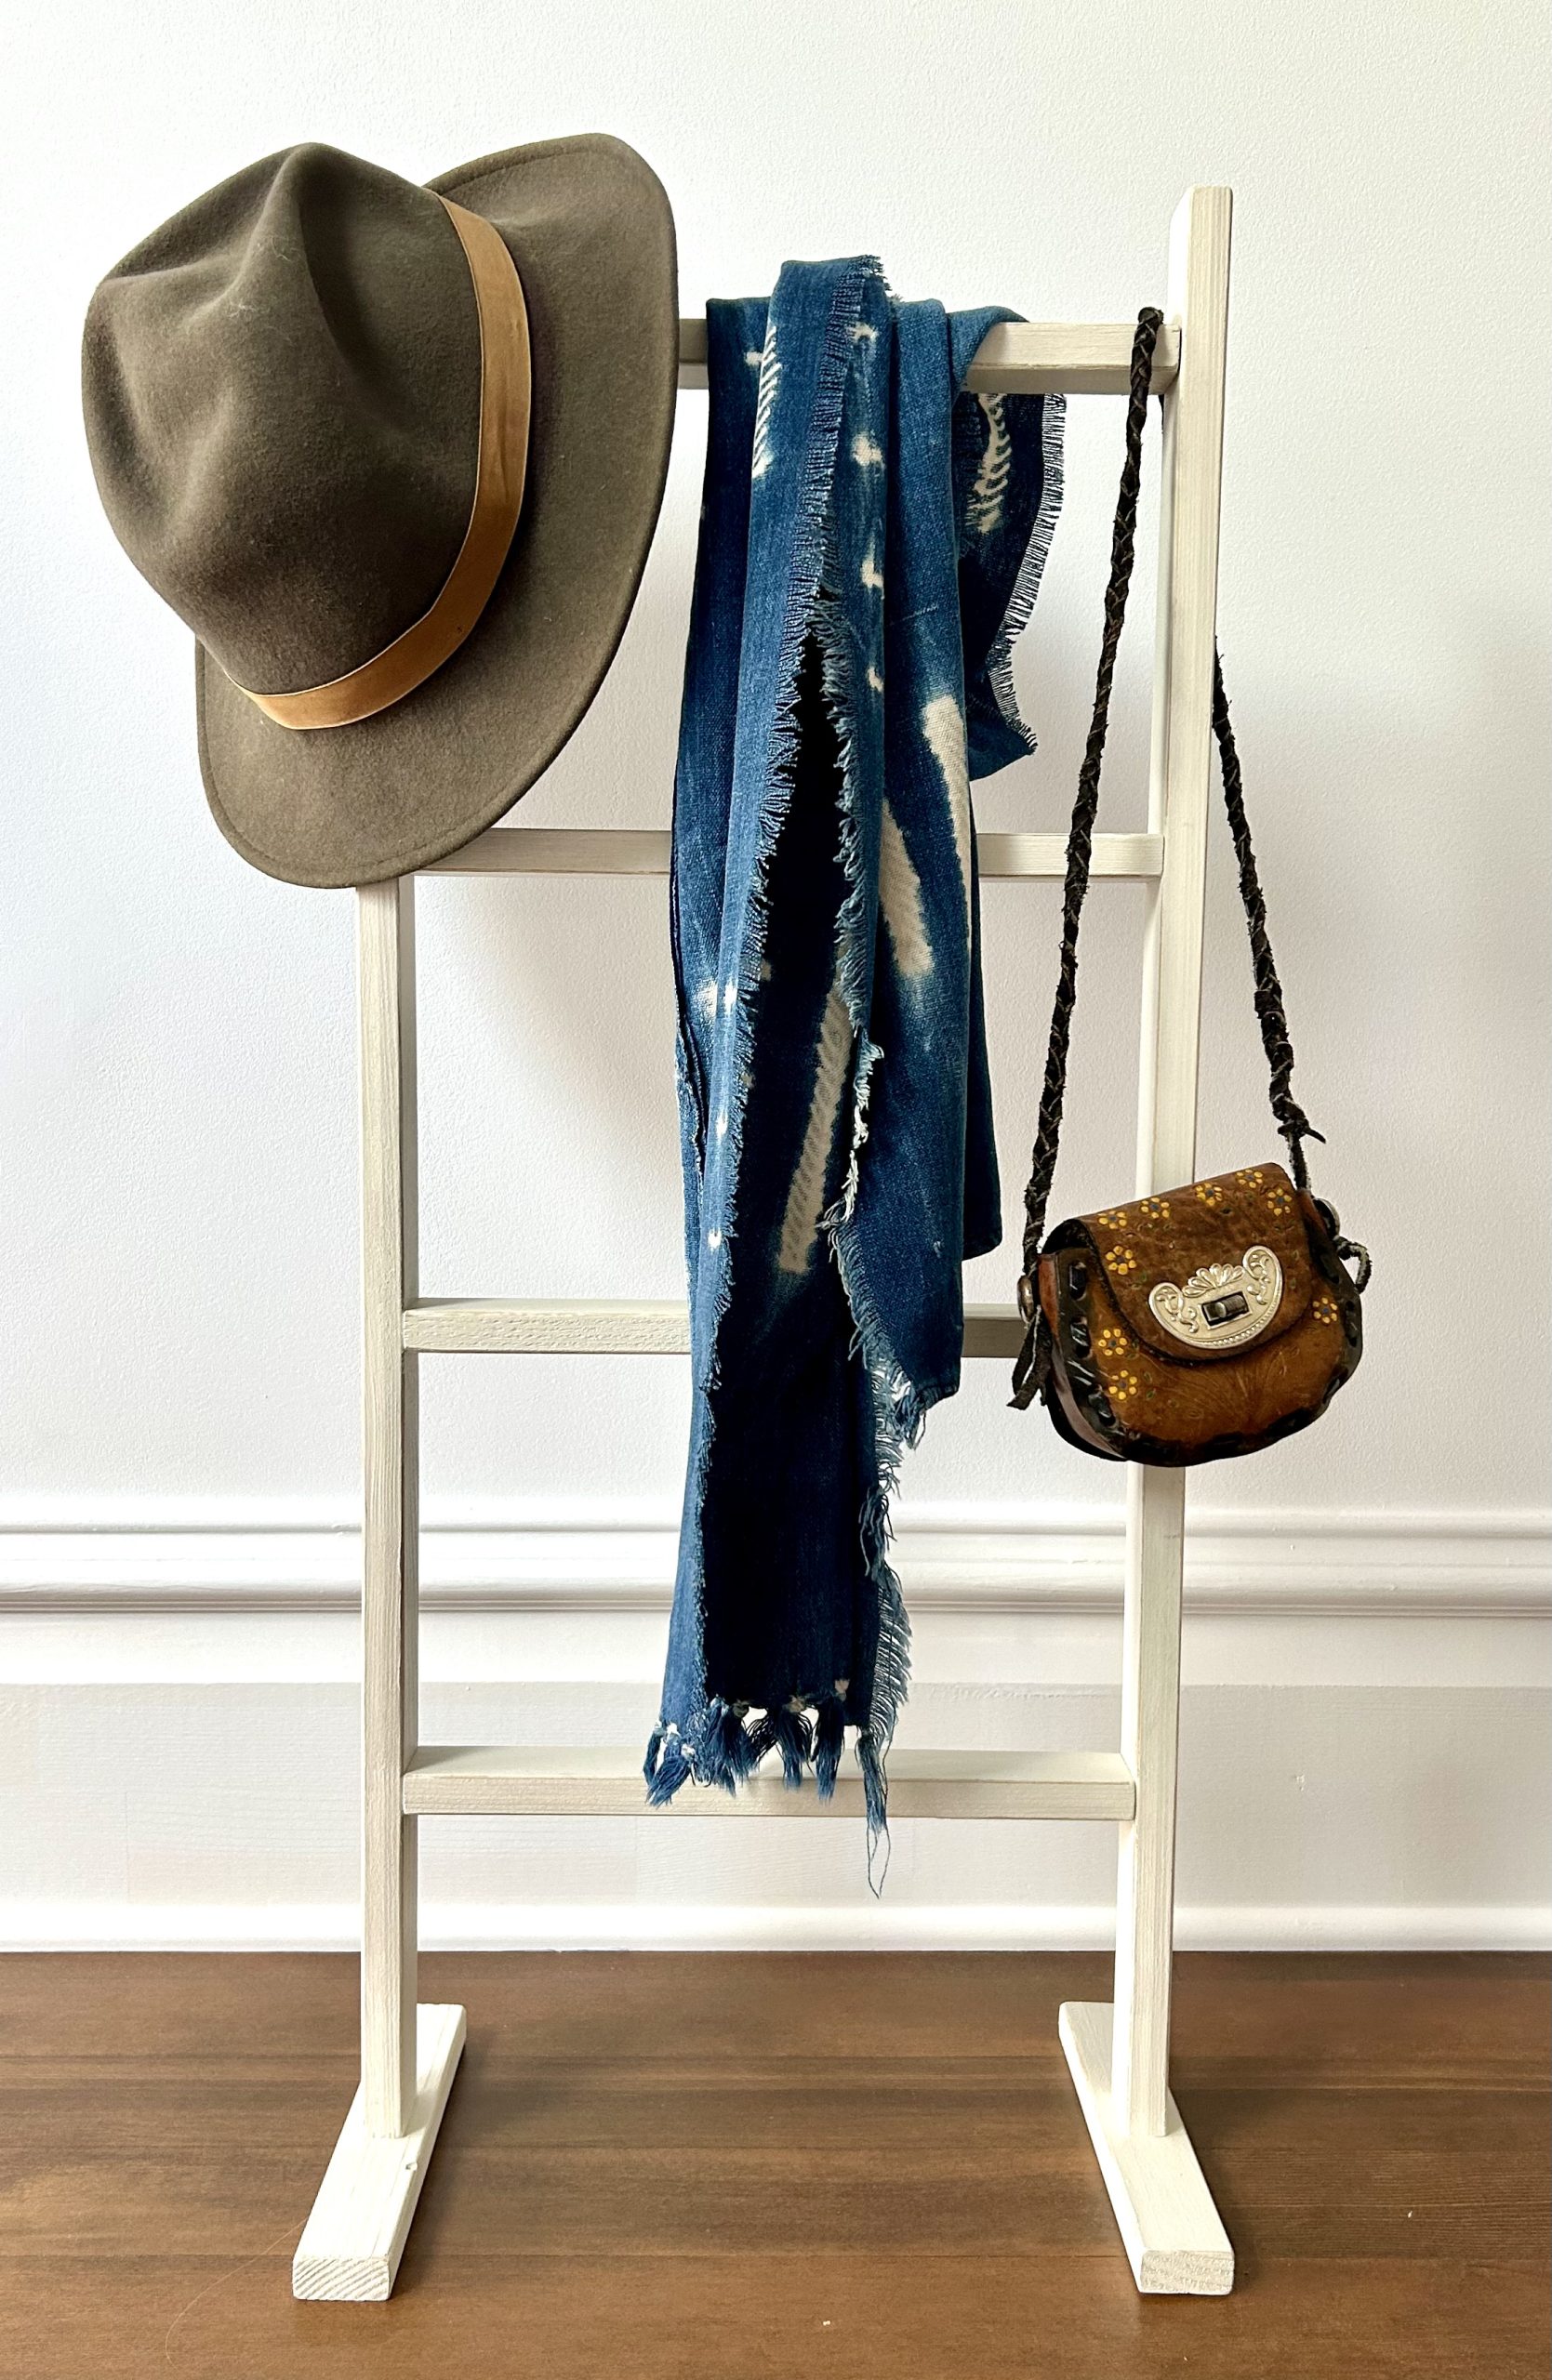
Bring a touch of rustic charm to your home with this decorative ladder, created by DIY Expert, Shannon Quimby. This simple and stylish project is perfect for adding both storage and character to your space. Whether you use it to display cozy blankets in the living room, towels in the bathroom, or as a unique stand for plants or string lights, this ladder is as functional as it is eye-catching. With just a few materials and a little effort, you can create a versatile piece that complements any room and enhances your home’s decor.
Supplies:
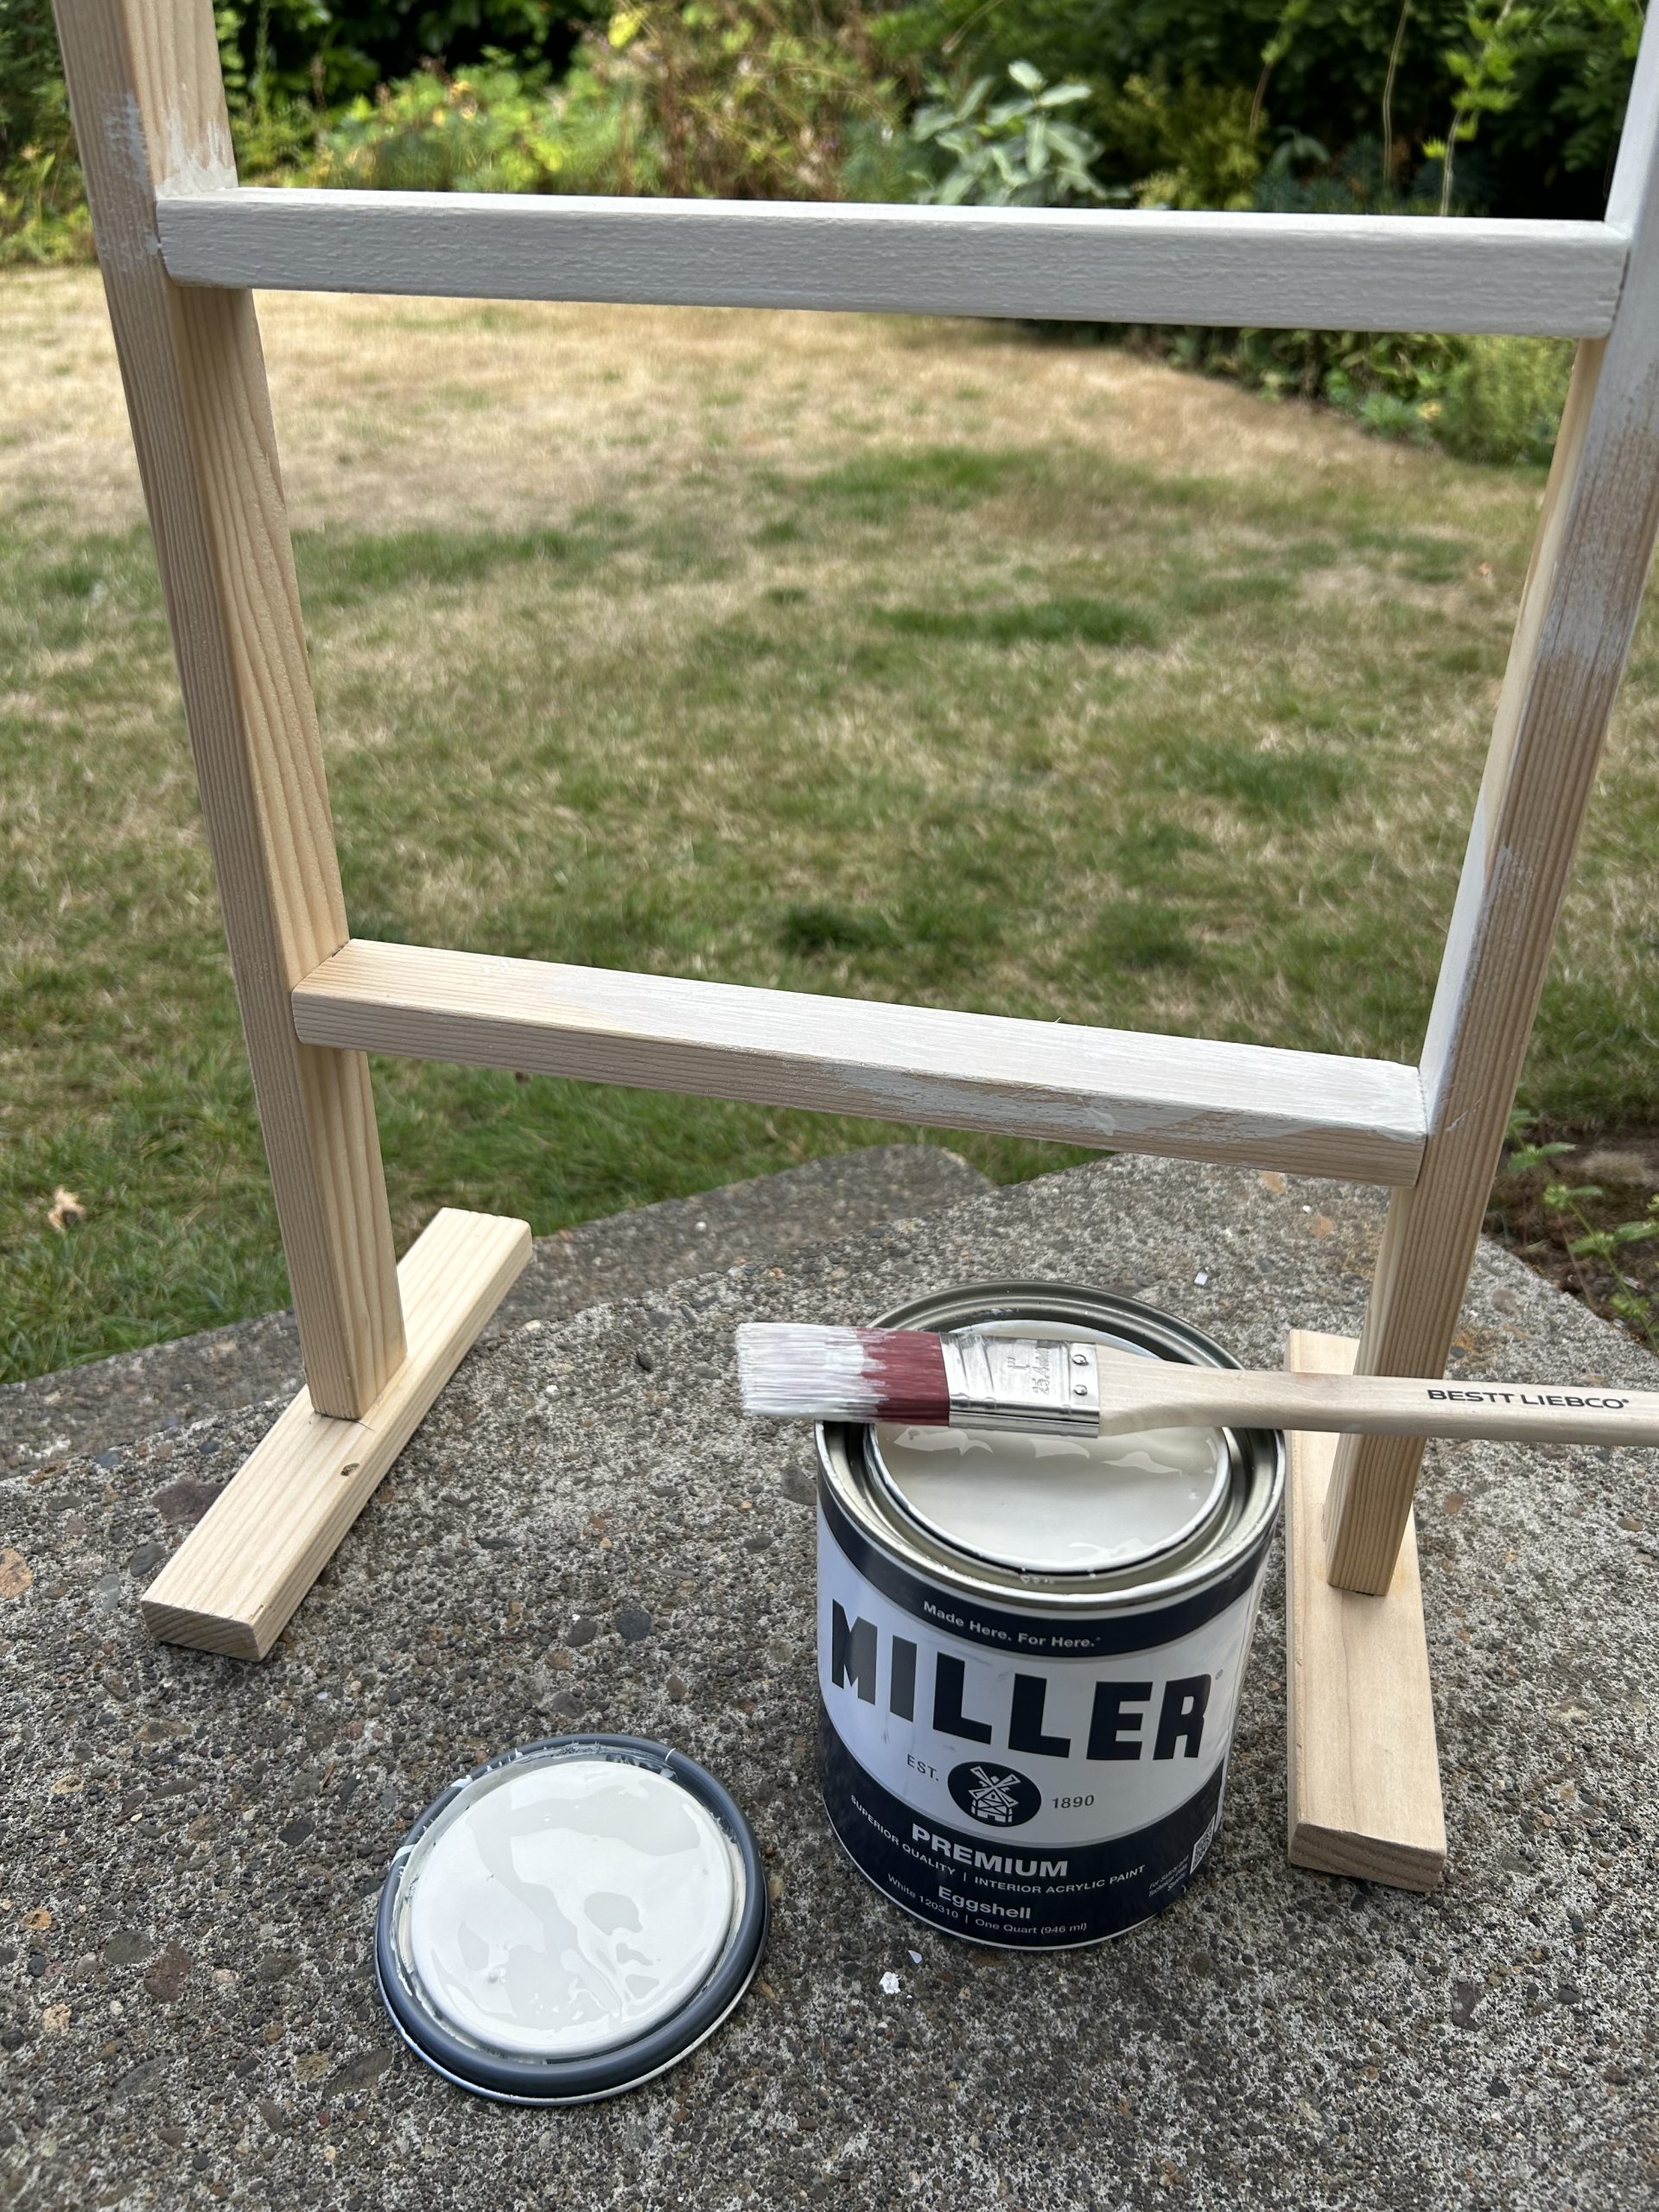
- Miller Paint, Premium, Classic Parchment R037, sheen eggshell
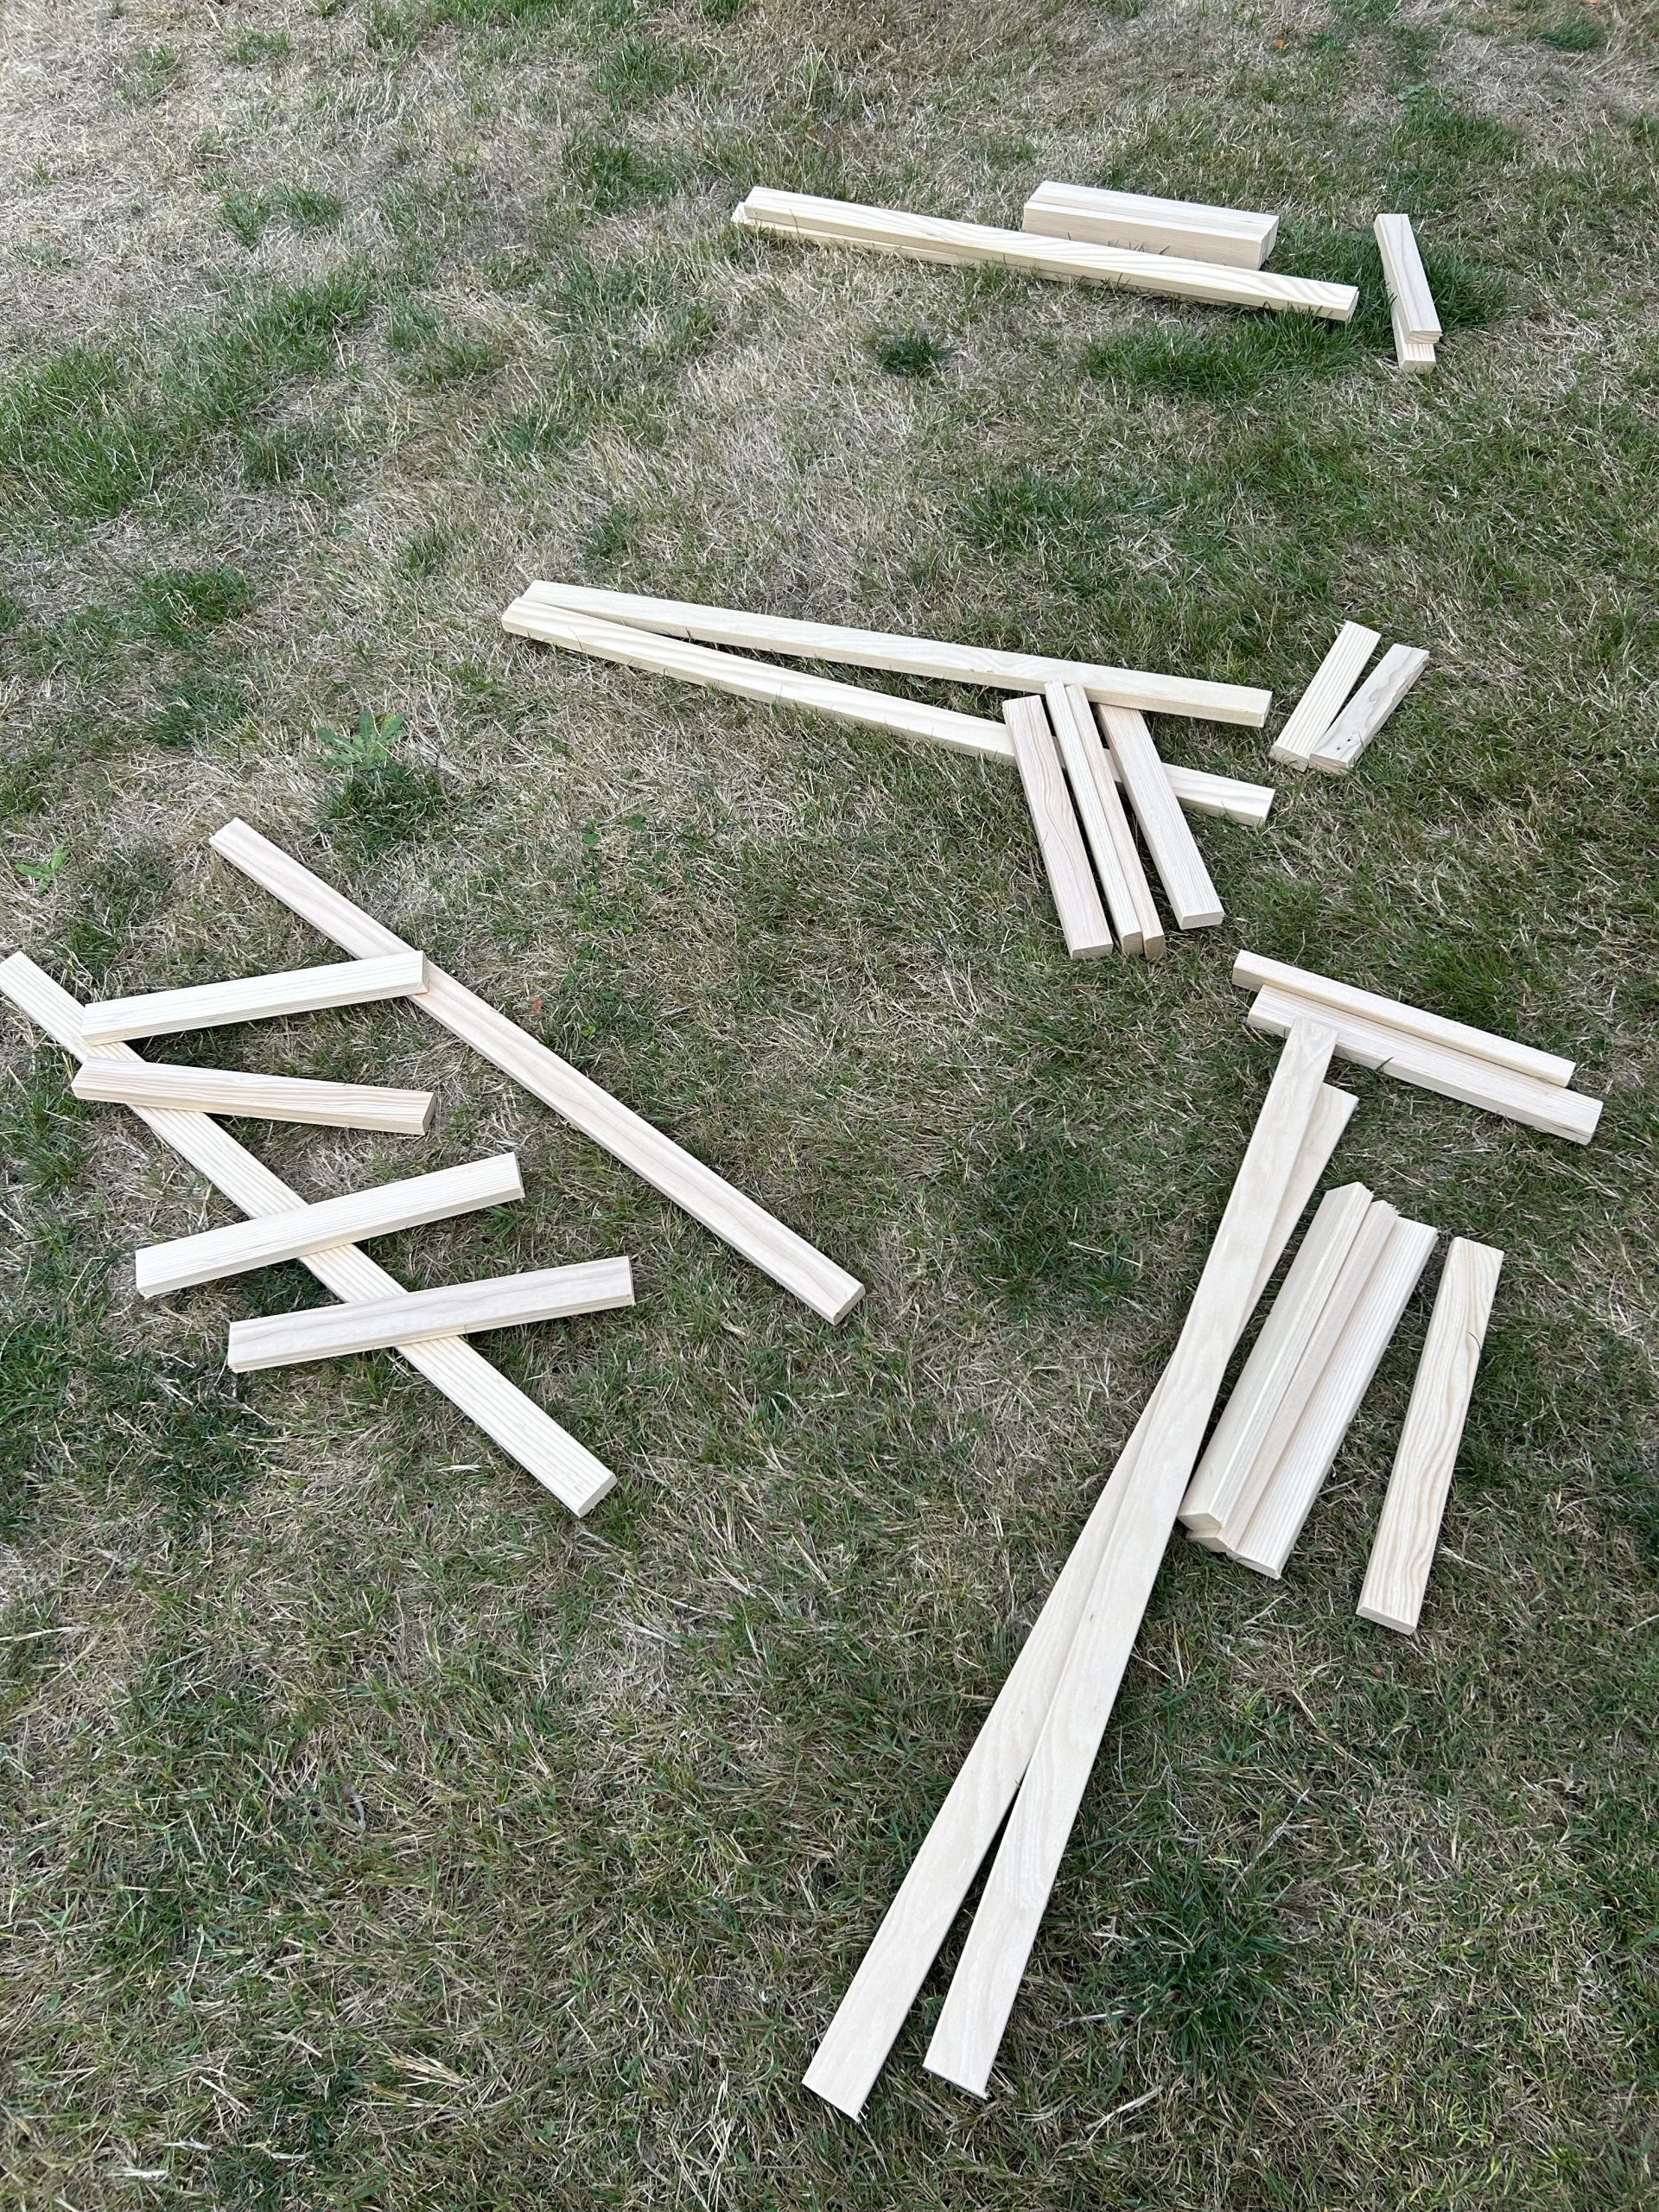
- Two wood 1x2s, each length 32" (rails)
- Four wood 1x2s, each length 12" (rungs)
- Two wood 1x2's, each length 8"
- Pencil
- Tape measure
- Nail gun or hammer
- 1" finish nails
- Wood Glue
- Paintbrush
- Sanding block
- Rag

Prepare the Rails and Rungs:
Position the two rails parallel to each other on a flat surface, ensuring their edges are flush and aligned evenly. Use a measuring tape and pencil to measure and mark 5 ½ inches up from the bottom on the inside edge of each rail; this will indicate the placement for the first rung. Double-check that the marks on both rails line up evenly to ensure a straight and level rung.
From the bottom rung position, measure and mark the remaining three rungs, spacing each one exactly 7 inches apart. Be sure to take your time to confirm the spacing is consistent for a balanced final look. Once all marks are in place, apply a generous amount of wood glue to both ends of each rung, ensuring full coverage for a secure fit.

Assemble the Ladder:
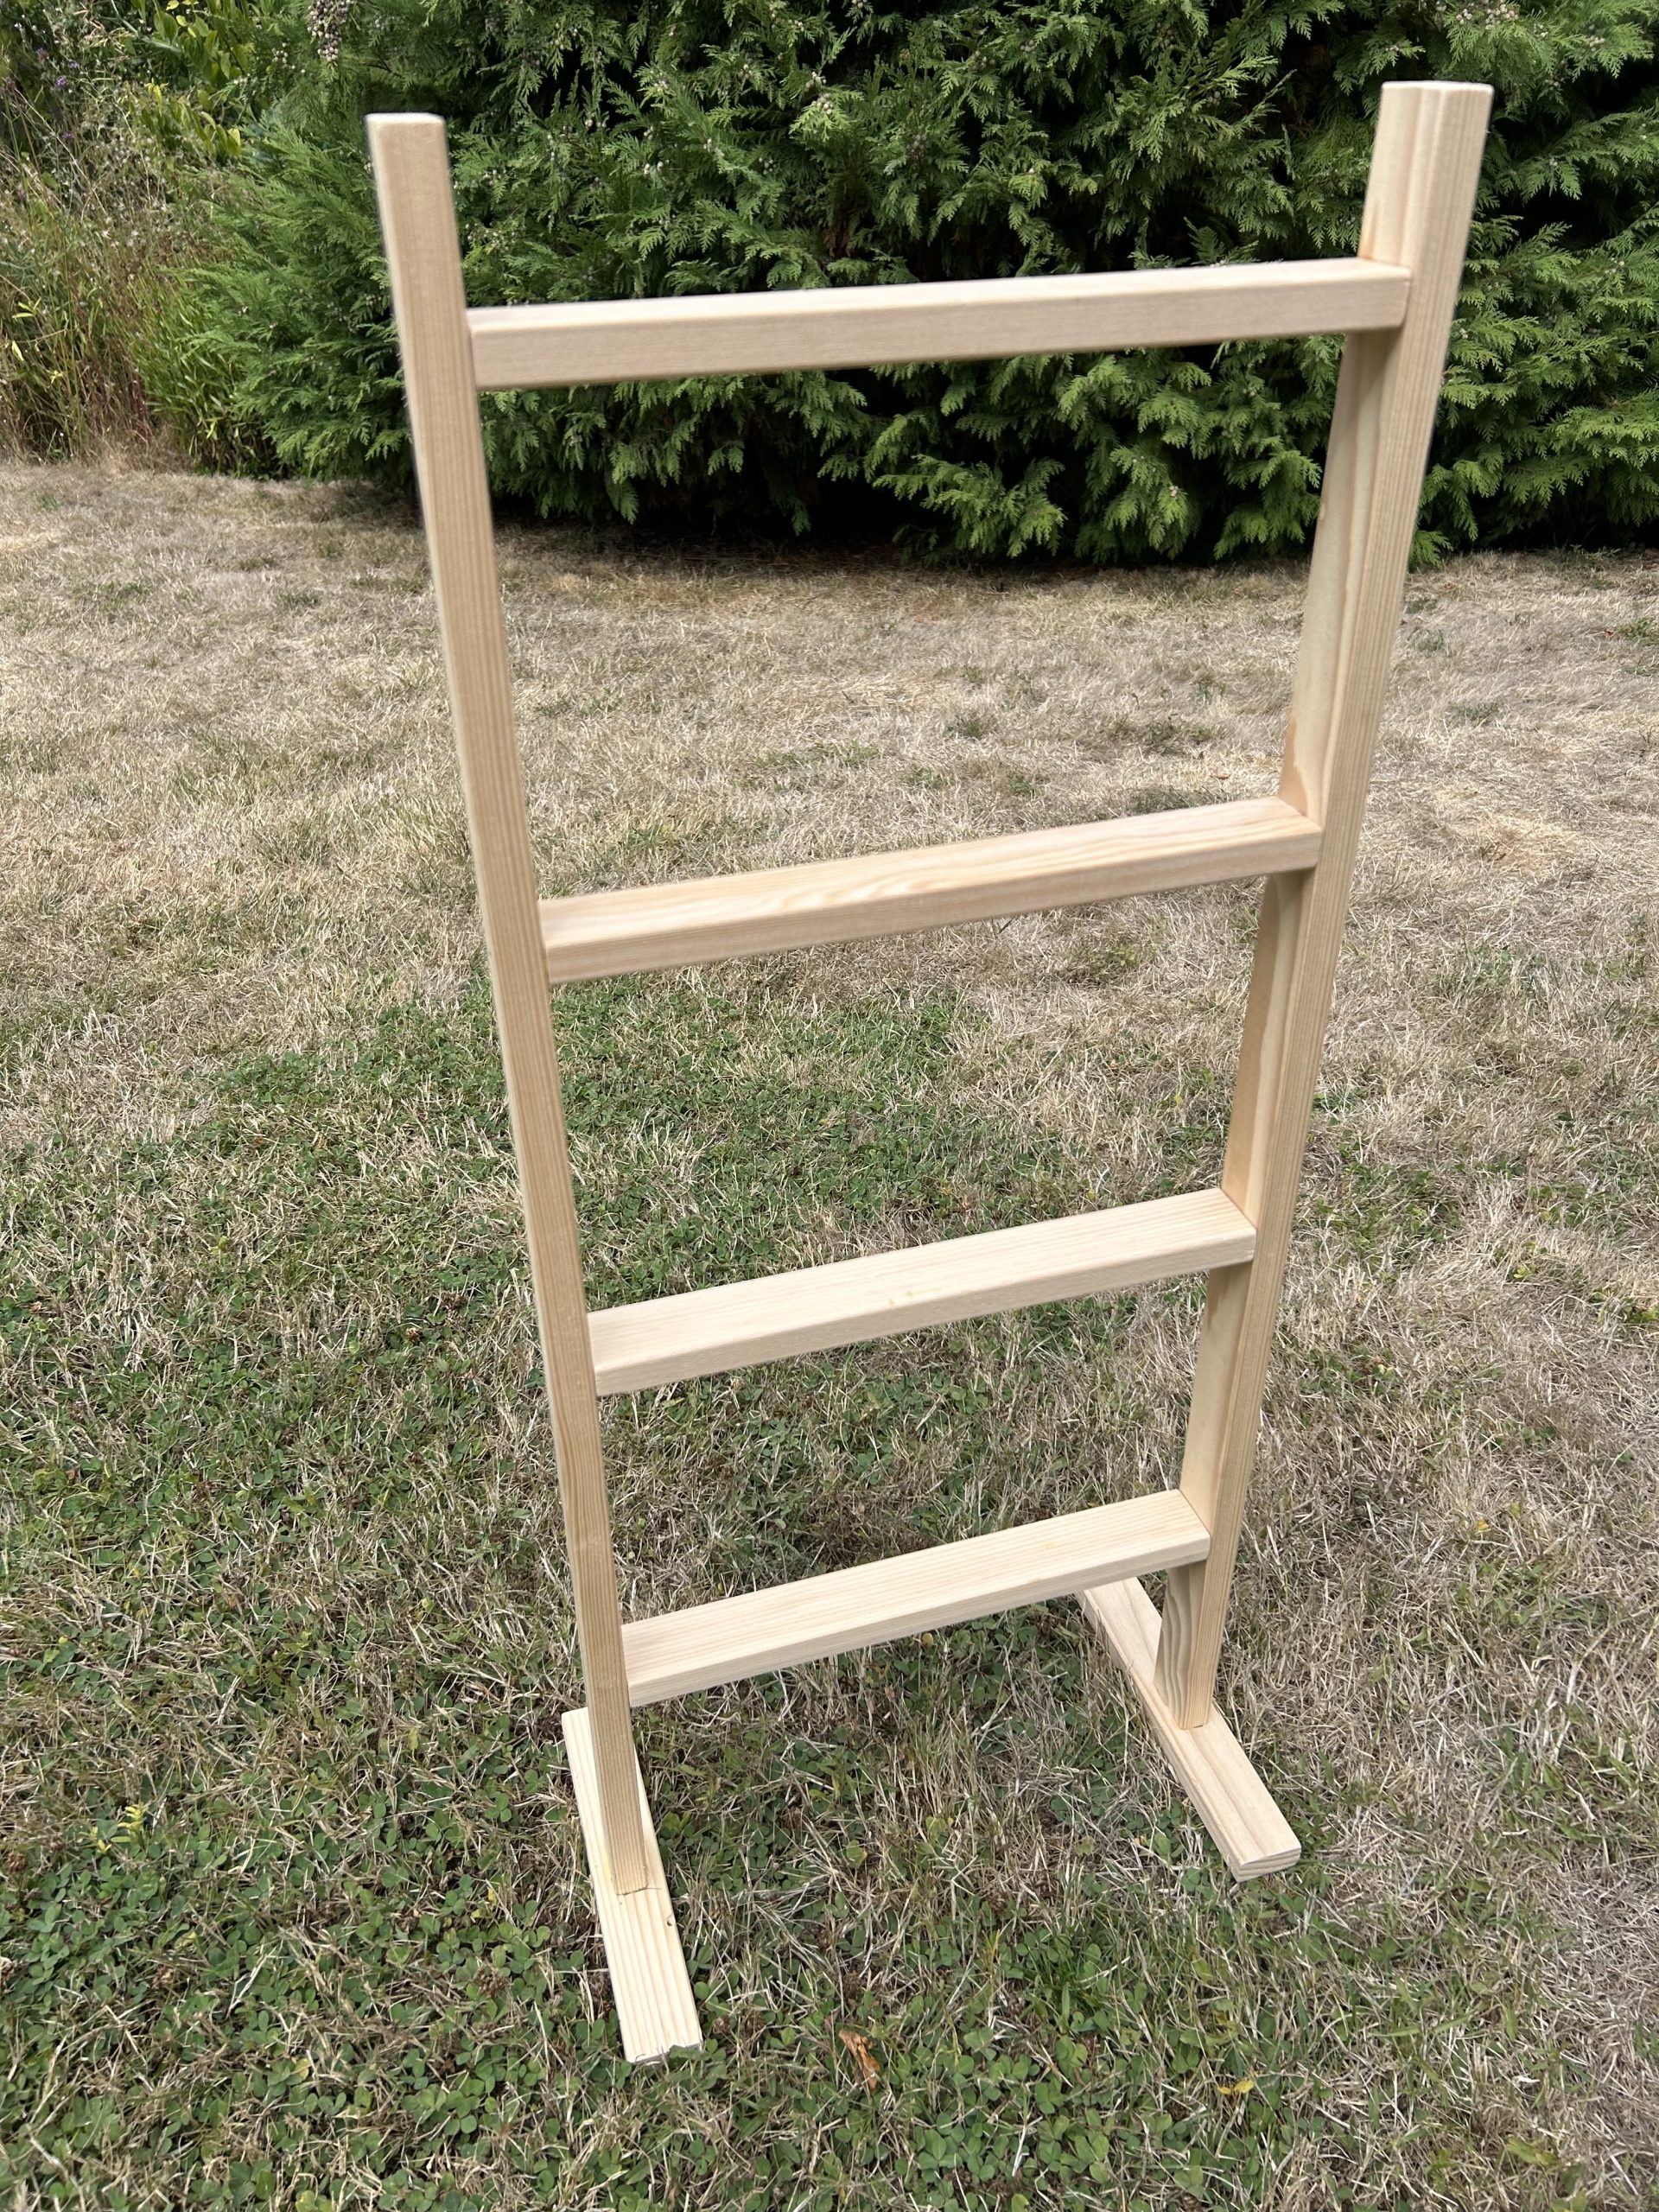
On one side of a rail, position the rungs at their marked locations, ensuring they are perfectly aligned and the edges are flush with the rail. Secure each rung by fastening it with nails, double-checking that the alignment remains consistent. Once the rungs are attached, position the second rail on the opposite ends of the rungs, and fasten this rail to the rungs with nails, ensuring everything is level and evenly spaced.
To make the ladder stand upright, take the two 8-inch wood pieces and place them at the bottom of the rails. Align and mark where the end of each rail meets the wood pieces. Apply a generous amount of glue to each marked area, then secure the 8-inch pieces to the bottom of the rails with nails.

Paint and Sand:
Begin by applying your paint to the entire ladder, using even brushstrokes or a roller for a smooth finish. Be sure to cover all surfaces, including the rails, rungs, and stands. Allow the paint to dry completely, and if needed, apply a second coat for full coverage and an even color. Once the paint is fully dry, take a sanding block and gently sand all the corners and edges of the ladder, including the rails, rungs, and stands.
Decide where you’d like to place your finished ladder. You can lean it against a wall in a cozy corner or hang it securely on the wall for a more permanent display. Use it to showcase your favorite blankets, towels, or decorative items, and enjoy how this handmade piece enhances your space.
