PAINT THIS: Crisscross Stripe Dresser
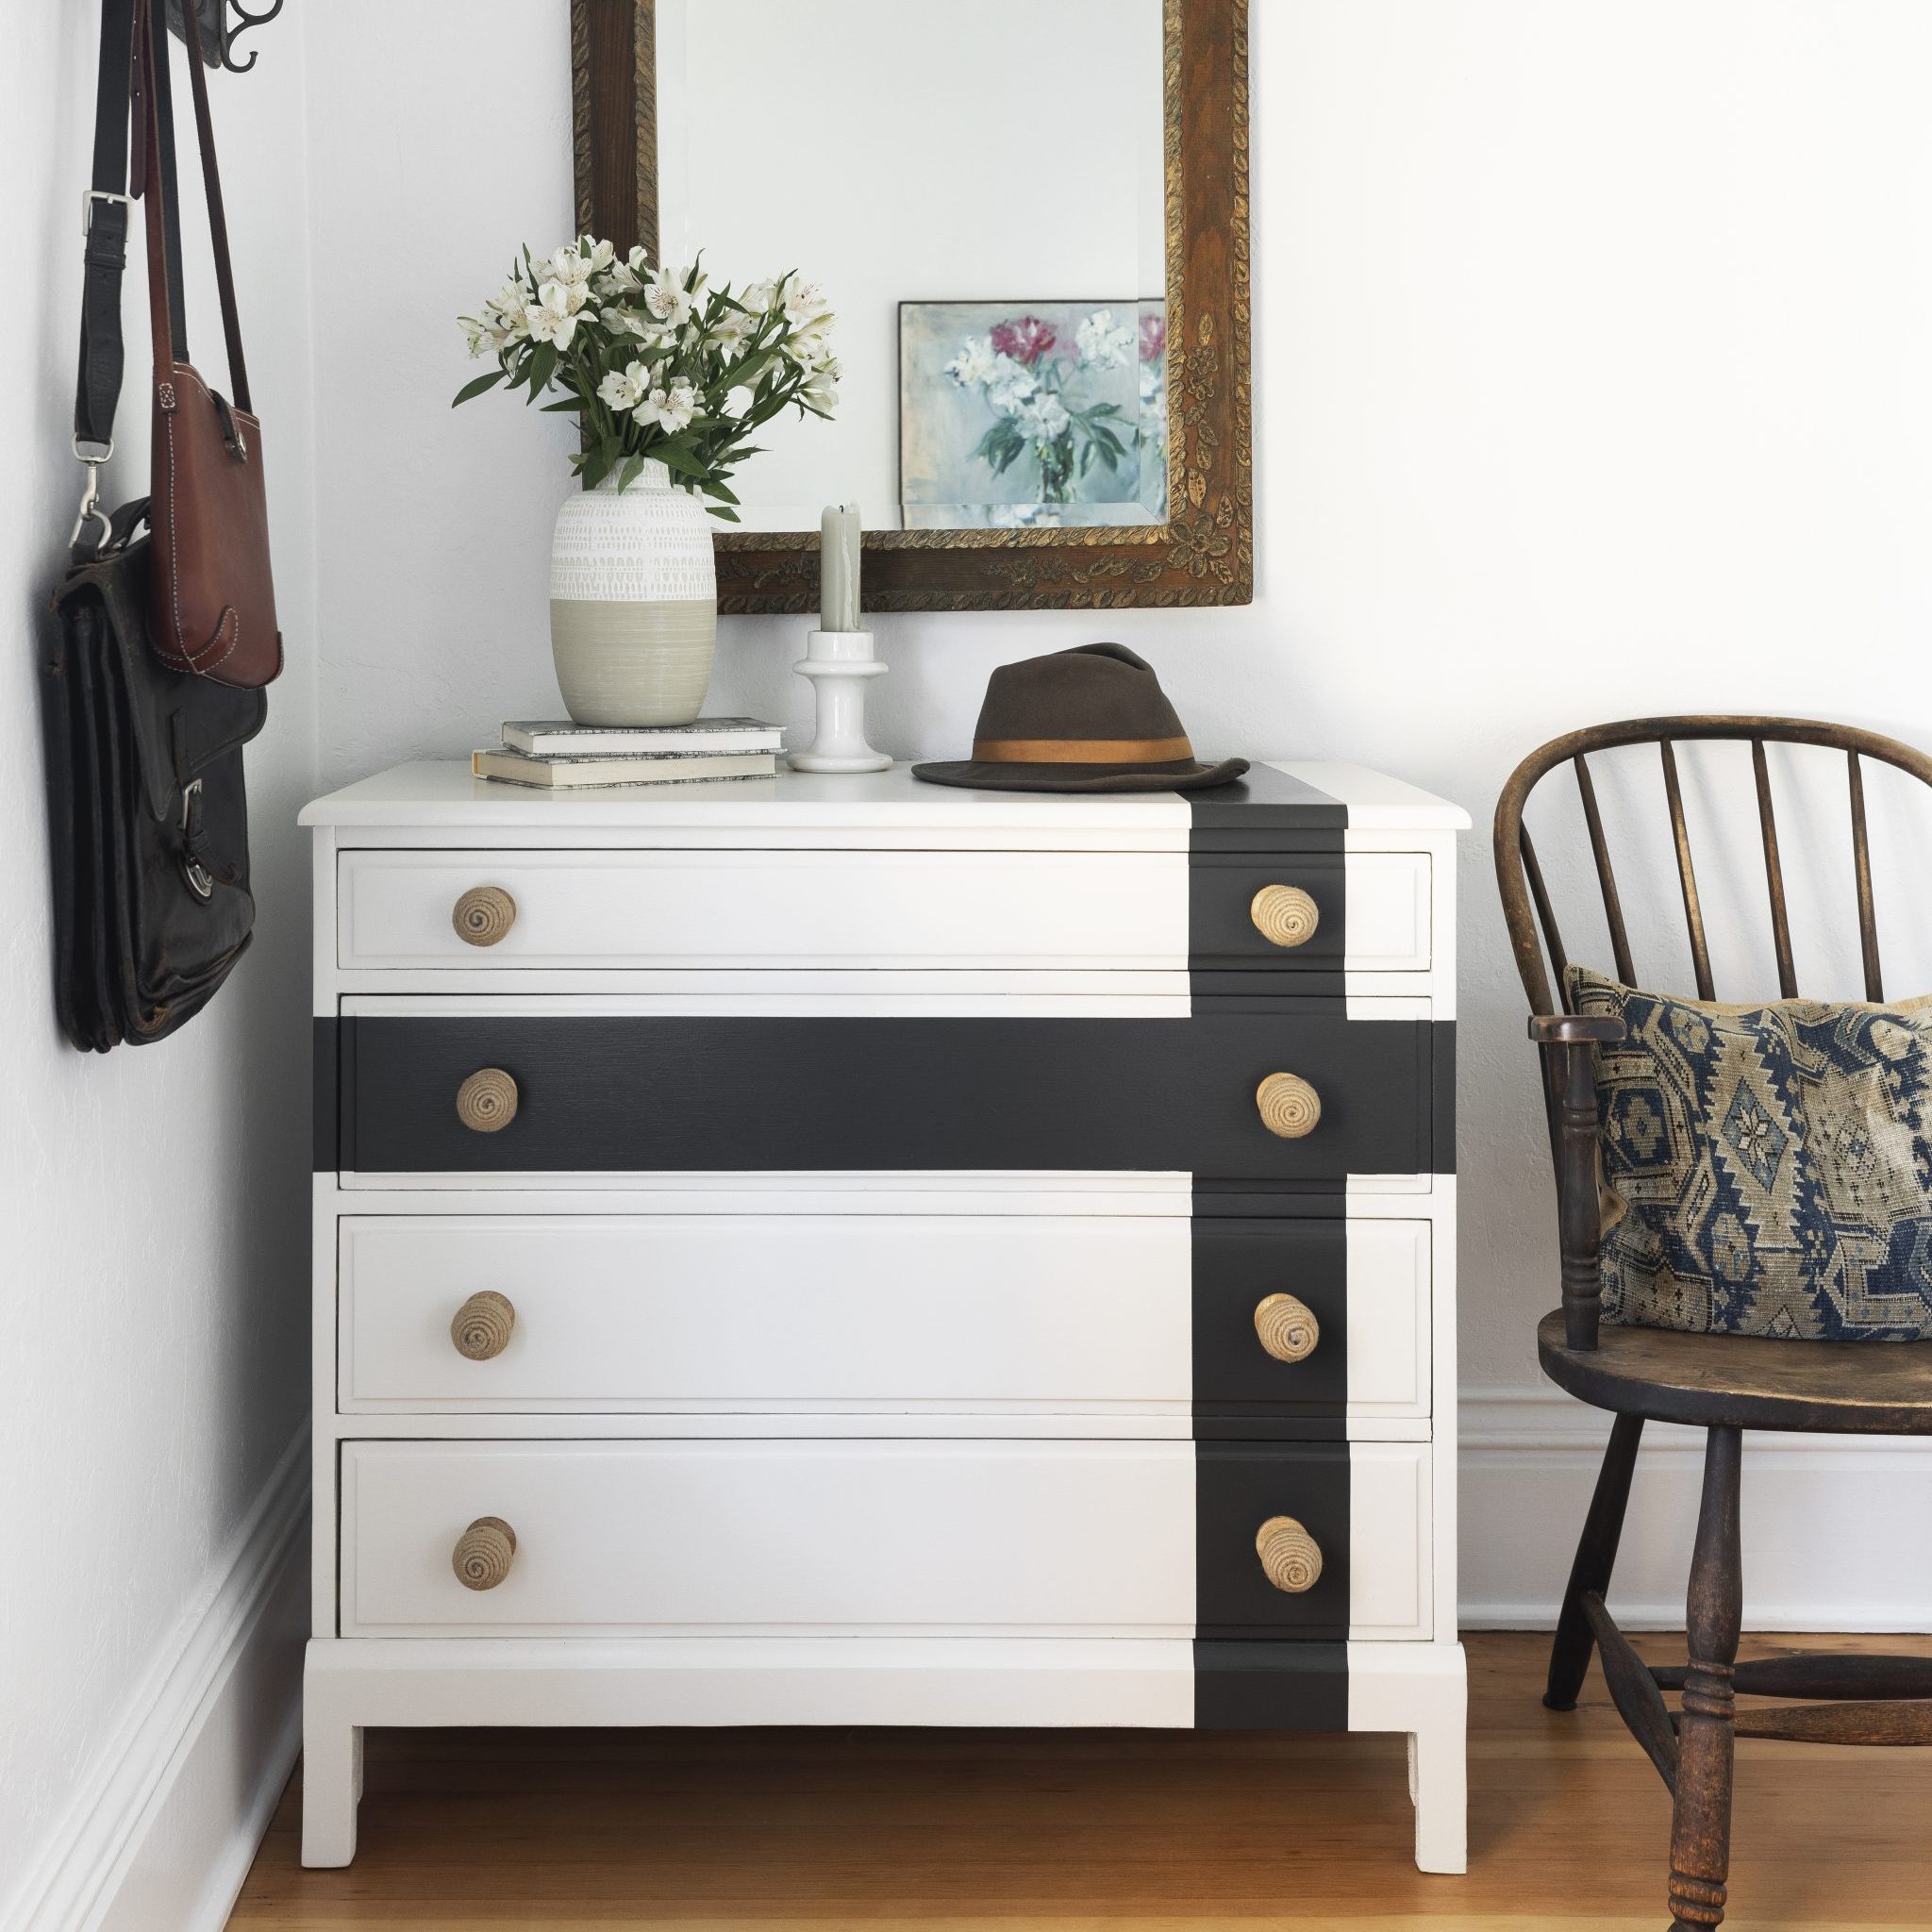
Are you tired of the same old dresser? Give your bedroom a bold makeover with a crisscross stripe dresser! This DIY project is easier than you think and will instantly elevate your space. With a few simple steps and Miller Paint’s vibrant colors, you can transform your dresser into a stylish focal piece. Read on for a step-by-step guide to achieving a professional-looking finish. Using our color of the year Mushroom | R012 as a base paired with Midnight Wanderer | R017.
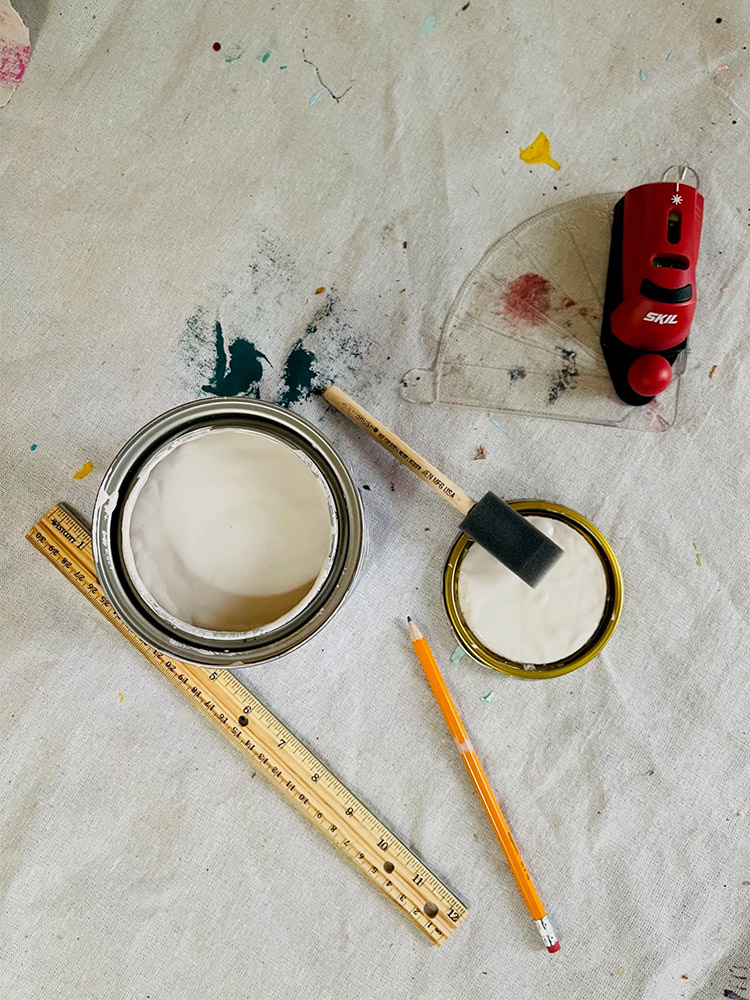
Supplies:
- Miller Paint Acrinamel: Mushroom | R012, satin sheen
- Miller Paint Acrinamel: Midnight Wanderer | R017, semi-gloss sheen
- Dresser
- Wood filler
- Damp cloth
- Hand sander
- 150 grit sandpaper
- Ruler
- Pencil
- 1” roll of painter’s tape
- X-acto knife
- 2” angle paintbrush
- Small detail paintbrush
- Drawer knobs
Prep Your Dresser:
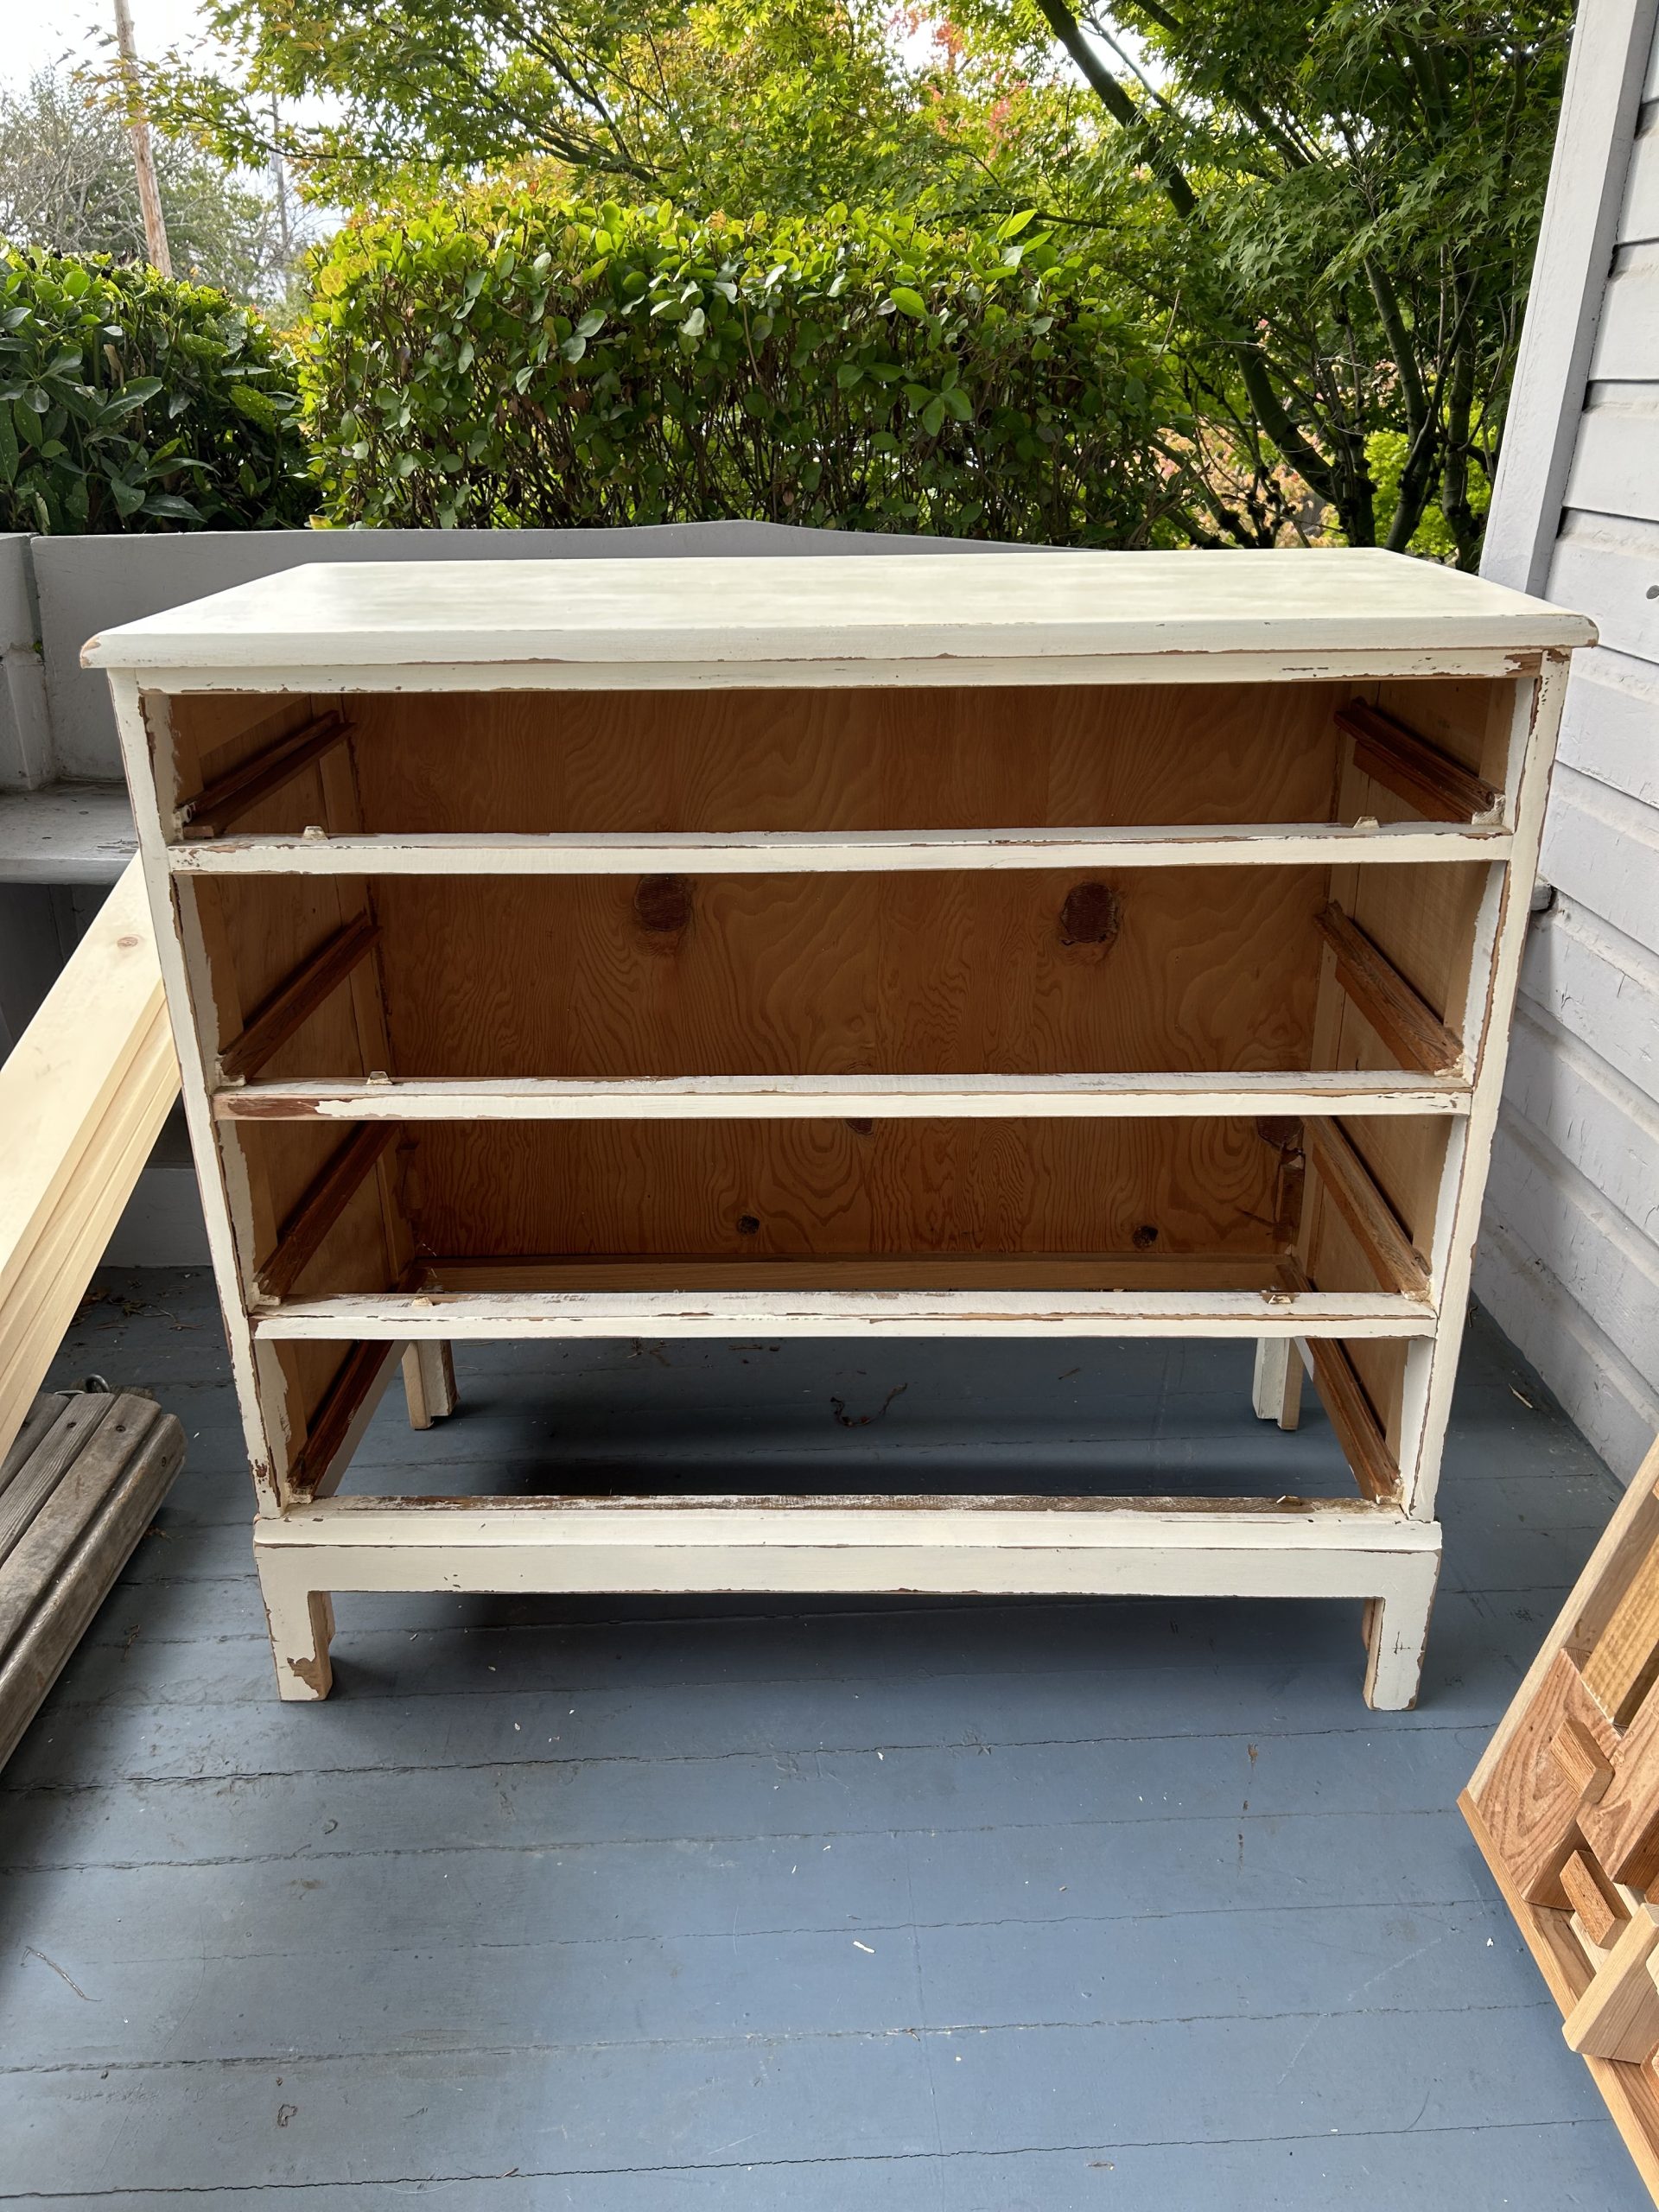
- Remove all drawer hardware.
- If drawer pulls had two holes, fill one hole per side with wood filler to create a single hole for new knobs.
- Important: If your dresser has a glossy finish, lightly sand the entire surface to create a tooth for the paint to adhere to. Wipe away dust with a damp cloth. For optimal results, consider applying a primer for better paint adhesion.
Base Coat:
-
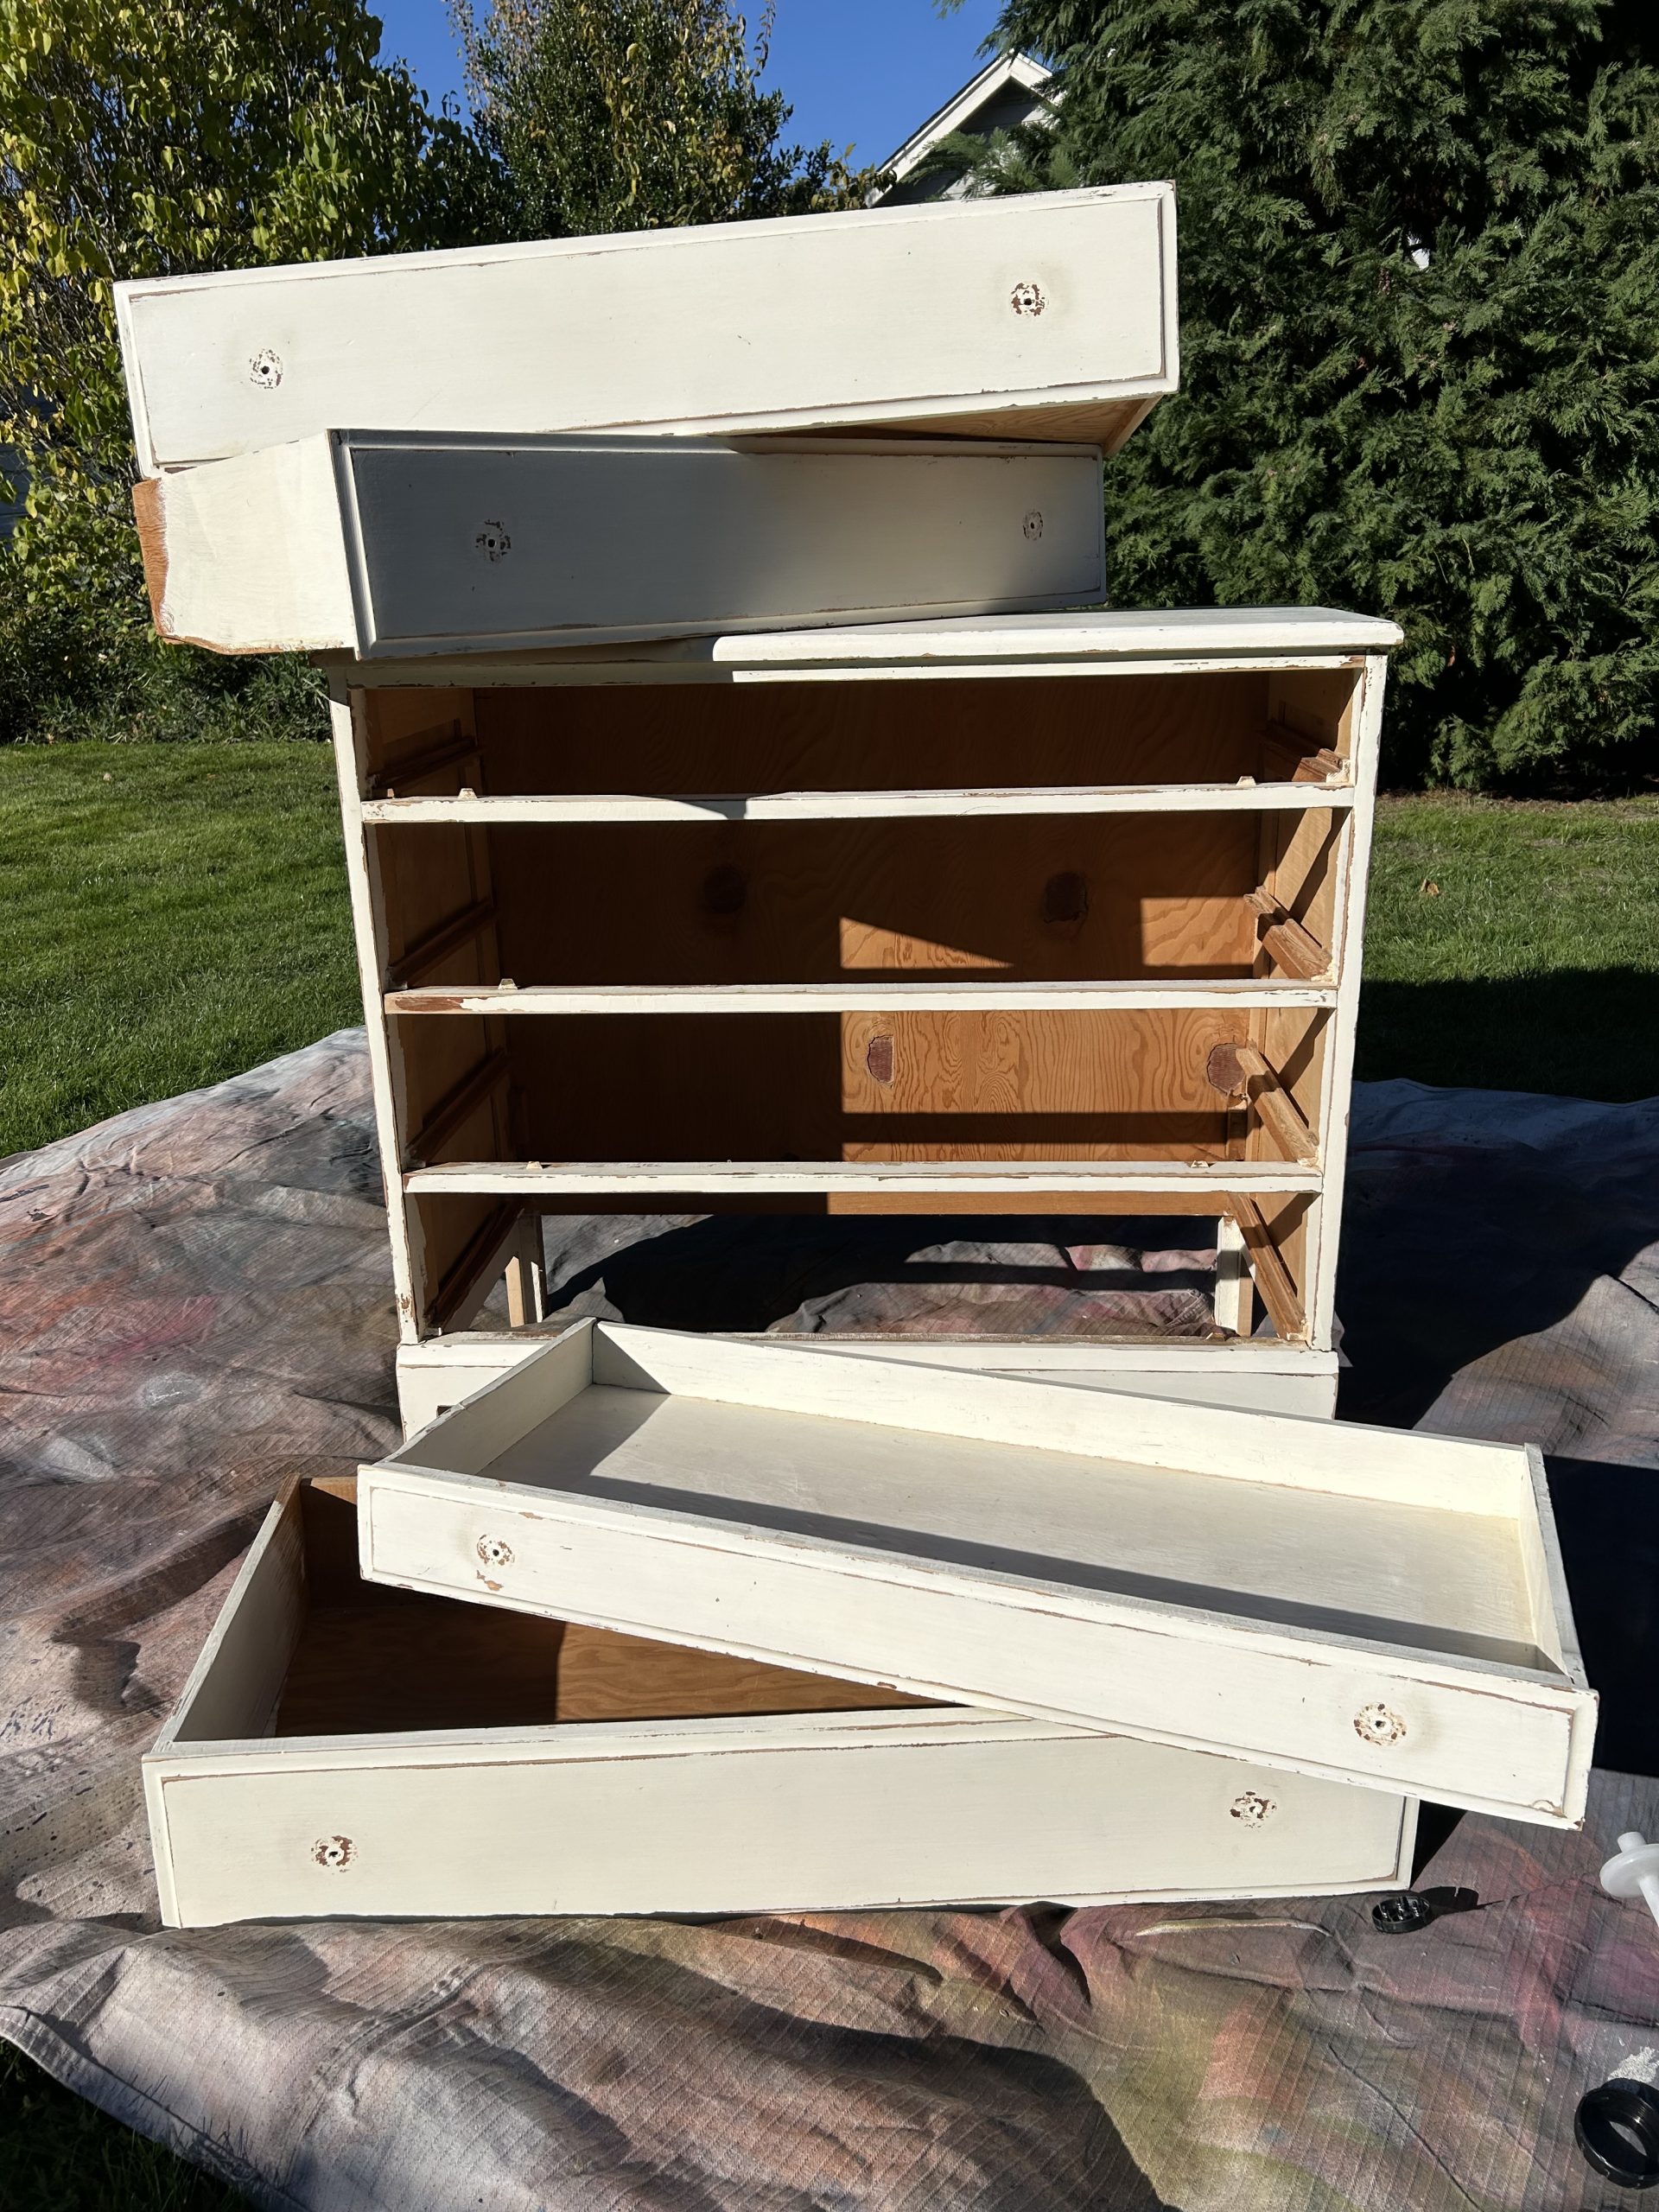
- Apply two coats of Miller Paint Acrinamel; we used Mushroom | R012 in satin sheen to the entire dresser, including drawers. Allow each coat to dry completely.
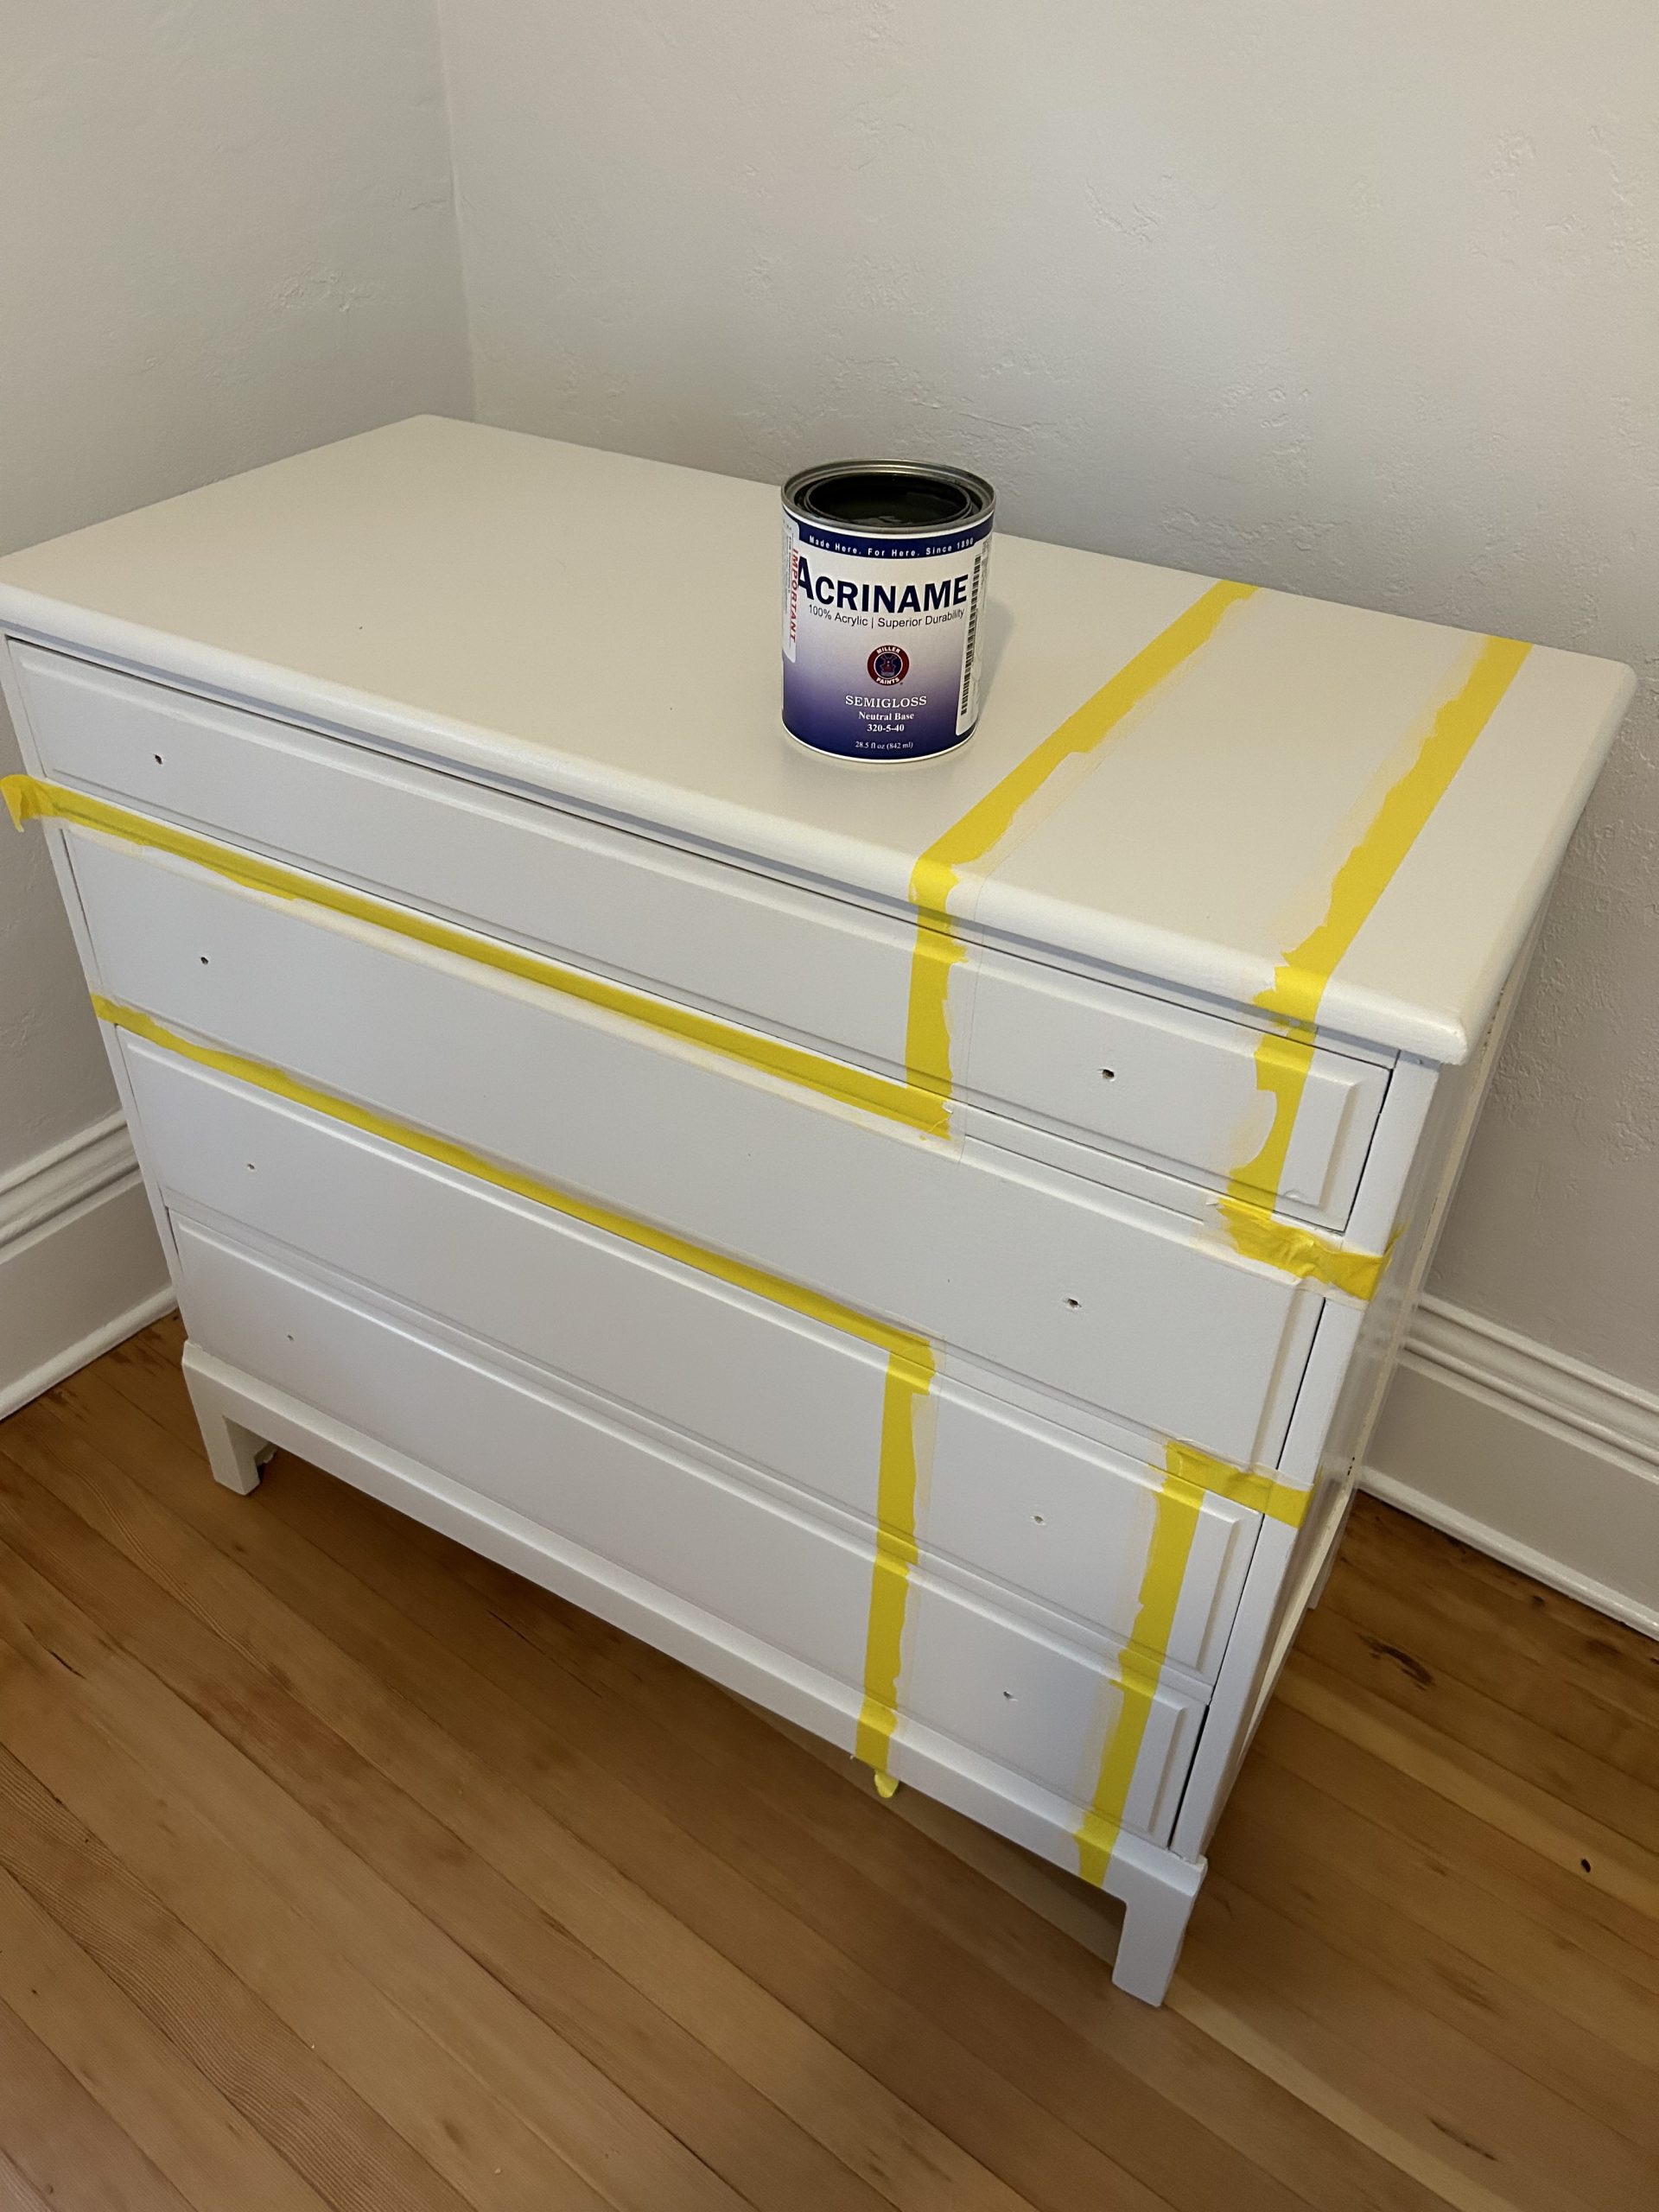
Tape It Off:
-
- Using a ruler and pencil, mark guidelines for the tape strips on the dresser.
- Apply a vertical strip of painter’s tape four inches from the dresser's outer right-side edge and drawers. Continue the tape from the top, over the front, and down the face of the dresser.
- Add a second vertical tape strip five inches away from the first.
- Apply two horizontal tape strips on the second drawer from the top, maintaining a five-inch distance between them.
- Carefully cut away intersecting tape sections with an X-acto knife to create the crisscross pattern.
- Tip: Use a burnishing tool or a paintbrush handle to firmly press down all tape edges for a clean paint line.
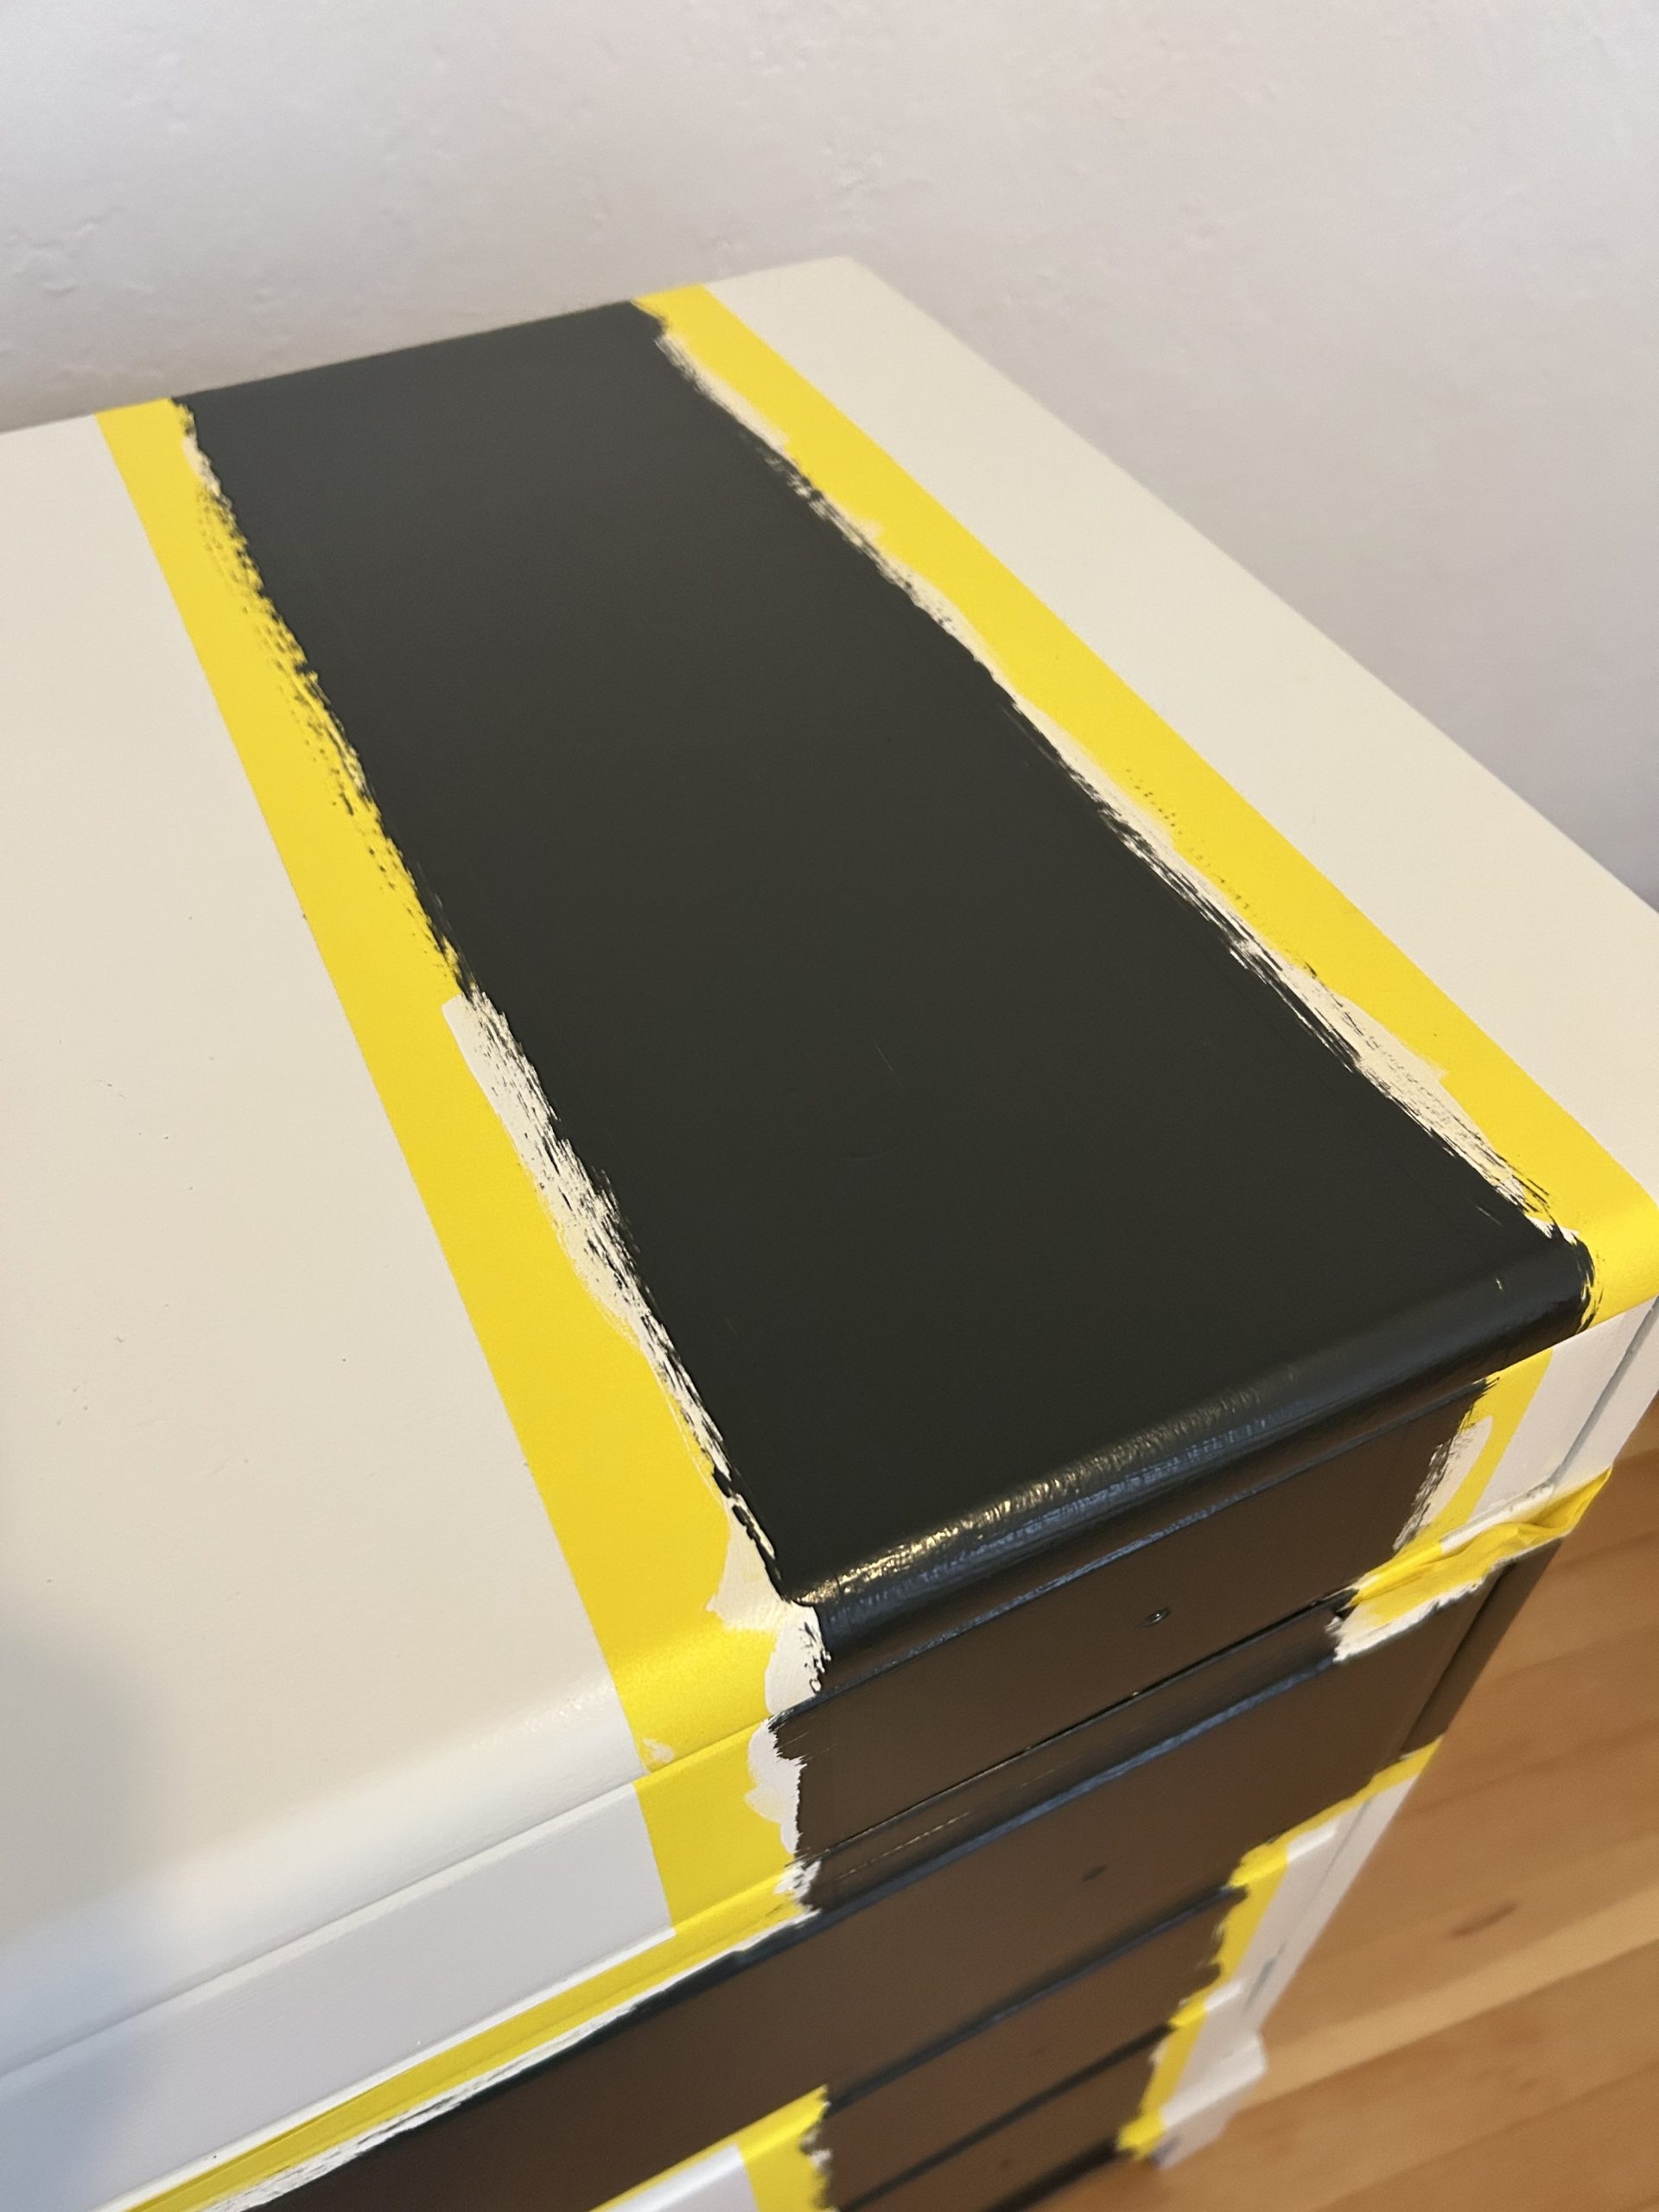
Paint the Stripes:
- Apply a coat of your base color over the entire taped area, extending about an inch beyond the tape edges. This will create sharp lines when the tape is removed.
- Let the paint dry completely.
- Paint the areas between the tape strips. Apply two coats, allowing the first to dry before applying the second.
- Tip: Use a foam roller for a smooth, even finish.
- Carefully remove the tape before the second coat of black paint dries completely.
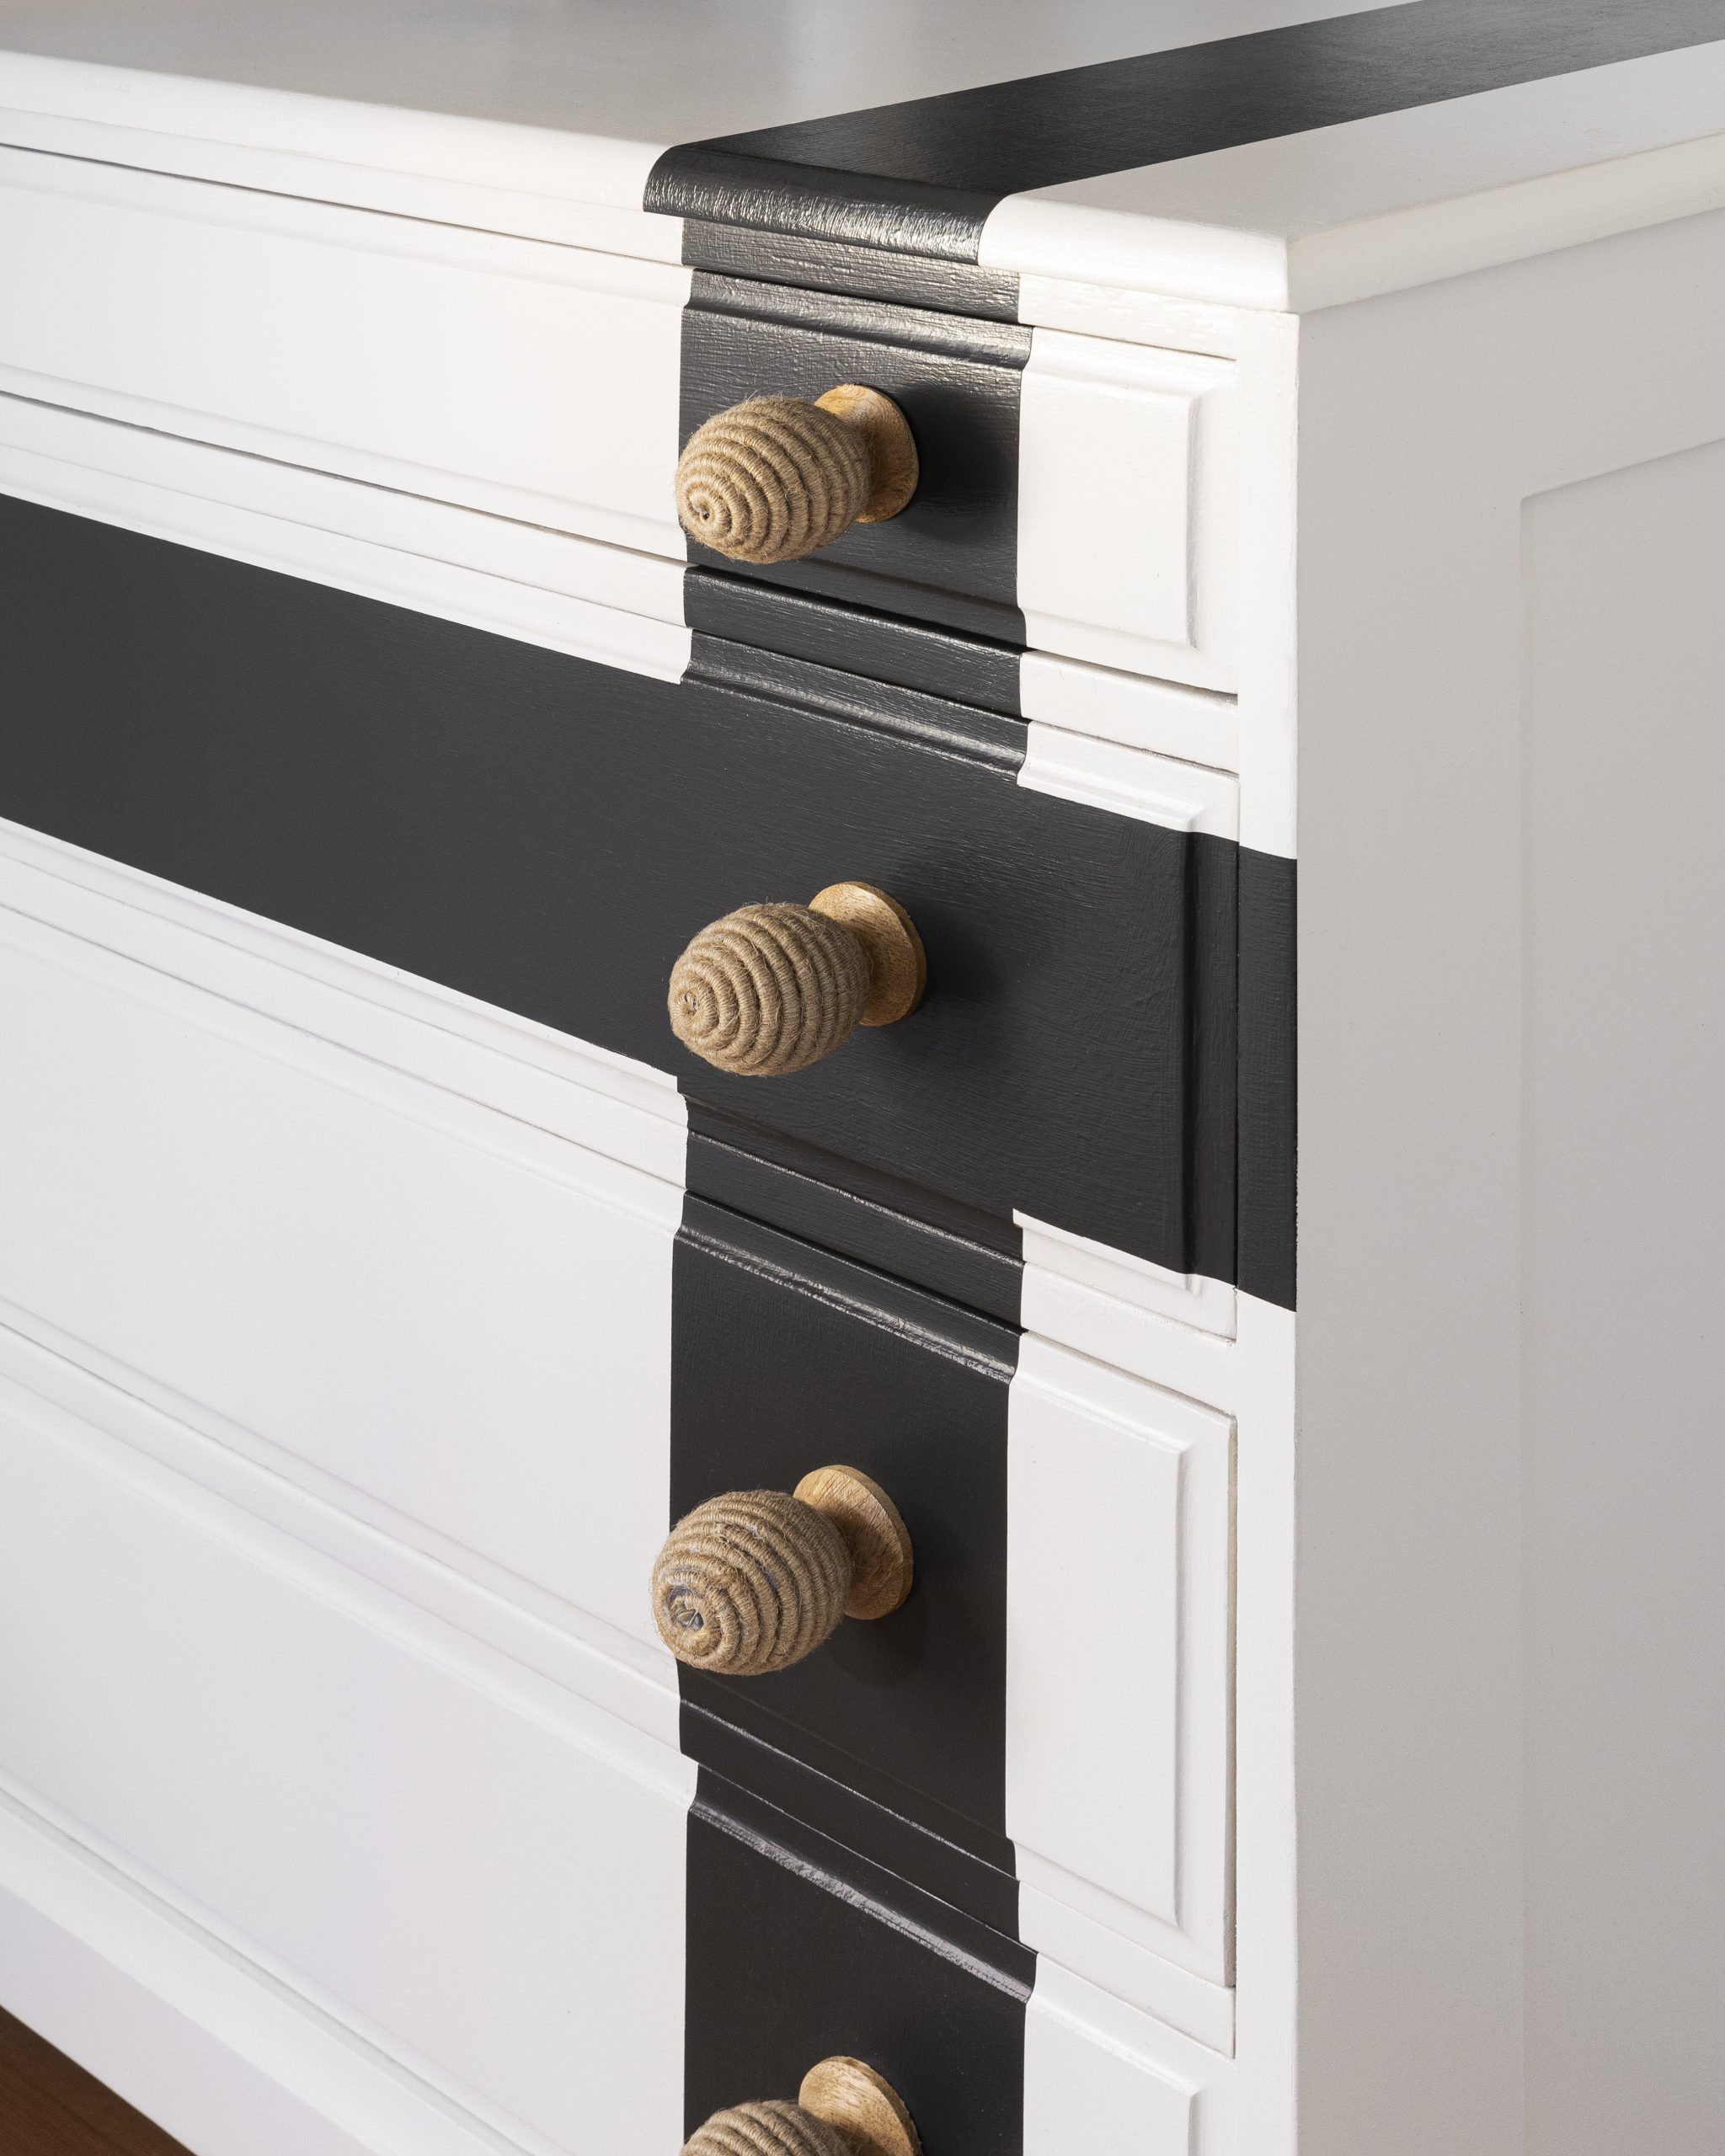
Finishing Touches:
-
-
- Use a small detail paintbrush to touch up any imperfections.
- Attach your new drawer knobs.
- Tip: Seal the finished dresser with a clear coat for protection. Allow paint to dry for five to seven days before applying a clear coat.
Additional Tips:
- Color Combinations: Experiment with color combinations, such as navy and white or sage green and black, to create a unique look.
- Safety First: Always wear a mask and protective eyewear when sanding and painting.
- Drying Time: Allow each coat of paint to dry completely before applying the next. Refer to the paint can for specific drying times.
- Styling: Add personality to your dresser with decorative accessories, artwork, or plants.
- Maintenance: Use a damp cloth and mild detergent to clean your dresser. Avoid harsh chemicals.
Your dresser is now transformed with a fresh, modern look!
-
